10 Tips for Using Silicone Candle Molds Like a Pro
- Choose High-Quality Silicone Molds
- Prepare the Mold Before Use
- Be Mindful of the Wax Temperature
- Use a Release Agent
- Avoid Overfilling the Mold
- Ensure Proper Cooling and Setting
- Apply Pressure for Seamless Results
- Use a Clean and Smooth Work Surface
- Take Care When Handling the Mold
- Experiment with Different Designs
- Store Your Molds Properly
When it comes to candle making, having the right tools makes all the difference. One essential tool that every candle maker should have in their arsenal is a silicone candle mold. Silicone molds are popular among crafters and candle enthusiasts due to their flexibility, durability, and ease of use. However, to achieve professional-looking results, it's important to know how to use these candle molds properly. In this article, we will share 10 tips for using silicone candle molds like a pro.
Download our Free Candle Making Guide: Candle Making Complete Guide
1. Choose High-Quality Silicone Molds
The first step to successful candle making using silicone candle molds is to invest in high-quality molds. Opt for molds made from food-grade silicone that are specifically designed for candle making. These molds are heat-resistant and will ensure that your candles set properly without any unwanted leaks or deformations.
2. Prepare the Mold Before Use
Before pouring the wax into the mold, it's crucial to prepare it properly. Clean the mold thoroughly, removing any dust or debris. This will help ensure that your candles come out smooth and free from blemishes. Additionally, you can lightly grease the mold with a small amount of vegetable oil to aid in easy release of the candles.
3. Be Mindful of the Wax Temperature
It's important to monitor the temperature of the wax before pouring it into the silicone mold. Too hot or too cold wax can affect the quality and appearance of your candles. Follow the instructions provided by the wax manufacturer for the recommended pouring temperature. Using a thermometer can help you achieve the ideal wax temperature for your specific mold.
4. Use a Release Agent
Although silicone molds are known for their non-stick properties, it's always a good idea to use a release agent for easier removal of your candles. Apply a thin layer of a suitable release agent such as a silicone spray or mold release liquid to the inside of the mold. This will prevent the candles from sticking to the mold and make the demolding process a breeze.
5. Avoid Overfilling the Mold
When pouring the wax into the silicone mold, be careful not to overfill it. Leave some space at the top to allow for expansion as the wax cools and sets. Overfilling can lead to spills and misshapen candles. It's better to underfill slightly and add more wax later if needed.
6. Ensure Proper Cooling and Setting
Once you have poured the wax into the mold, it's essential to allow it enough time to cool and set properly. Avoid moving or disturbing the mold during this crucial stage, as it can cause imperfections in the final candle. Follow the recommended cooling time provided by the wax manufacturer for best results.
7. Apply Pressure for Seamless Results
To ensure seamless and smooth candles, apply gentle pressure on the candle mold while the wax is still soft. This will help eliminate any air bubbles trapped inside the wax. You can use a foam brush or a rubber spatula to press down on the mold gently. Be careful not to press too hard and deform the shape of the candle.
8. Use a Clean and Smooth Work Surface
To ensure precision during the pouring process, it's important to have a clean and smooth work surface. This will prevent any debris or imperfections from transferring onto the mold or the candles. A sturdy table or a dedicated candle making workstation is ideal for creating beautiful candles using silicone molds.
9. Take Care When Handling the Mold
Silicone molds can be delicate, and mishandling them can lead to damage or distortion. Whenever you need to remove the mold or demold the candle, do it gently and with care. Avoid using sharp or pointed objects that can scratch or tear the surface of the mold. By handling the mold with caution, you can prolong its lifespan and ensure consistent results.
10. Experiment with Different Designs
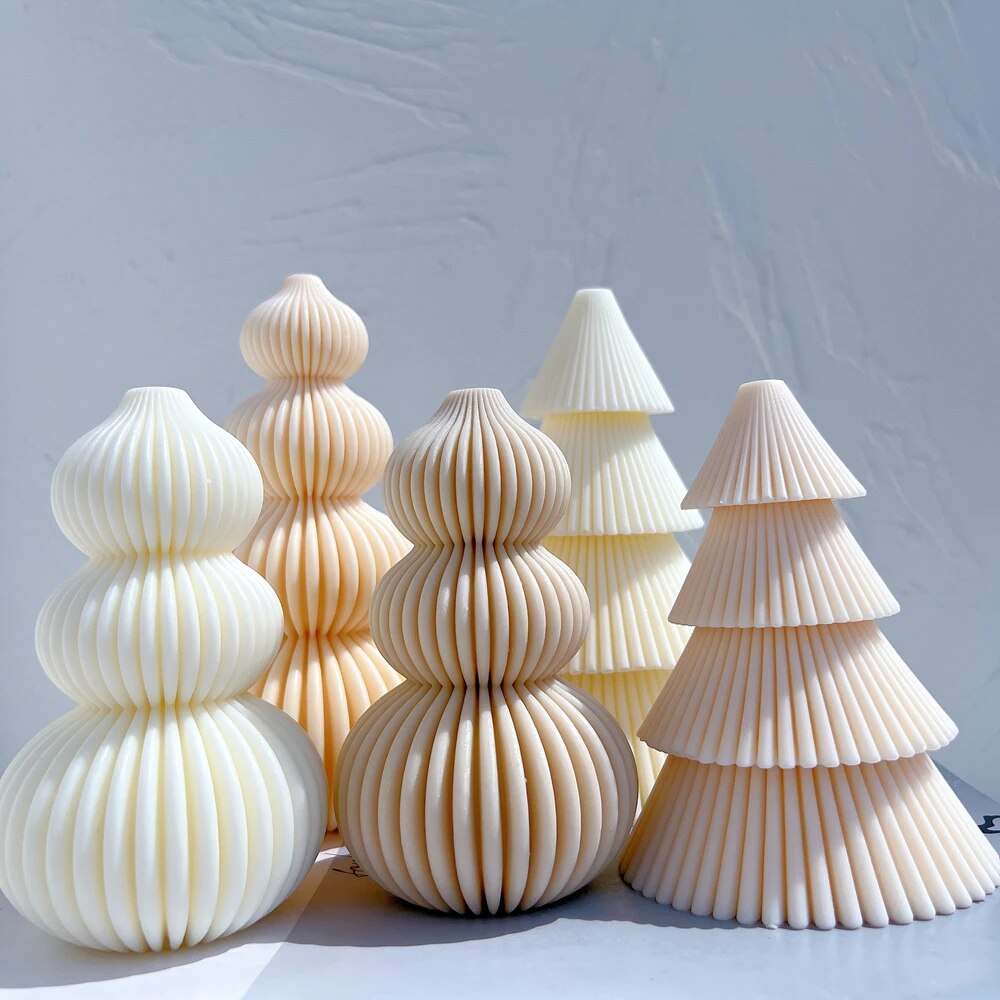
One of the joys of candle making is the ability to create unique and customized candles. Silicone molds come in a variety of shapes and designs, allowing you to get creative with your candle designs. Don't be afraid to experiment and try different molds to create beautiful and eye-catching candles that reflect your personal style.
Store Your Molds Properly
After using your silicone molds, it's important to store them properly to maintain their longevity. Clean them thoroughly and ensure they are completely dry before storing them in a cool, dry place. Avoid folding or stacking the molds, as this can cause deformations. By storing your molds correctly, you can use them for many candle making projects to come.
In conclusion, using silicone candle molds can elevate your candle making game and help you achieve professional results. By following these 10 tips, you'll be able to use these molds like a pro and create stunning candles that are sure to impress. Remember to choose high-quality molds, prepare them properly, control the wax temperature, and use a release agent for seamless demolding. Be mindful of the filling level, cooling and setting time, and apply gentle pressure for smooth results. Handle the molds with care, maintain a clean work surface, and don't be afraid to experiment with different designs. Finally, store your molds properly to ensure their longevity and usability. Happy candle making!
Discover a wide selection of silicone candle molds and other candle-making accessories at Silicone Candle Molds, Acrylic Candle Molds, and Candle Making Supplies.


1 comment
Your information was very informative. Just making so candles for my great grand baby’s shower.
not putting any fragrance in them.
Vivian
Leave a comment
This site is protected by hCaptcha and the hCaptcha Privacy Policy and Terms of Service apply.