Advanced Tips for Creating Hyper-Realistic Candles in Silicone Molds
Introduction to Silicone Molds for Candle Making

Candle making is a delightful blend of art and science, where creativity ignites passion. And when it comes to crafting candles that look almost too good to light, silicone molds are your best friend. These versatile tools allow for endless designs and shapes, transforming simple wax into stunning works of art.
Imagine creating mouthwatering replicas of desserts or intricate floral arrangements—all with the flicker of a flame in mind! Hyper-realistic candles can elevate any space while serving as conversation starters at gatherings. Whether you're an experienced artisan or just starting out, the world of silicone mold candle making offers something exciting for everyone.
Ready to dive deeper? Let’s explore how you can take your candle-making skills from ordinary to extraordinary with advanced tips tailored specifically for hyper-realism!
Importance of Using High-Quality Silicone Molds
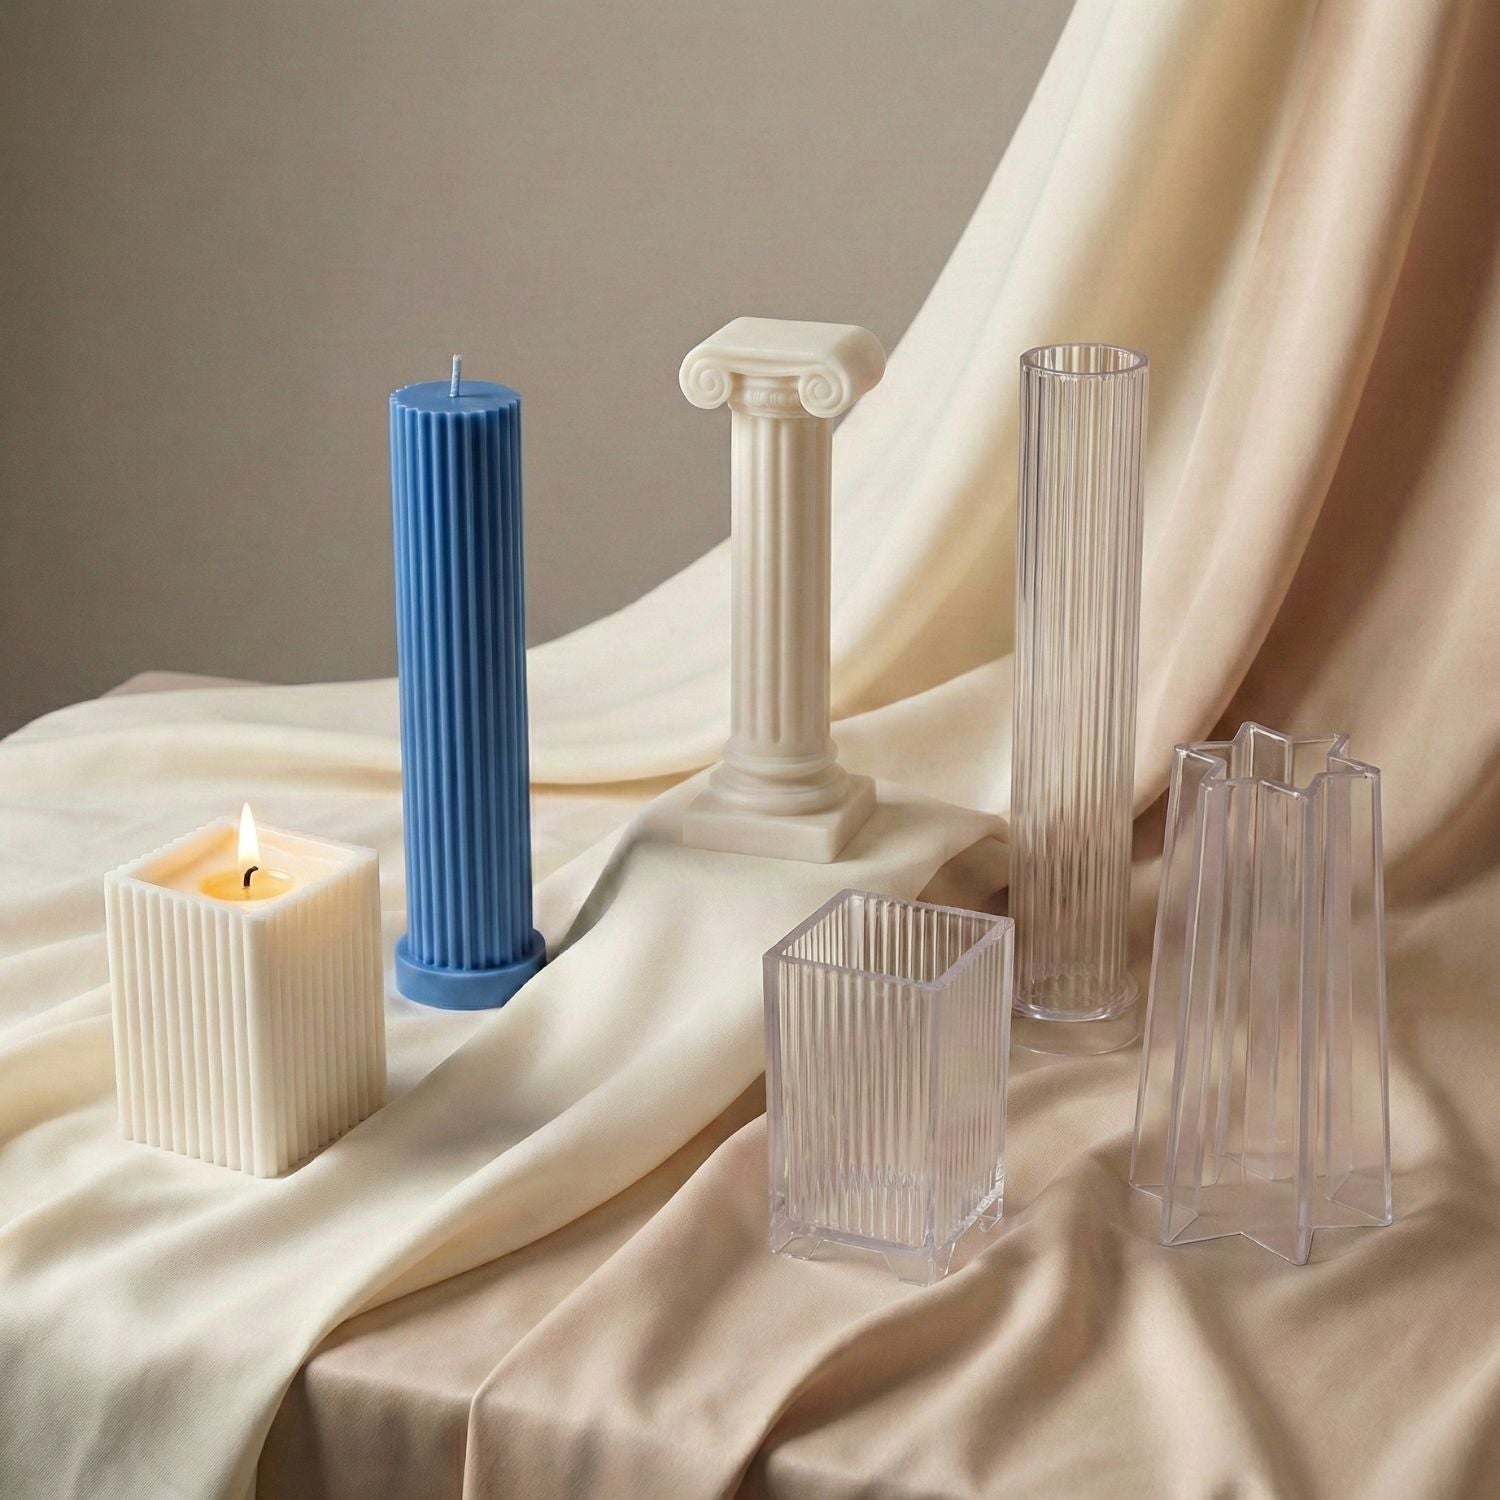
When it comes to candle making, the mold you choose can make a world of difference. High-quality silicone molds offer flexibility and durability that lower-grade options simply can't match.
They ensure your candles release easily without damaging their shape. This means fewer imperfections and more time spent crafting beautiful creations.
Moreover, quality silicone withstands high temperatures. This is essential when pouring hot wax, as inferior materials can warp or melt.
A well-made mold also captures intricate details beautifully. If you're aiming for hyper-realism in your designs, every curve and texture matters.
Investing in superior molds pays off in the long run with consistent results and reduced frustration during the removal process. Your artistic vision deserves nothing less than the best tools available.
Preparing the Silicone Mold for Pouring

Before you start pouring your candle wax, proper preparation of the silicone mold is essential. This step ensures a smooth release and enhances the overall finish of your candle.
Start by cleaning your mold with warm soapy water to remove any dust or debris. Rinse thoroughly and let it dry completely. Any residue can affect how the wax sets.
Next, consider applying a light layer of mold release spray. While many high-quality silicone molds don’t need it, this extra precaution can help prevent sticking in more intricate designs.
Make sure that the mold is placed on a flat surface before pouring. This will avoid spills and ensure even distribution of wax throughout the entire cavity.
Check for air bubbles trapped in the mold's details—these can mar your final product's appearance. A quick tap on the table should help release any hidden bubbles lurking beneath!
Choosing the Right Wax and Fragrance for Realistic Results
The choice of wax significantly impacts the realism of your candles. Paraffin, soy, and beeswax each bring unique qualities to the table. Paraffin is versatile and holds color well, while soy offers a more natural alternative with a clean burn. Beeswax adds an appealing honey scent but can be pricier.
Fragrance selection plays a crucial role too. Opt for high-quality fragrance oils that mimic real scents—think fresh pine or warm vanilla bean. Essential oils can also add authenticity but may require careful blending to avoid overpowering other elements.
Consider layering fragrances for depth. A subtle base note paired with stronger top notes creates complexity reminiscent of nature’s aromas. Test different combinations in small batches before committing to larger pours; this allows you to tweak ratios until achieving that perfect olfactory balance without losing visual appeal through overly dominant scents.
Advanced Techniques for Achieving a Hyper-Realistic Look
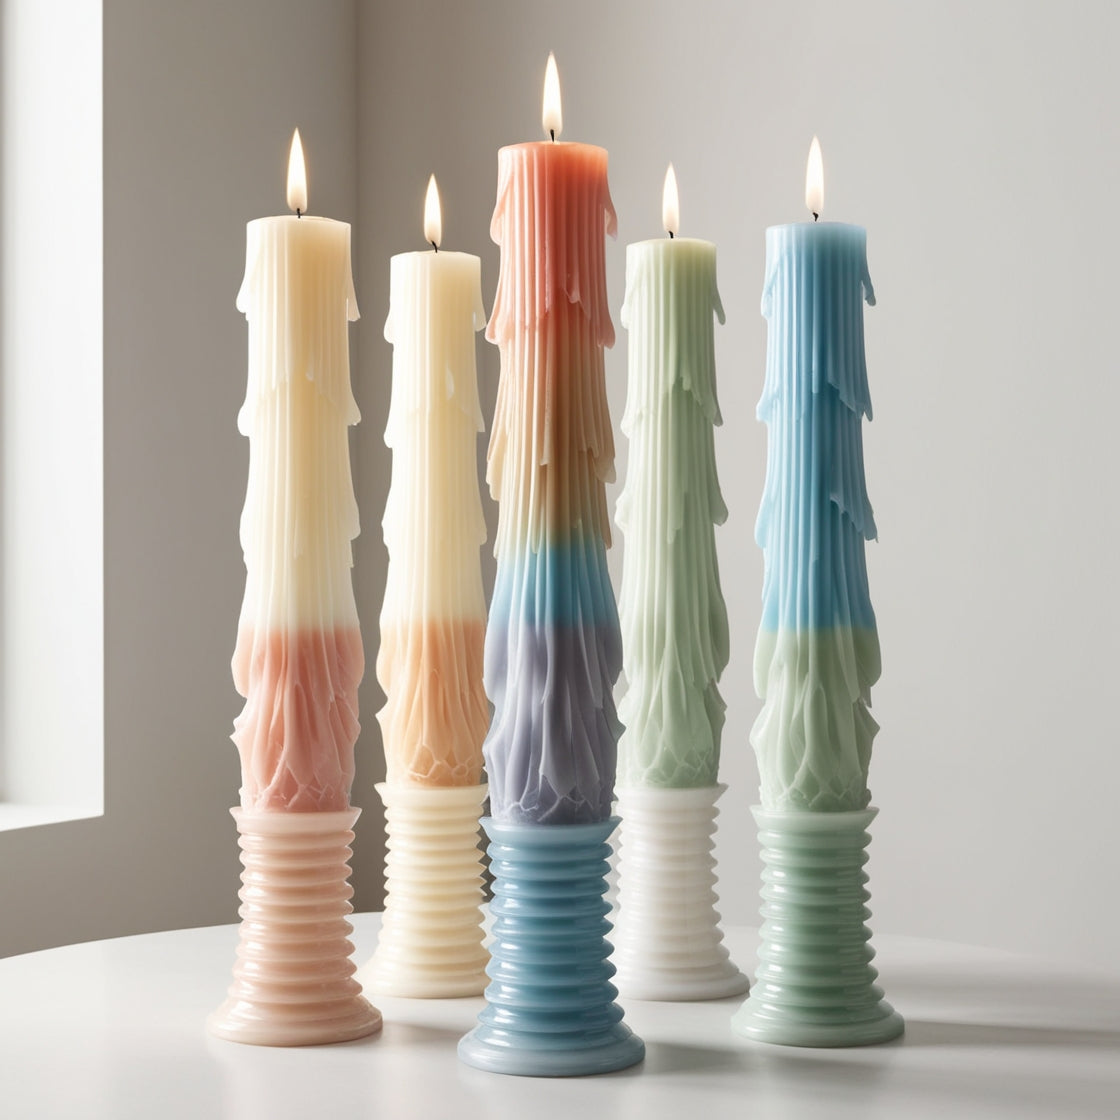
To create hyper-realistic candles, adding color variations is key. Instead of one flat hue, use multiple shades to mimic natural elements. Think about gradients or subtle swirls that catch the eye.
Texture plays a significant role too. Using tools like brushes or sponges can help you craft intricate details on the candle’s surface. A rough finish can imitate bark while smooth areas resemble polished stone.
Embedding objects adds another layer of realism. Consider incorporating dried flowers, herbs, or even small figurines within your wax. This technique not only enhances aesthetics but also tells a story with each creation.
Experimenting with layering techniques can yield stunning results as well. Pour different colors in sections for depth and dimension that will amaze anyone who sees them! Each method opens up new possibilities for creativity and expression in your candle-making journey.
A. Adding Color Variations
Color variations can take your candle-making to the next level. Instead of a single hue, consider blending multiple colors for depth and intrigue.
Start with a base color that resonates with your theme. Once you’ve melted the wax, divide it into smaller containers for different shades. This allows for creativity in layering or swirling.
For a marbled effect, pour one color at a time into the mold while gently stirring each layer as you go. The key is to work quickly before the wax sets.
You can also use dye chips or liquid dyes designed specifically for candles. Experiment with various concentrations until you achieve just the right tone.
Remember, testing small batches will help refine your approach without wasting materials. Embrace bold combinations like sunset gradients or soft pastels to create unique pieces that stand out on any shelf!
B. Creating Texture with Tools
Creating texture is a game changer when it comes to candle making. It adds depth and realism that can elevate your finished product.
Start by exploring various tools you have on hand. A simple fork or knife can create delightful grooves and swirls in the wax surface. Experiment with different angles for unique patterns.
For more intricate designs, try specialty texture tools specifically made for crafting. Silicone stamps offer amazing detail, while combs can help you achieve a feathery look.
You can also utilize natural elements like leaves or flowers pressed into the wax before it sets. This not only adds texture but brings an organic touch to your candles.
Remember, practice makes perfect! Don’t hesitate to test out multiple techniques until you find what resonates with your artistic vision. Each method opens up new possibilities for hyper-realistic effects in your creations.
C. Embedding Objects in the Candle
Embedding objects in candles can elevate your creations to another level. This technique allows you to personalize each candle and make it truly one-of-a-kind.
Start by selecting small, heat-resistant items. Dried flowers, herbs, or even decorative stones work wonderfully. Ensure that whatever you choose will withstand the heat produced by the wax without burning or melting.
When pouring your wax, consider layering techniques. Pour a thin layer first, let it cool slightly, then carefully place your chosen object in before adding more wax on top. This method helps secure the item in place while avoiding any unwanted sinking.
Be mindful of placement too; ensure objects are not too close to the wick for safety reasons. The right arrangement enhances visual appeal and adds depth to your candle's design. Each embedded piece tells a story—a lovely touch for gifts or personal use!
Tips for Removing Candles from Silicone Molds

Removing candles from silicone molds can be a delicate process, but with the right techniques, it becomes much easier. Here are some tips to help you achieve success:
First, allow your candle to cool completely before attempting to remove it. This step is crucial as premature removal may lead to breakage or deformation.
Next, gently flex the mold. Silicone is flexible by nature, which means that you can carefully bend and twist the sides of the mold without damaging your candle. Start at one corner and work your way around.
If you encounter resistance while pulling out the candle, try using a soft tool like a silicone spatula or wooden skewer along the edges. This helps create space between the mold and wax.
For intricate designs or deeper molds, consider chilling them in the refrigerator for about 30 minutes prior to removal. The cold helps contract both wax and silicone slightly for an easier release.
Patience pays off! If you're struggling with stubborn spots during removal, take your time rather than forcing it out aggressively.
With these tips in hand, you'll find that removing candles from silicone molds can become a smooth part of your creative process. Happy crafting!


Leave a comment
This site is protected by hCaptcha and the hCaptcha Privacy Policy and Terms of Service apply.