Creating Transparent Gel Candles with Advanced Acrylic Mold Techniques

Candles have transcended their traditional roles to become artful pieces that not only illuminate spaces but also spark creativity. Among the most stunning are transparent gel candles, celebrated for their crystal-clear appearance and the ability to showcase decorative elements like seashells or dried flowers. This blog will guide you through the process of creating these unique candles using Candle Molds, particularly advanced acrylic molds, and explore the possibilities for elevating your Candle Making skills.
The Appeal of Transparent Gel Candles
Transparent gel candles stand out for their clarity and ability to display intricate details. They offer a visual impact that traditional wax candles can’t match, making them a perfect blend of functionality and artistry.
Why Choose Gel Candles?
- Transparency: Perfect for displaying decorative elements.
- Longevity: Gel candles burn slower than wax candles.
- Versatility: Can be made in a variety of shapes using molds like Silicone Candle Molds and Acrylic Molds.
Materials You’ll Need for Gel Candle Making
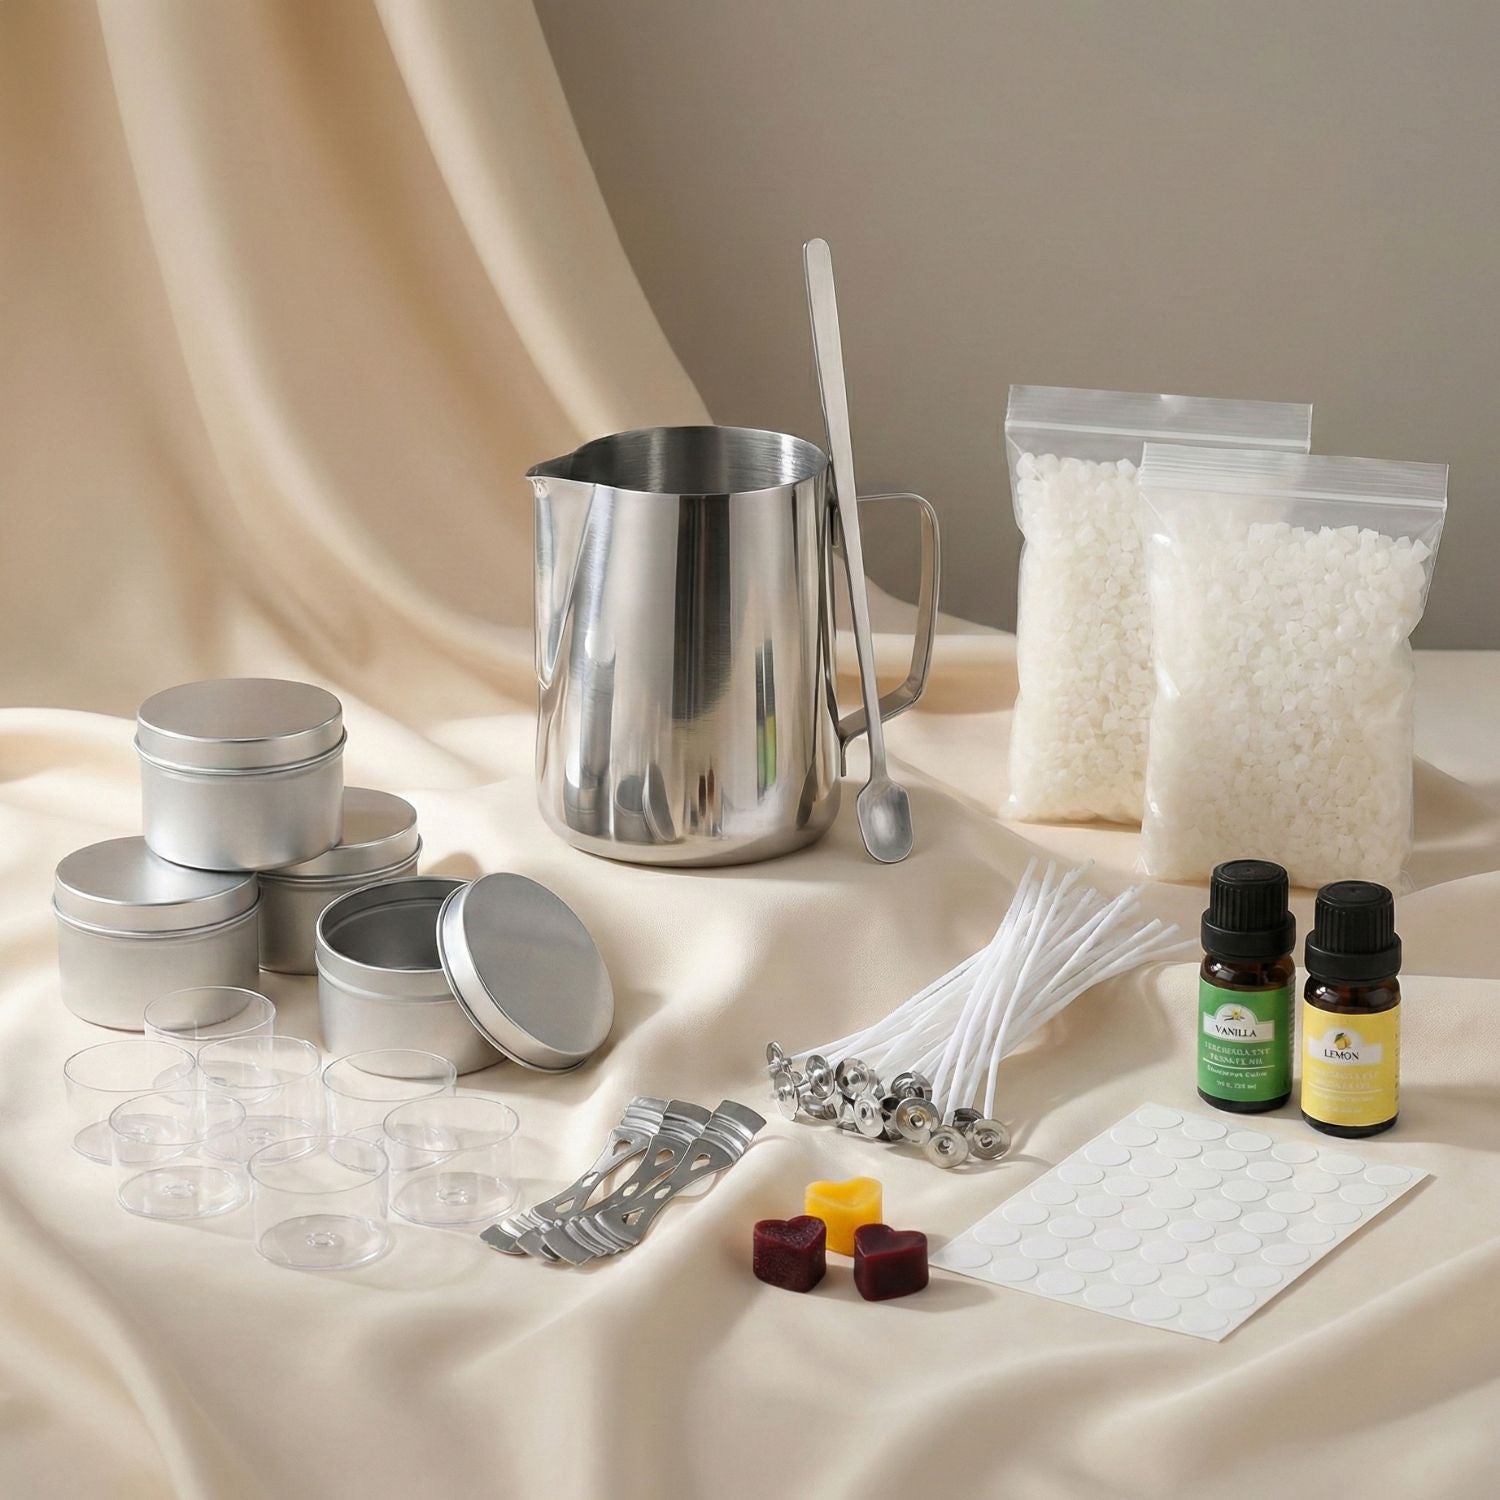
Before we dive into advanced techniques, let’s get familiar with the essential materials for candle making:
| Material | Purpose | Tips |
|---|---|---|
| Gel Wax | The key component for creating transparent candles. | Use high-quality gel wax for the best clarity. |
| Fragrance Oil | To give your candle a pleasing scent. | Use oils designed for gel candles to prevent clouding. |
| Zinc-Core Wick | Essential for an even burn. | Works best for gel candles due to its strength. |
| Liquid Dye | Adds color to the gel. | Avoid over-dyeing, which can reduce transparency. |
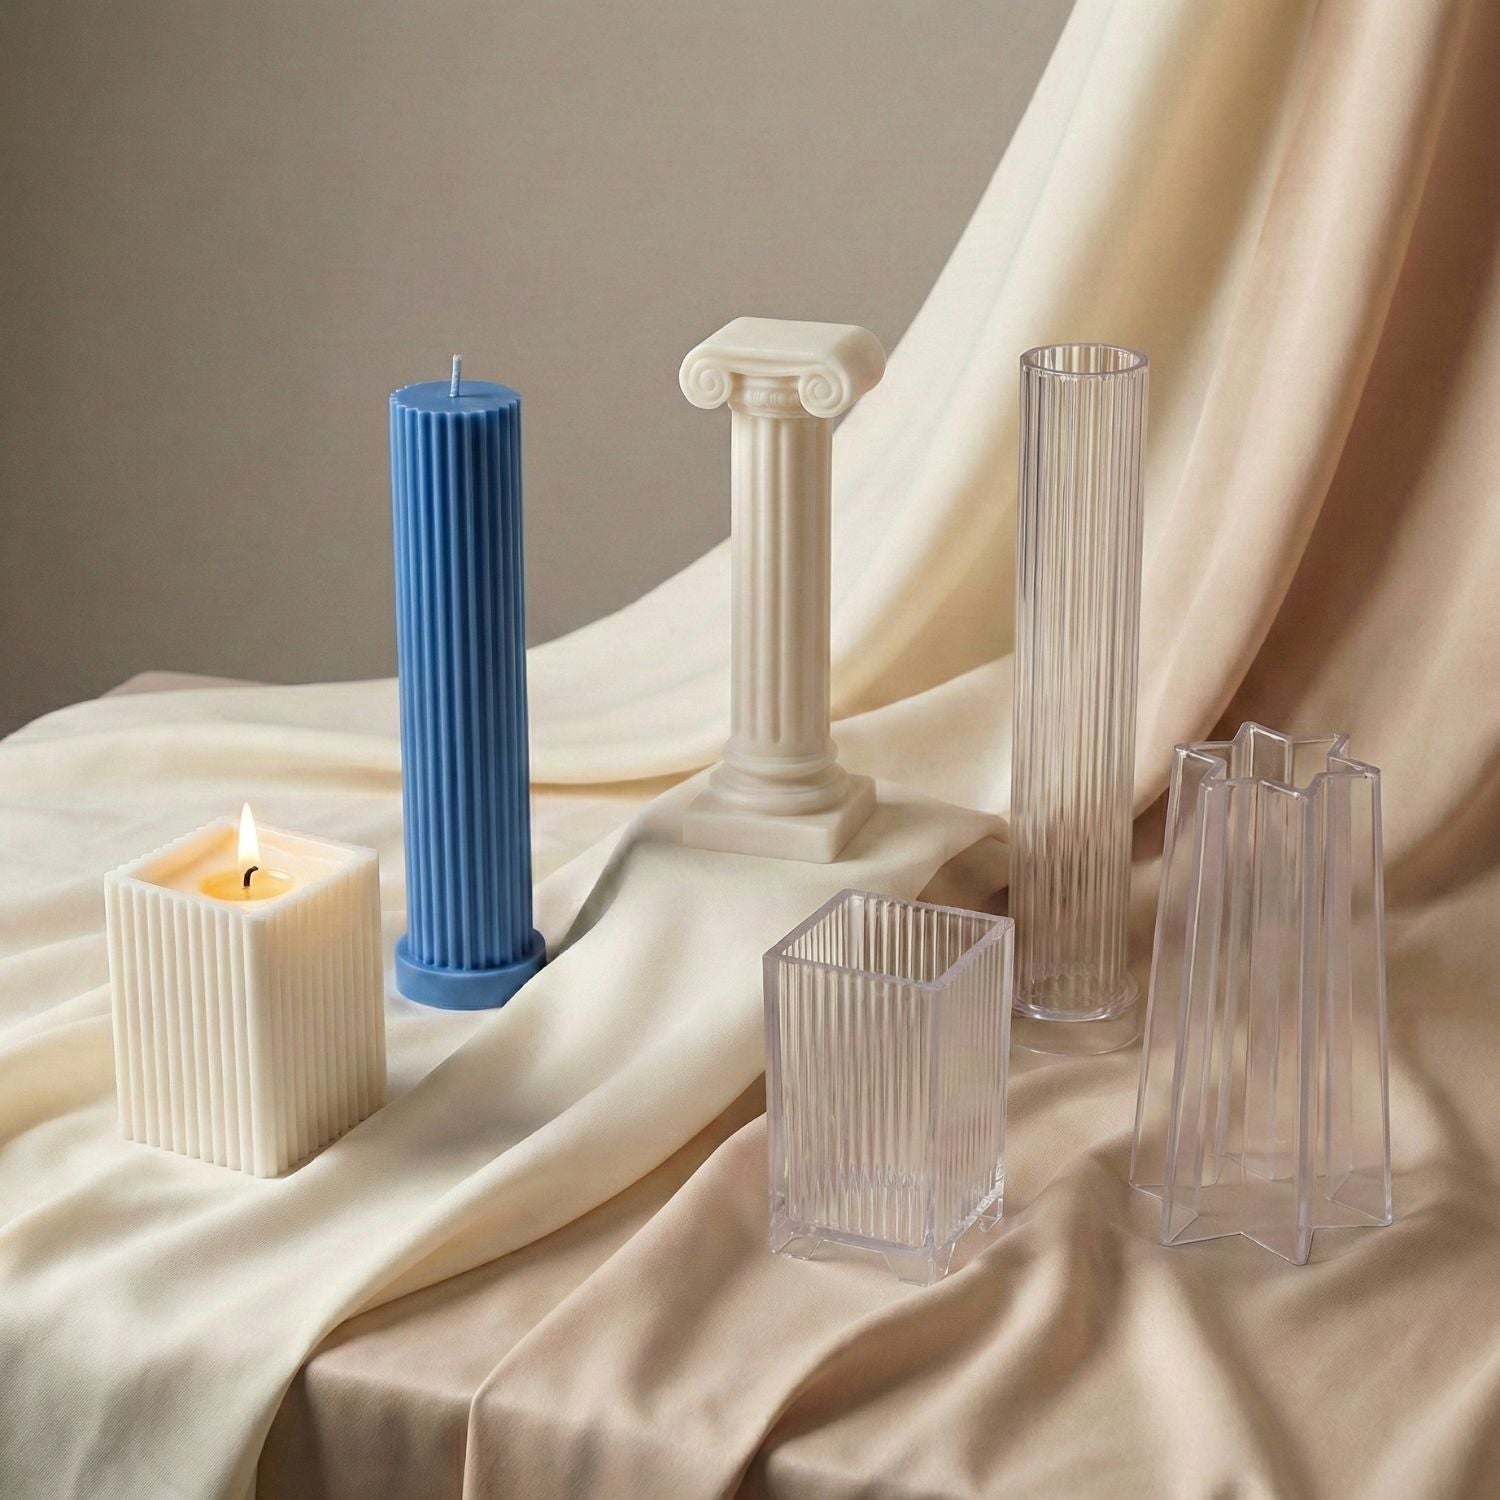
| Acrylic or Silicone Candle Molds | Molds shape your candle. | Acrylic molds create sharper designs, while Silicone Candle Molds offer flexibility. |
| Decorative Embeds | Objects like beads, flowers, or shells to embed. | Only use heat-resistant embeds. |

Step-by-Step Guide: Making Transparent Gel Candles
Step 1: Melting the Gel Wax
Begin by cutting the gel wax into smaller chunks and placing them in a double boiler. The wax should melt at around 200°F (93°C). Stir occasionally for an even consistency.
Step 2: Add Fragrance and Color
After the gel wax has fully melted, add a few drops of liquid dye if desired. Stir gently to ensure the color spreads evenly. Then, add the fragrance oil at a recommended ratio of 1/4 oz per pound of wax. Be careful not to overdo it, as too much oil can make the gel look cloudy.
Step 3: Prepare Your Acrylic or Silicone Candle Mold
For this technique, we’ll use advanced Candle Molds, specifically acrylic ones for a cleaner, more detailed finish. Silicone Candle Molds are also popular, especially for beginners, due to their flexibility.
Ensure that your mold is clean and dry before use. Insert the wick into the mold and secure it, often using a wick holder for precision.
Pro Tip: Apply a light coat of mold release spray to the interior of the mold for easier removal.
Step 4: Pour the Gel Wax
Now that the wax is ready, carefully pour it into the mold. If you plan to add decorative embeds, pour the wax in stages. Pour a small amount first, let it cool slightly, and then arrange your embeds. This will help the objects stay in place and prevent floating.
Step 5: Let the Candle Cure
Allow the candle to cool and set for several hours, depending on the size of the mold. Once it has fully hardened, carefully remove the candle from the mold. Acrylic molds typically offer sharper details, while Silicone Candle Molds make it easier to release the candle without damaging it.
Advanced Acrylic Mold Techniques for Gel Candle Making

Acrylic molds offer a more detailed, professional finish, making them ideal for advanced candle makers. Here are a few techniques to get the most out of these molds:
1. Layered Gel Candles
Creating layers with different colors of gel can add depth and dimension to your candles. Pour one color, allow it to partially cool, and then add another layer on top. This technique works particularly well with transparent molds to maintain the candle's clarity.
2. Embedding 3D Objects
For a striking effect, embed objects like dried flowers, small stones, or beads inside the candle. Since the gel is transparent, these items will be clearly visible, creating a unique and personalized design.
3. Utilizing Negative Space
When using acrylic molds, you can design candles with negative space to add larger decorative elements like crystals or themed objects. This creates a balanced design that doesn’t feel cluttered.
| Technique | Level of Difficulty | Benefits |
|---|---|---|
| Layering Gel | Moderate | Adds depth and color variation. |
| 3D Embedding | Advanced | Allows for unique customization and creative designs. |
| Negative Space Usage | Advanced | Creates a minimalist yet artistic appearance. |
Choosing the Right Mold: Acrylic vs. Silicone Candle Molds
The type of mold you choose plays a big role in your candle-making process. Both Acrylic Molds and Silicone Candle Molds have their pros and cons:
| Mold Type | Pros | Cons |
|---|---|---|
| Acrylic Candle Molds | Offers sharper details, excellent for clear gel candles. | Less flexible, making demolding trickier. |
| Silicone Candle Molds | Easier to work with, especially for beginners. | Less detail compared to acrylic, suitable for simpler designs. |
If you're just starting out, Silicone Candle Molds offer flexibility and ease of use. However, for more professional, intricate designs, Acrylic Molds are the way to go.
Common Mistakes in Gel Candle Making and How to Avoid Them
Here are some typical mistakes that can occur during candle making, and how you can avoid them:
| Mistake | How to Avoid |
|---|---|
| Cloudy Gel | Ensure you’re using gel-compatible fragrance oils. |
| Uneven Wick Position | Use wick holders or glue the wick to the base before pouring. |
| Air Bubbles in the Gel | Pour the wax slowly and at the correct temperature. |
| Melting Decorative Embeds | Only use heat-resistant items suitable for candle making. |
Elevating Your Candle Making Game
Creating transparent gel candles using advanced Acrylic Molds or Silicone Candle Molds is not just a fun craft but also an opportunity to refine your skills in Candle Making. Whether you're crafting for personal enjoyment, as gifts, or for sale, these techniques can help you achieve professional-looking results.
With the right materials and a few advanced techniques, your gel candles can go from simple crafts to extraordinary pieces of art. Try experimenting with different molds, colors, and embeds to make each candle truly unique!


Leave a comment
This site is protected by hCaptcha and the hCaptcha Privacy Policy and Terms of Service apply.