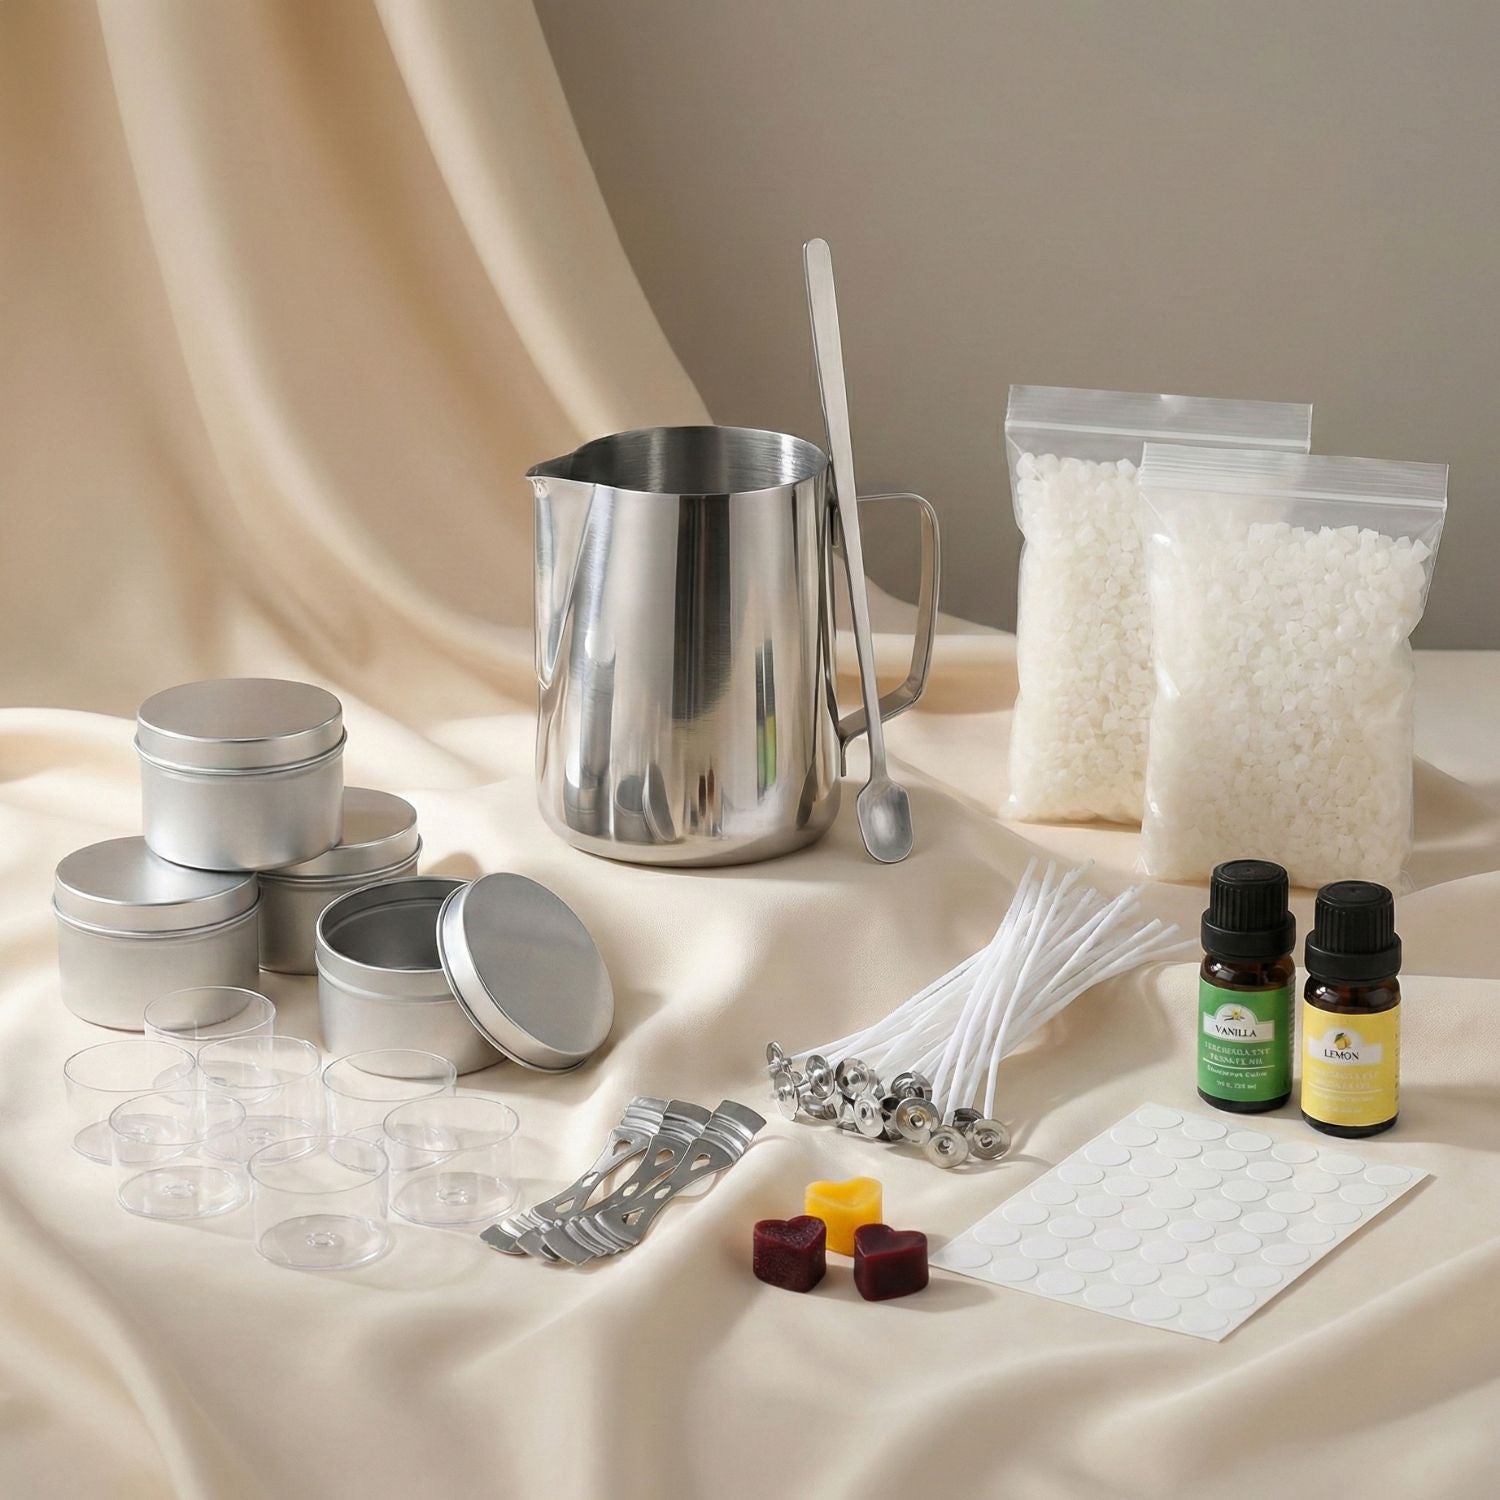
Easy Tips for Effortless Candle Mold Release
Have you ever struggled with releasing candles from their molds, only to find them stuck and ruined? Fear not! In this article, we will uncover some easy tips and tricks to ensure a smooth and hassle-free candle mold release process. Say goodbye to broken candles and wasted wax with these simple yet effective methods.

Proper Mold Preparation
Before pouring your wax into the mold, it's crucial to prepare it properly for an easy release. Follow these steps:
Clean the Mold
-
Make sure the mold is clean and free of any debris or residue from previous candle-making sessions.
-
Wipe the inside of the mold with a clean cloth and rubbing alcohol to remove any dirt or buildup.
Use a Release Agent
-
Apply a thin layer of mold release spray or oil to the inside of the mold. This will create a barrier between the wax and the mold, making it easier to release the candle once it has hardened.

Choosing the Right Wax
The type of wax you use can also impact the ease of mold release. Consider the following:
| Candle Wax | Mold Release Properties |
|---|---|
| Paraffin | Excellent mold release properties. Shrinks slightly when cooled, making it easier to release from the mold. |
| Soy | Can be trickier to release from molds. Adding a small amount of beeswax or paraffin can improve mold release. |
| Beeswax | Generally good mold release properties. |
| Coconut Wax | Can be slightly more challenging to release from molds compared to paraffin wax. |
| Palm Wax | Similar to paraffin wax, with good mold release properties. |
Unlock the Secret: Choosing the Perfect Wax for Your Candles!
Proper Cooling and Setting
Properly cooling and setting your candles can make a huge difference in the release process. Follow these tips:
Allow Sufficient Cooling Time
-
Let your candles cool and harden completely before attempting to release them from the mold. This can take several hours, depending on the size and type of candle.
| Candle Wax | Silicone Mold Cooling Time | PVC Mold Cooling Time |
|---|---|---|
| Paraffin | 4-6 hours | 6-8 hours |
| Soy | 6-8 hours | 8-10 hours |
| Beeswax | 8-10 hours | 10-12 hours |
| Coconut Wax | 6-8 hours | 8-10 hours |
Please note that these cooling times are approximate and can vary based on factors such as ambient temperature, humidity, and specific additives in the wax. Always refer to the manufacturer's instructions for best results.
Pop the Candle Out Gently
-
Once the candle is fully set, gently twist and turn the mold to release the candle. Avoid forcing it out, as this can lead to breakage.

Additional Tips for Easy Candle Mold Release
Here are some additional tips to ensure a smooth candle mold release:
Freeze the Mold
-
Placing the mold in the freezer for a few hours before attempting to release the candle can help shrink the wax slightly, making it easier to remove.
Warm the Mold
-
Conversely, warming the mold slightly by placing it in a warm water bath can also help loosen the wax for easier release.
"Proper preparation and patience are key to effortless candle mold release."
Conclusion
By following these simple tips and techniques, you can ensure a stress-free candle mold release process every time. Proper mold preparation, choice of wax, and cooling techniques all play a crucial role in achieving a smooth and effortless release. Remember, patience is key, so take your time and enjoy the candle-making process without the frustration of stuck candles. Happy candle making!
Explore the world of candle molds and elevate your craft to new heights. From silicone molds to PVC molds, discover the perfect mold for your next candle-making masterpiece.


Leave a comment
This site is protected by hCaptcha and the hCaptcha Privacy Policy and Terms of Service apply.