Want to learn candle making but not sure which wax, wick or mold to start with? This free, six-lesson course gives you a practical route from an empty workbench to your first documented test candle. You can read the full lessons here, work through the exercises at your own pace, and print the page for personal reference.
The first hands-on project is a simple, unscented container candle. Once you understand its basic process, Lesson 5 introduces a freestanding candle made in a silicone mold. Scent and color are optional later additions—not requirements for a successful first attempt.
Safety comes first: molten wax can cause burns, and every finished candle is a potential fire source. Adult supervision of heating and flame testing is essential. This course teaches safe starting habits; it does not certify a candle for sale or replace the instructions for your exact wax, wick, vessel or mold.
Free printable workbook: Download the four-page Candle-Making Practice Workbook (PDF) to record your safety checklist, ingredients, batch details, burn-test observations and troubleshooting notes as you work through the lessons.
Course roadmap: what you will learn
| Lesson | Learn | Finish with |
|---|---|---|
| 1. Equipment and workspace | Set up a practical, controlled work area. | A materials and safety checklist. |
| 2. Wax, wicks and candle formats | Understand why container and molded candles use different systems. | A written product plan. |
| 3. Batch weights and fragrance | Plan by mass without confusing wax and finished-batch percentages. | A short formula worksheet. |
| 4. Your first container candle | Prepare, melt, pour, cool and inspect. | One documented test candle. |
| 5. A silicone-mold candle | Adapt the process for a freestanding shape. | A mold and demolding plan. |
| 6. Testing and troubleshooting | Observe burn behavior, identify problems and decide what to change. | A burn-test and improvement record. |
Lesson 1: Build a safe candle-making workspace
A small controlled setup is more useful than a crowded collection of specialty tools. Begin with a stable, uncluttered work surface, adequate ventilation and safe access to your heating equipment. Keep children, pets, paper clutter and flammable materials away from hot wax and open flames. Read the safety and operating instructions for every tool you use.
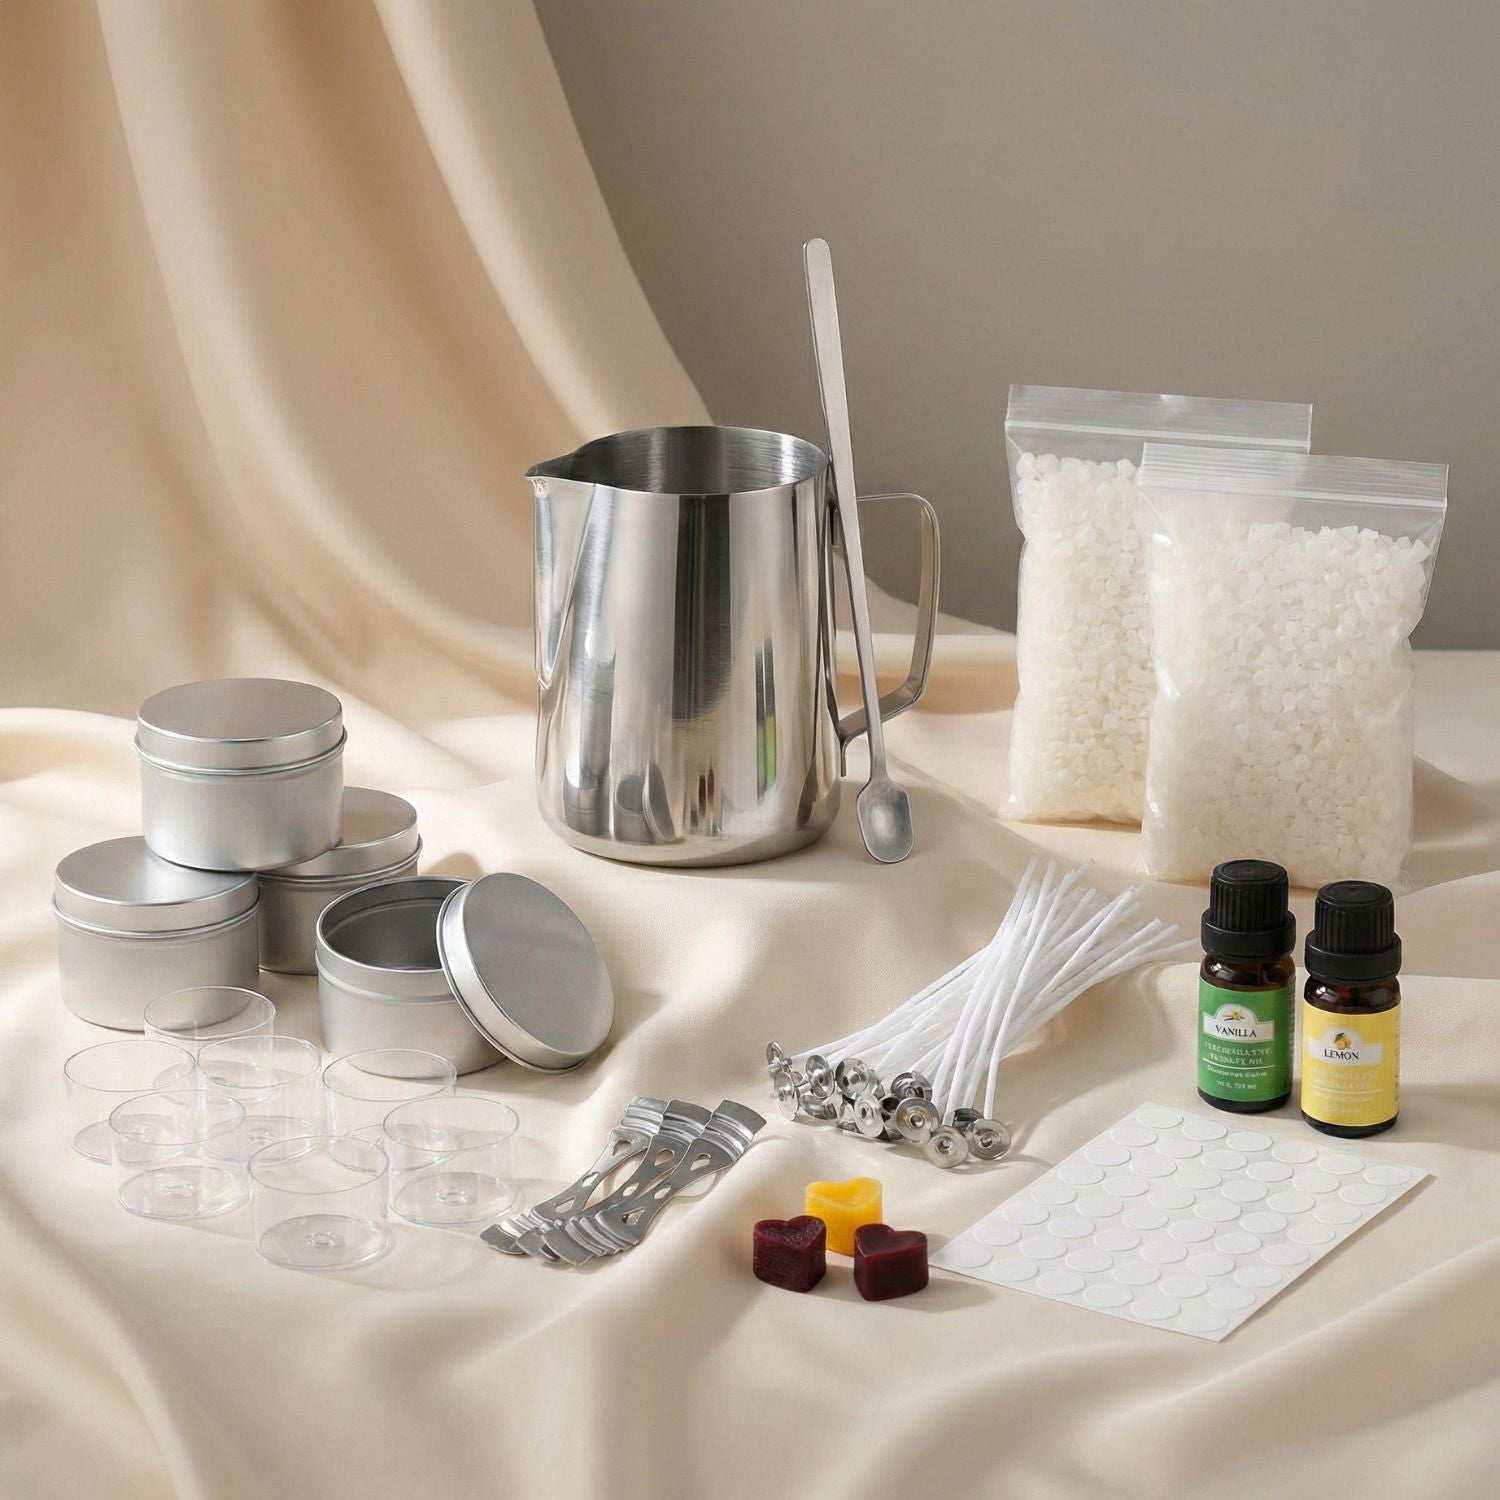
Your beginner equipment checklist
- Candle wax: a specific product sold for the format you plan to make (container or pillar/molded).
- Wicks and holders: suitable wick family and preliminary sizes from the wick or wax maker, plus a centering support; use a secure wick tab where the container method calls for one.
- A candle-suitable container or mold: don't assume an ordinary drinking glass, food jar, decorative vessel or unidentified plastic is suited to candle heat.
- A digital scale and a thermometer: for reliable ingredient weights and checks against the wax instructions.
- Appropriate heating equipment and a heat-resistant pouring vessel: follow its manufacturer's directions; a controlled double-boiler arrangement is a common small-batch approach.
- Personal protection and workspace safety equipment: appropriate heat-resistant handling tools, protective eyewear where needed, suitable clothing and an appropriate means of dealing with a fire.
- A written record: notebook or worksheet for batch IDs, ingredient identities, quantities and results.

Do not heat wax directly in an ordinary saucepan over a flame. Do not add water to hot wax or to a wax fire. If wax overheats or ignites, follow the safety instructions for your equipment and the appropriate fire-response guidance; do not attempt an unsafe rescue of the batch. Never leave heating wax unattended.
Practice exercise: prepare the space before heating anything
Arrange the cold equipment in the order you will use it. Check that the wax product's instructions are available, the vessel is intended for candle use, the scale and thermometer function, and that you have room to set a hot pitcher down safely. If you cannot check those points, postpone the pour.
Lesson 2: Choose a candle format, then its materials
A container candle remains in a suitable vessel while burning. A freestanding molded candle is removed from its mold and needs an appropriate stable, heat-resistant holder during use. Those are not interchangeable processes.
| Question | Container candle | Freestanding molded candle |
|---|---|---|
| Wax | Use a wax formulated and documented for the intended container candle system. | Choose a wax formulated for pillars or freestanding molded use, with suitable structural properties. |
| Vessel or mold | Choose a container designed for candles and compatible with your formula. | Choose a mold and construction appropriate to the wax and intended release method. |
| Wick | Start from the manufacturer's wick guidance for wax and container geometry. | Consider the shape, diameter or changing cross-section, wax and wick performance. |
| After cooling | Leave the candle in its vessel; inspect and test the finished assembly. | Remove from its mold carefully, inspect fine details and test it on its intended holder. |

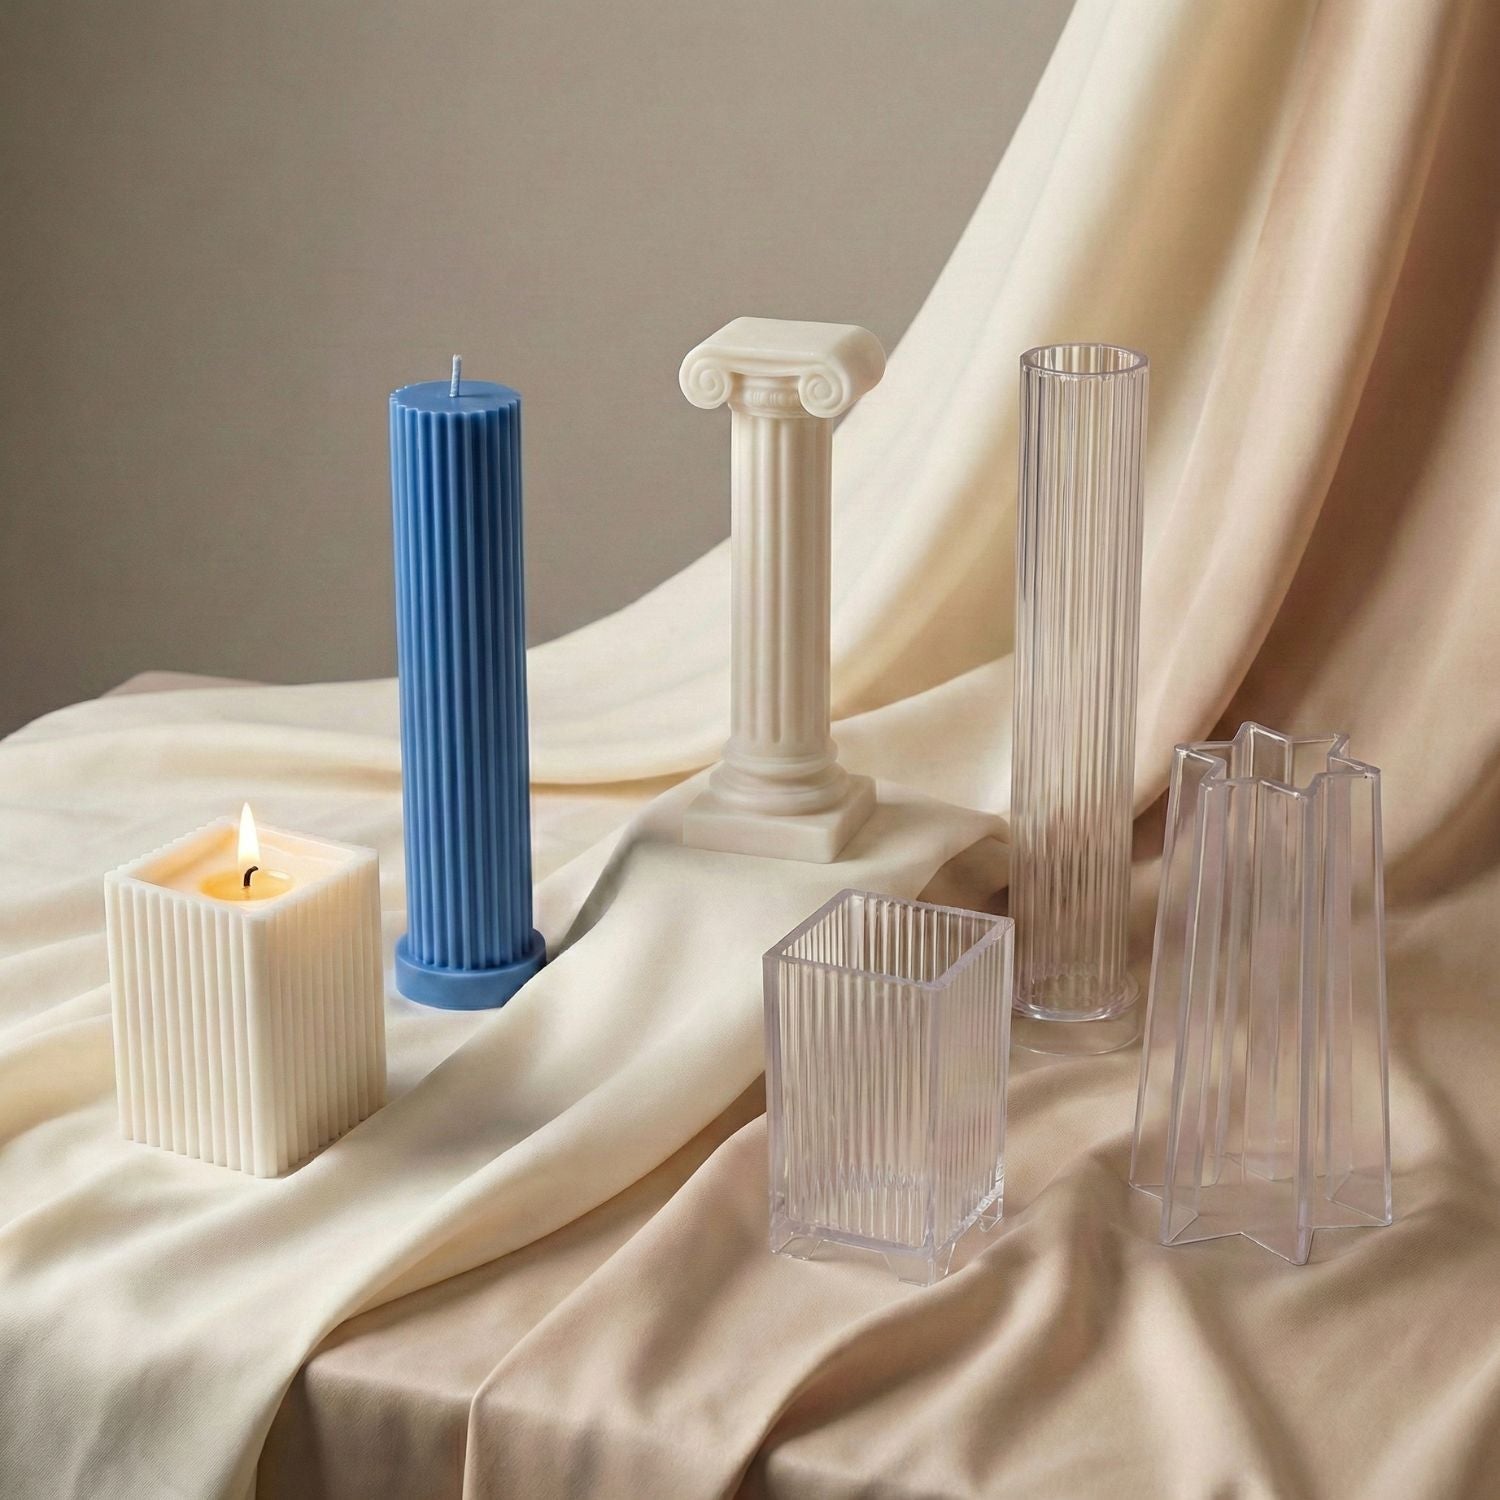
The type of wax matters more than a broad label such as “soy” or “paraffin.” Different soy formulations, for example, can be sold for containers or for pillars. Our guide to wax for silicone molds explains how formulation affects molded shapes. For an overview of shapes and release mechanisms, see types of candle molds.
How to think about wick selection
Wick sizing is not determined by candle weight alone. Wax, fragrance, dye, vessel dimensions and molded geometry affect how the flame behaves. Manufacturer wick charts are helpful starting candidates, not proof that the finished candle is safe. Make a test candle and evaluate performance before gifting or selling. Our mold-wicking guide deals with wick holes and centering in more detail.
Practice exercise: choose one project
Write a one-line plan such as: “One unscented container test candle using [exact wax product], [candle-rated container model] and [wick candidate].” The square-bracket fields are for your own notebook, not specifications supplied by this article. Save the product instructions alongside that plan.
Lesson 3: Measure wax and fragrance correctly
Weigh wax and fragrance with a scale; don't swap grams with milliliters or assume an “8 oz jar” has an 8 oz finished wax fill. The amount a container holds depends on its usable fill volume and the particular wax mixture. If you have a known, tested fill weight, use it. Otherwise plan a small trial and measure the result. Our candle wax calculator helps scale a batch from a known finished fill weight.
Start without fragrance, then learn the calculation
For your first unscented test, the fragrance amount is zero. Later, imagine you have 200 g wax and an approved recipe that calls for 6% fragrance based on wax weight. That means:
- Fragrance: 200 g × 0.06 = 12 g.
- Finished wax-and-fragrance mixture: 200 g + 12 g = 212 g, before any separate loss or waste allowance.
- Fragrance as a share of the finished mixture: 12 ÷ 212 × 100 ≈ 5.66%.
This is a mathematics example, not a recommendation to use 6% in every wax. Check the actual wax formulation's fragrance-load guidance and the fragrance manufacturer's restrictions for candle use. When sources express limits on different percentage bases, compare each on its own basis. Use our fragrance load calculator to keep the bases separate.
Some fragrances and colorants are not intended for candles. Do not add perfume, food coloring, crayons, herbs, dried flowers, glitter or loose crystals to a candle just to experiment with its appearance. Combustible or incompatible additions can alter burning and introduce hazards. Candle-compatible colorants and fragrances still need evaluation as part of the finished formula.
Practice exercise: record a simple batch
Write down the batch ID, actual wax brand and product code, wax weight, optional fragrance product and weight, wick identity, container or mold, intended processing instructions and the date. Blank fields are useful: they show what you haven't yet checked.
Lesson 4: Make your first unscented container test candle
This is a procedure for a small supervised trial, not a universal recipe with one wax temperature, wick size or cooling period. Use the numerical and temperature instructions for your exact wax and selected vessel. If you cannot identify them, don't improvise.
- Prepare the vessel. Inspect a candle-suitable, undamaged container; clean and dry it according to its instructions. Place it on a stable heat-resistant work area.
- Secure and center the wick. Follow the wick and container maker's method, including any appropriate wick tab/adhesive. The wick should stay correctly positioned while wax is poured and set.

- Weigh the wax. Use a measured fill target or cautious capacity estimate; record the actual amount of the specific wax you weigh. Leave room for the proper fill line.
- Melt with controlled heat. Use equipment suitable for candle wax and follow the wax instructions. Check temperature with the thermometer. Avoid moisture contamination, splashing and overheating; don't leave the heating process unattended.
- Pour the melted wax carefully. At the temperature and rate appropriate for your wax, pour into the prepared container while maintaining the wick position. Don't pour into a cold, unsuitable or damaged vessel.
- Let the candle cool undisturbed. Keep it stable and away from drafts, children and pets until the wax is fully set and safe to handle. Cooling enough to handle and the formulation's recommended waiting period before burn testing are different questions.
- Inspect and document. Look for cracks, leakage, movement of the wick, an uneven surface or a damaged container. Record any issue rather than pretending the appearance proves performance.
- Prepare for an appropriate burn test. Follow the applicable guidance for the finished candle, including wick preparation and use in an appropriate testing area. Do not distribute a new, untested formula as a finished gift or sale item.
A manufacturer's tutorial can demonstrate how one particular set of materials is used, but its specific temperatures and wick choices should not be copied into a different recipe. See the CandleScience beginner container-candle tutorial as an example of a product-specific process.
Practice exercise: assess the cooled candle
Photograph the result, note the finished fill line and wick position, and write down whether the wax surface appears level. Note that a good-looking surface is not evidence of a safe or well-wicked candle.
Lesson 5: Plan a candle made in a silicone mold
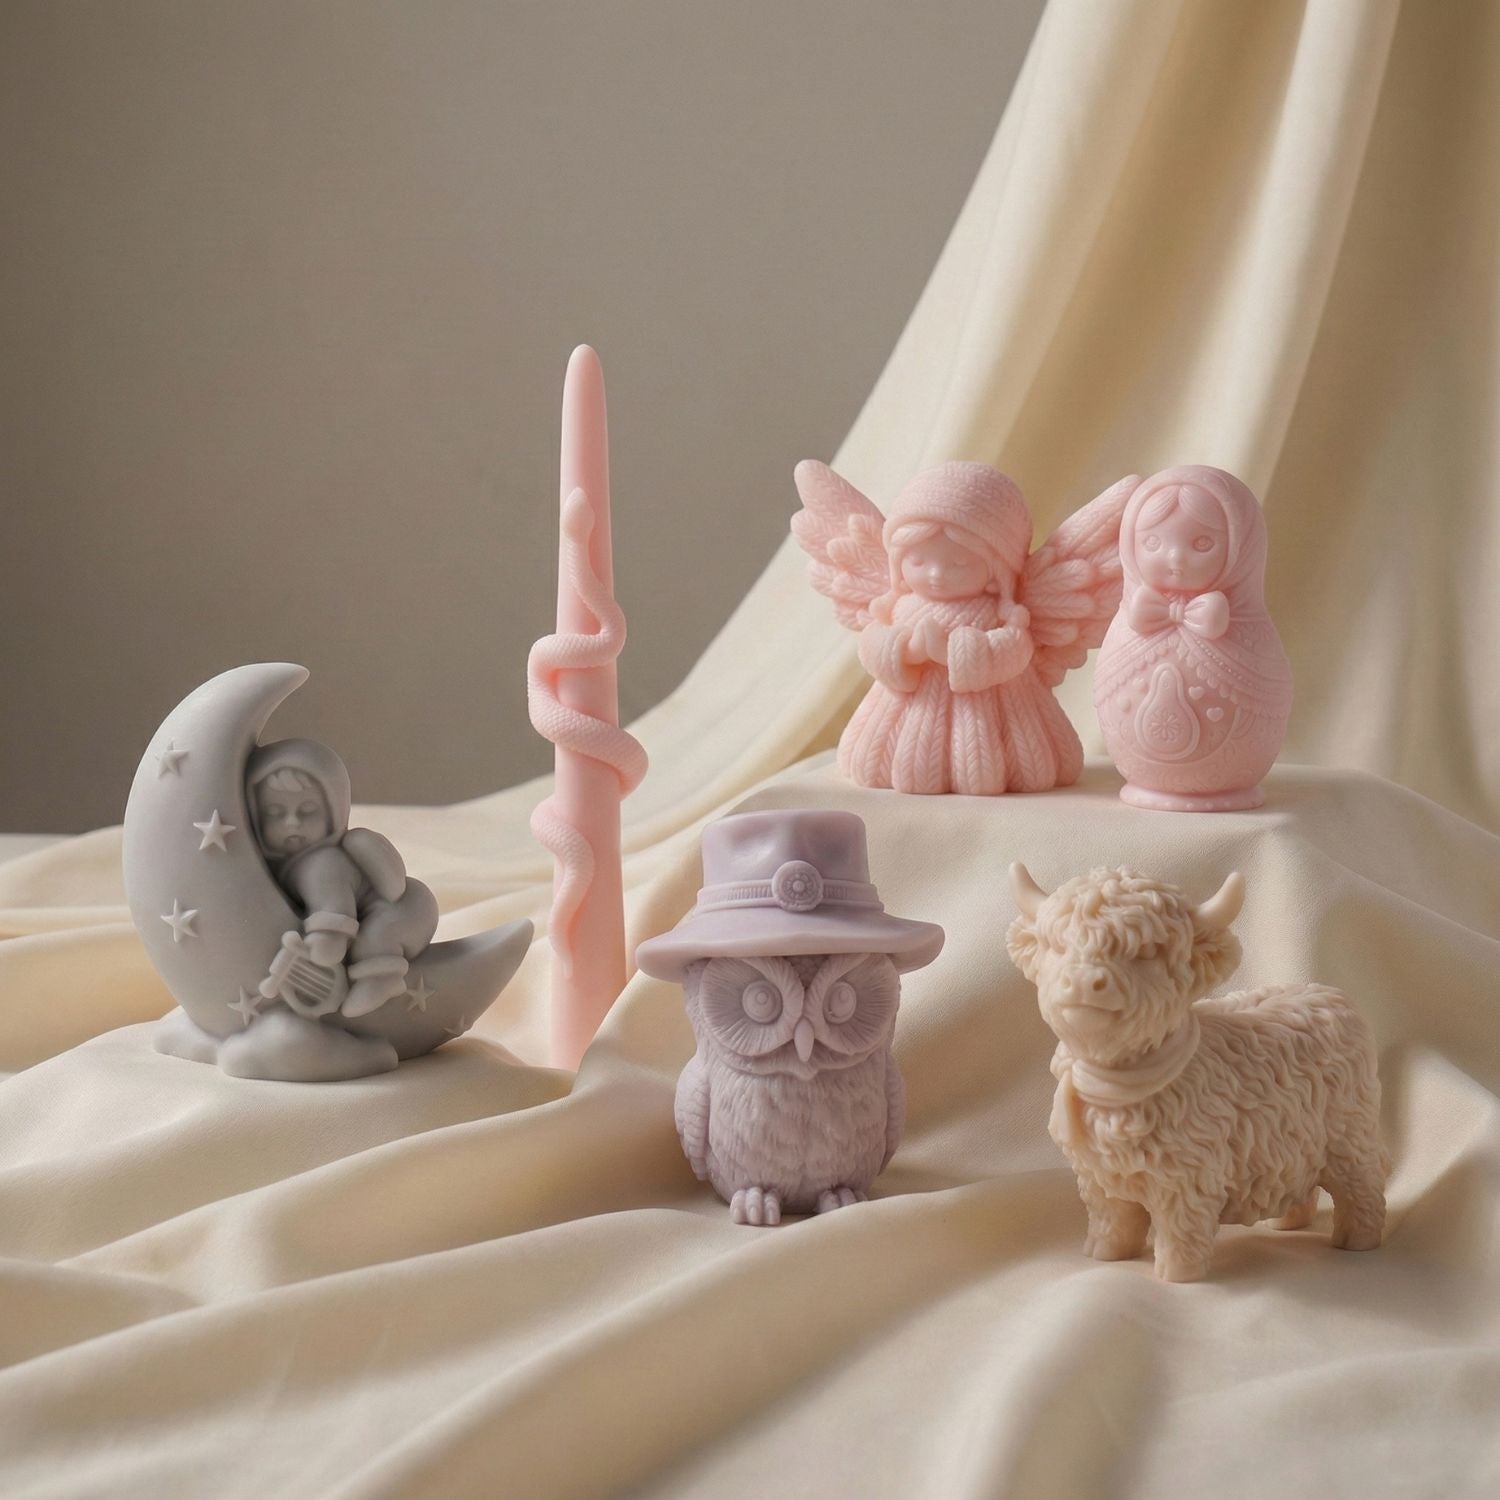
Freestanding sculptural candles are a natural second project for Candles Molds readers, but they add geometry and release challenges. A detailed silicone mold may be one-piece, slit, multi-piece or multi-cavity; each construction has a different release technique. You should only make a burnable candle when the mold, wax and wick setup are suitable for that intended use.
- Inspect and support the mold. Check for damage or loose seams and arrange external support if the design requires it. Use only materials and temperatures allowed for that mold.
- Choose a pillar/molded candle wax. Consult the exact product guidance; don't assume a soft container wax will support a freestanding shape.
- Plan the wick path. Depending on the design, the wick may pass through a designated mold opening that must be sealed or be supported by another specified mechanism. Keep it positioned as the design requires.
- Measure, melt and pour. Use the wax maker's directions and your measured fill target; protect the work surface from leaks and hot wax.
- Allow sufficient setting before release. Cooling times vary with mold size, wax and room conditions. Don't force release or assume a freezer is the default solution.
- Demold according to construction. Support the finished candle while peeling silicone away from it; use the specified opening if the mold is slit or multi-piece. Don't pull fragile wax projections through a narrow opening.

- Inspect and plan safe use. Check structural integrity, wick location and stability. Test the freestanding candle on its intended stable heat-resistant holder rather than directly on furniture.
See our step-by-step silicone candle demolding guide for the actual release methods. You can explore silicone candle mold shapes, but the mold's listing and care instructions still determine appropriate use.
Practice exercise: compare two mold constructions
Before ordering an intricate design, draw or annotate how a finished candle will be released from a flexible one-piece mold versus a slit mold. Identify any narrow neck, undercut or delicate projection. That small exercise can prevent broken test candles and unrealistic expectations.
Lesson 6: Burn-test, troubleshoot and improve one variable at a time
A candle's behavior can change as the wax is consumed. Inspecting the first few minutes of a burn is not a complete test. Finished candles should be evaluated throughout their usable life under an appropriate test protocol, taking account of the wax, wick, fragrance, vessel or freestanding geometry, and holder. Keep a log of the exact configuration and anything unusual. For a product-specific example, see CandleScience's basic burn-test guidance.
Stop a test immediately when unsafe behavior occurs. Potential warning signs include a dangerously unstable flame, abnormal smoking, a cracked or excessively hot container, an unstable freestanding candle, leakage toward combustibles or a defect that creates a fire risk. Do not “fix” an active hazardous burn by moving or pouring liquid onto the candle.
| What you notice | Possible factors | What to check next |
|---|---|---|
| A sinkhole or sunken surface | Wax shrinkage, cooling conditions, container or mold shape. | Review the exact wax guidance and document pour/cooling conditions before another trial. |
| Fine detail breaks while demolding | Soft formulation, undercuts, release method or insufficient setting. | Confirm pillar wax suitability and follow the mold's specific release construction. |
| Visible bubbles in a molded candle | Trapped air, geometry, pour approach. | Check mold cavities and the wax maker's pouring guidance; change one production variable per test. |
| Wick off-center | Wick anchoring or centering support slipped. | Revisit the wick installation method; do not distribute the affected candle without evaluating safety. |
| Unusual smoke or oversized flame | Wick/formula mismatch, air movement, additives or other defects. | Extinguish if unsafe and investigate the complete candle formulation and test conditions. |
| Glass cracks or freestanding candle tips | Unsuitable vessel, excessive thermal stress, poor stability or an inappropriate holder. | Stop using that configuration. Reassess material and product suitability before any retest. |

Record the test rather than relying on memory
A simple log should include the batch code, ingredients and amounts, wick identity, container or mold, intended holder, test date, start and finish observations for each burn cycle, visible flame and melt behavior, concerns and final decision. If you change the wick or formula, label it a new version. A revised formula must be evaluated again as needed.
Safe use for every finished candle
Never leave a burning candle unattended. Place it on a stable, heat-resistant surface away from things that burn, and keep children and pets away. The National Fire Protection Association's candle safety guidance recommends at least 12 inches (30 cm) clearance from anything combustible. Keep candles away from drafts, and use a suitable holder for the design. Always follow the finished candle's instructions.
Candle sellers have additional labeling and product safety responsibilities. The U.S. Consumer Product Safety Commission candle guidance is a primary starting point for U.S. requirements and applicable ASTM standards. This course is not a substitute for regulatory compliance or product testing for commercial release.
Course review: what should you be able to do?
- Choose between a container and a molded candle for a clear reason.
- Find the technical instructions for your exact wax and other components.
- Use a scale and calculate an optional fragrance addition on the stated percentage basis.
- Prepare a wick, melt and pour a small batch under appropriate supervision.
- Explain why cooled, cured and burn-tested mean different things.
- Record a batch so that you can reproduce or troubleshoot it.
- Recognize when a problem requires the candle to be rejected rather than reworked.
You can print this course page or use your browser’s “Save as PDF” option. For a reusable recording template, download the free four-page candle-making practice workbook (PDF) and use it alongside your practical exercises.
Frequently asked questions
Should beginners make a scented or unscented candle first?
An unscented trial removes an ingredient variable, making it easier to understand wax handling and wick positioning. You can test a scented formula later after checking wax and fragrance compatibility and learning the necessary measurements.
Can I use any silicone mold to make a burnable candle?
No. Confirm that the mold's material, geometry, wicking method and temperature guidance suit candle making. A flexible shape suitable for soap or decorative casting isn't automatically suitable for a safe burnable candle.
What temperature should I melt and pour candle wax?
There is no universal temperature for all waxes. Follow the processing and pouring guidance for the specific wax product and your chosen equipment. Fragrance addition temperature, where relevant, may also be specified separately.
How long should I wait before burning my homemade candle?
Allow it to cool fully, then follow the recommended conditioning or curing period for the exact formulation before its intended burn evaluation. “Cool enough to handle” and “ready for the specified test” are not interchangeable.
Can I add dried flowers, herbs or crystals to a candle?
Do not assume decorative inclusions are safe near a wick or flame. Dried botanicals are combustible, and other inclusions can change melting and burning behavior. This beginner course deliberately excludes them.
Continue learning with Candles Molds
If you enjoyed the molded-candle lesson, review the wax-selection guide and the demolding lesson. If your next goal is a small commercial range, the candle business startup guide explains why testing, pricing, packaging and local requirements matter before your first sale.
Technical references
- CandleScience — How to Make Soy Candles (product-specific beginner tutorial).
- CandleScience — How to Conduct a Basic Burn Test (starting framework, not a certification).
- CPSC — Candles Business Guidance (U.S. regulatory and voluntary standards overview).
- NFPA — Candle Safety (consumer fire-safety guidance).



Leave a comment
This site is protected by hCaptcha and the hCaptcha Privacy Policy and Terms of Service apply.