How to Make Bubble Candles at Home (Step-by-Step)
Walk into any high-end boutique or scroll through interior design feeds in 2026, and you’ll see them: the iconic, geometric bubble candle. With their playful yet minimalist aesthetic, these sculptural pieces have transitioned from a fleeting internet trend into an absolute staple of modern home decor.
But here is the reality we’ve learned after pouring thousands of these in our workshop: achieving that flawless, smooth finish without frosting, sinkholes, or broken spheres is surprisingly tricky. The unique multi-sphere shape of a bubble candle mold traps air bubbles easily, and the distinct edges demand the perfect wax blend to release cleanly.
Whether you are a hobbyist pouring your first aesthetic cube or a business owner looking to scale your trendy candle shapes, this comprehensive guide will walk you through exactly how to make bubble candles like a professional. We'll cover everything from managing your wax shrinkage rate to expert demolding techniques that protect your silicone molds.
Ready to skip the reading and grab the perfect tools? Shop our premium Bubble Candle Molds collection here.

Table of Contents
- 1. Essential Materials: The Workshop Checklist
- 2. What is the Best Wax for Bubble Candles?
- 3. How to Wick a Bubble Candle Mold Correctly
- 4. Step-by-Step Guide: How to Make Bubble Candles
- 5. Pro Demolding Tips & Mold Care
- 6. Troubleshooting Common Mistakes
- 7. Frequently Asked Questions (FAQ)
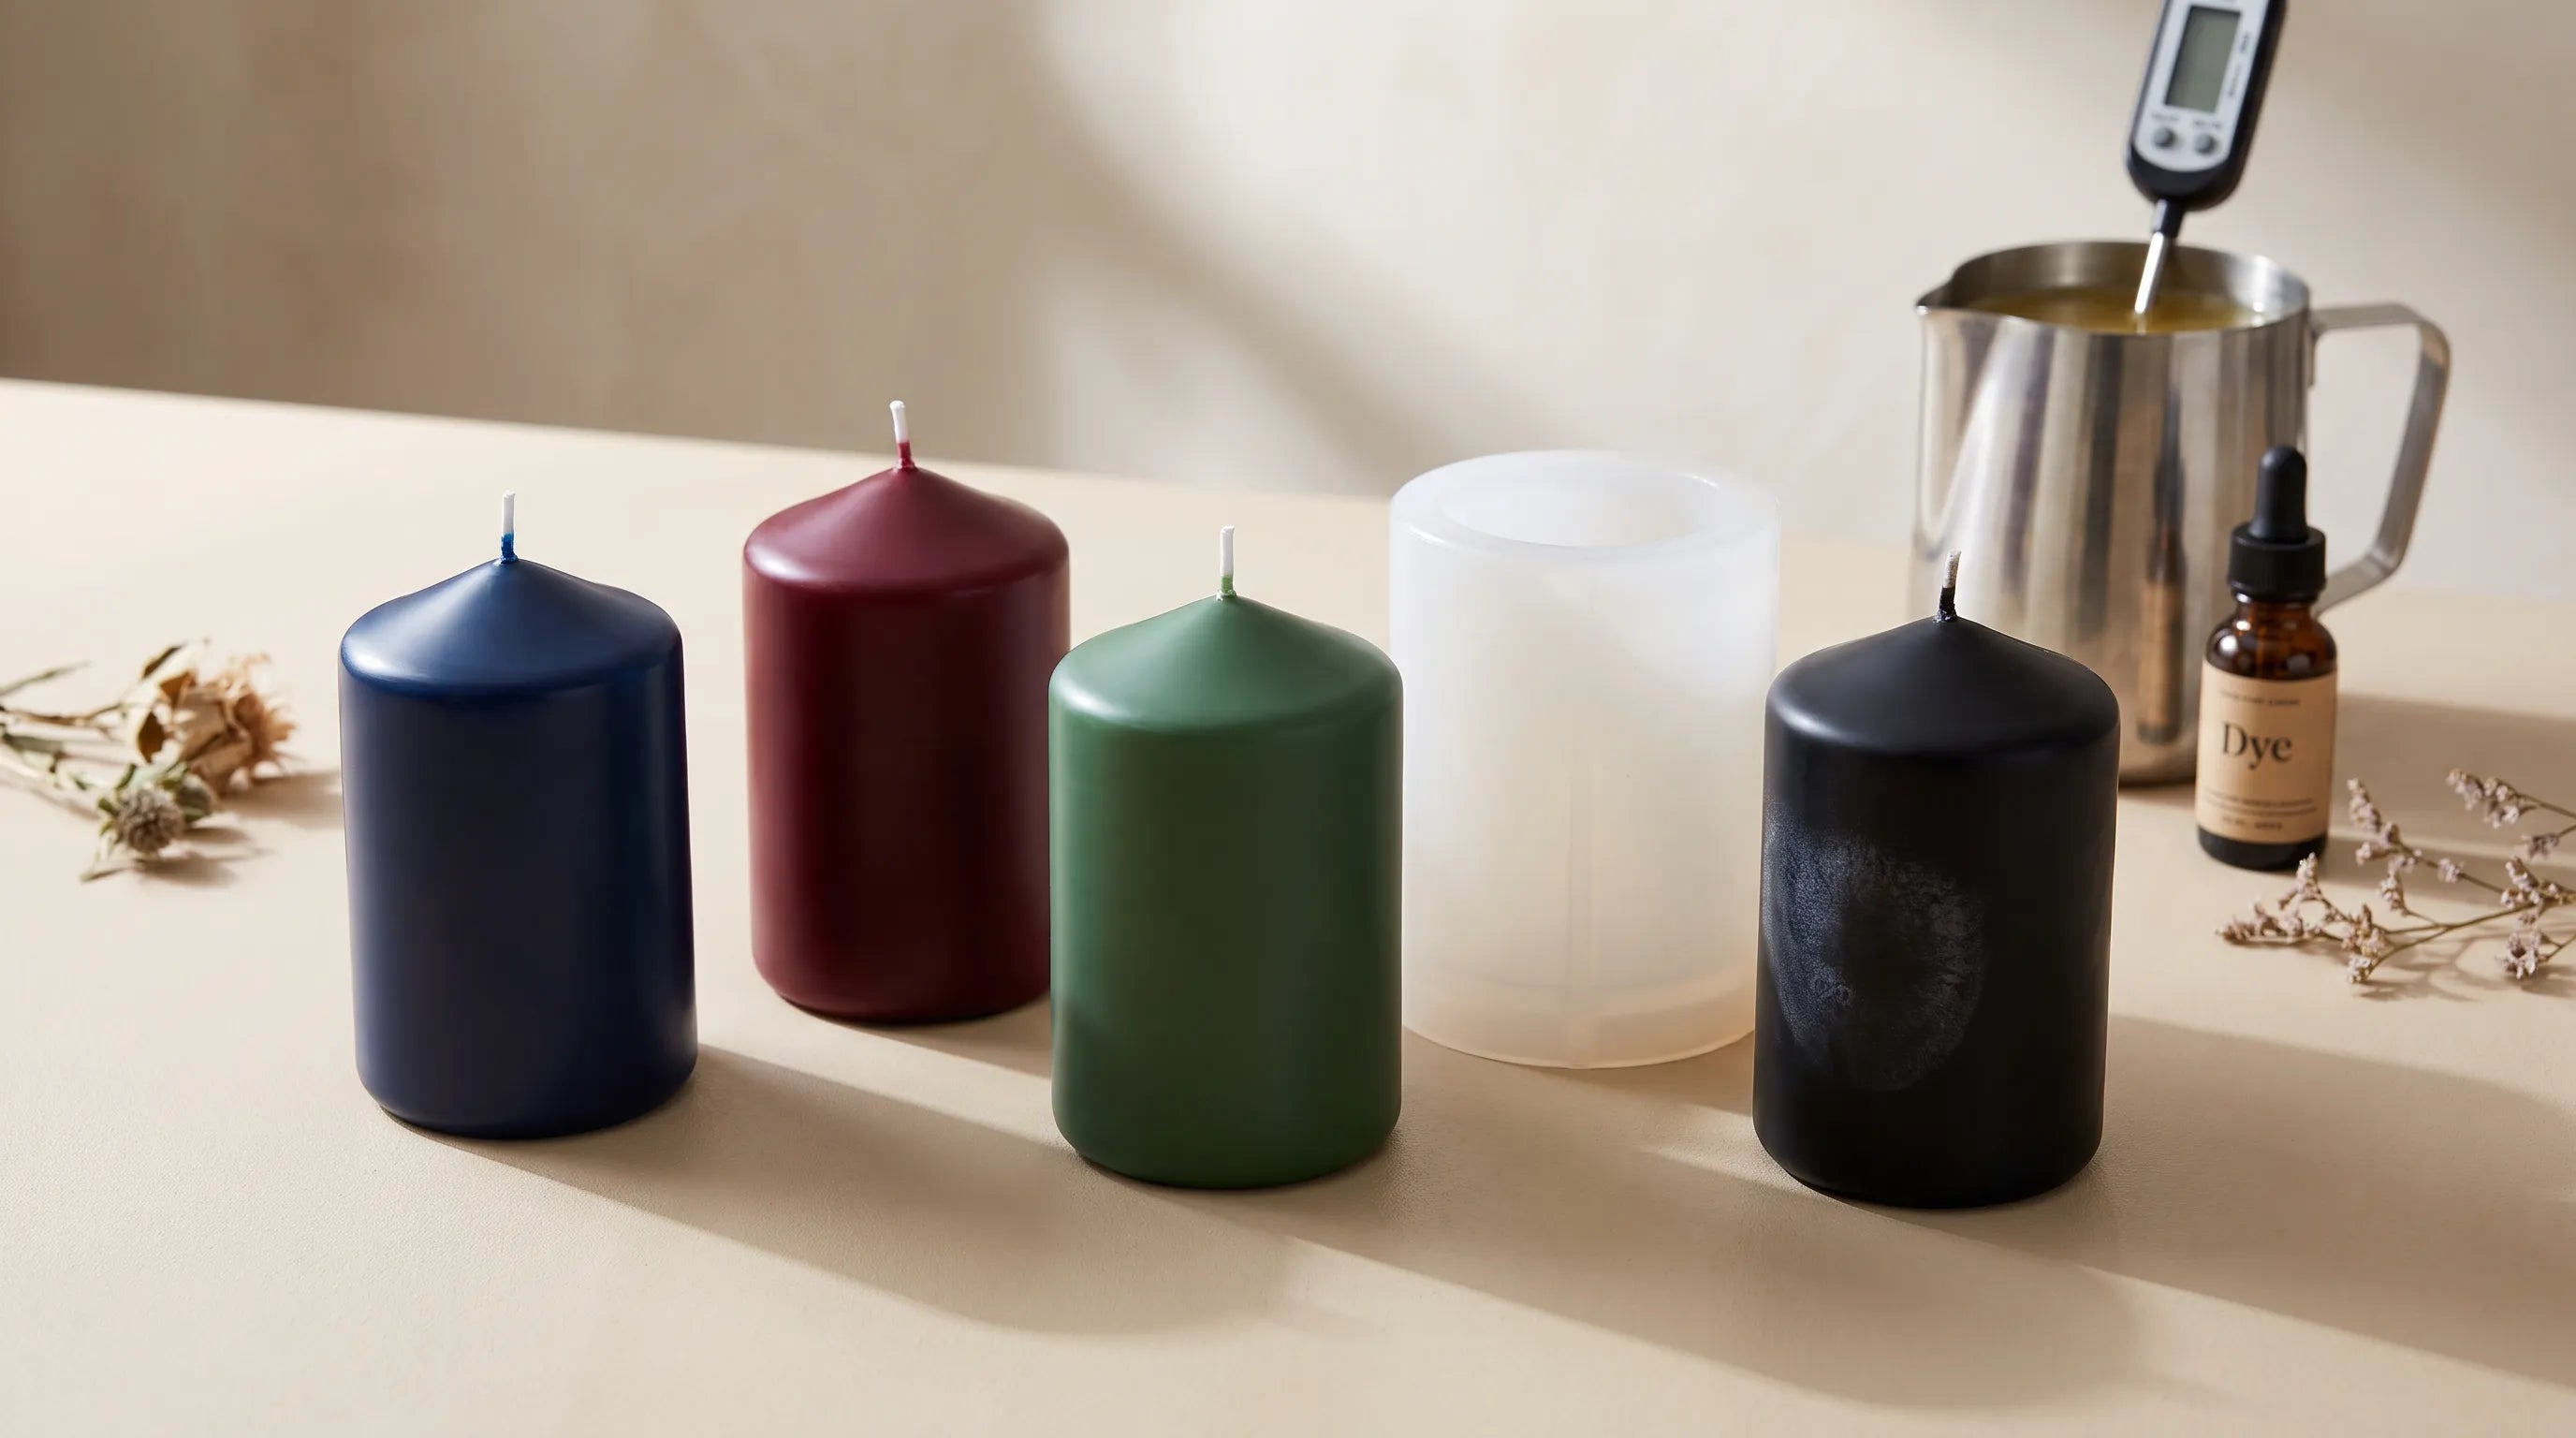
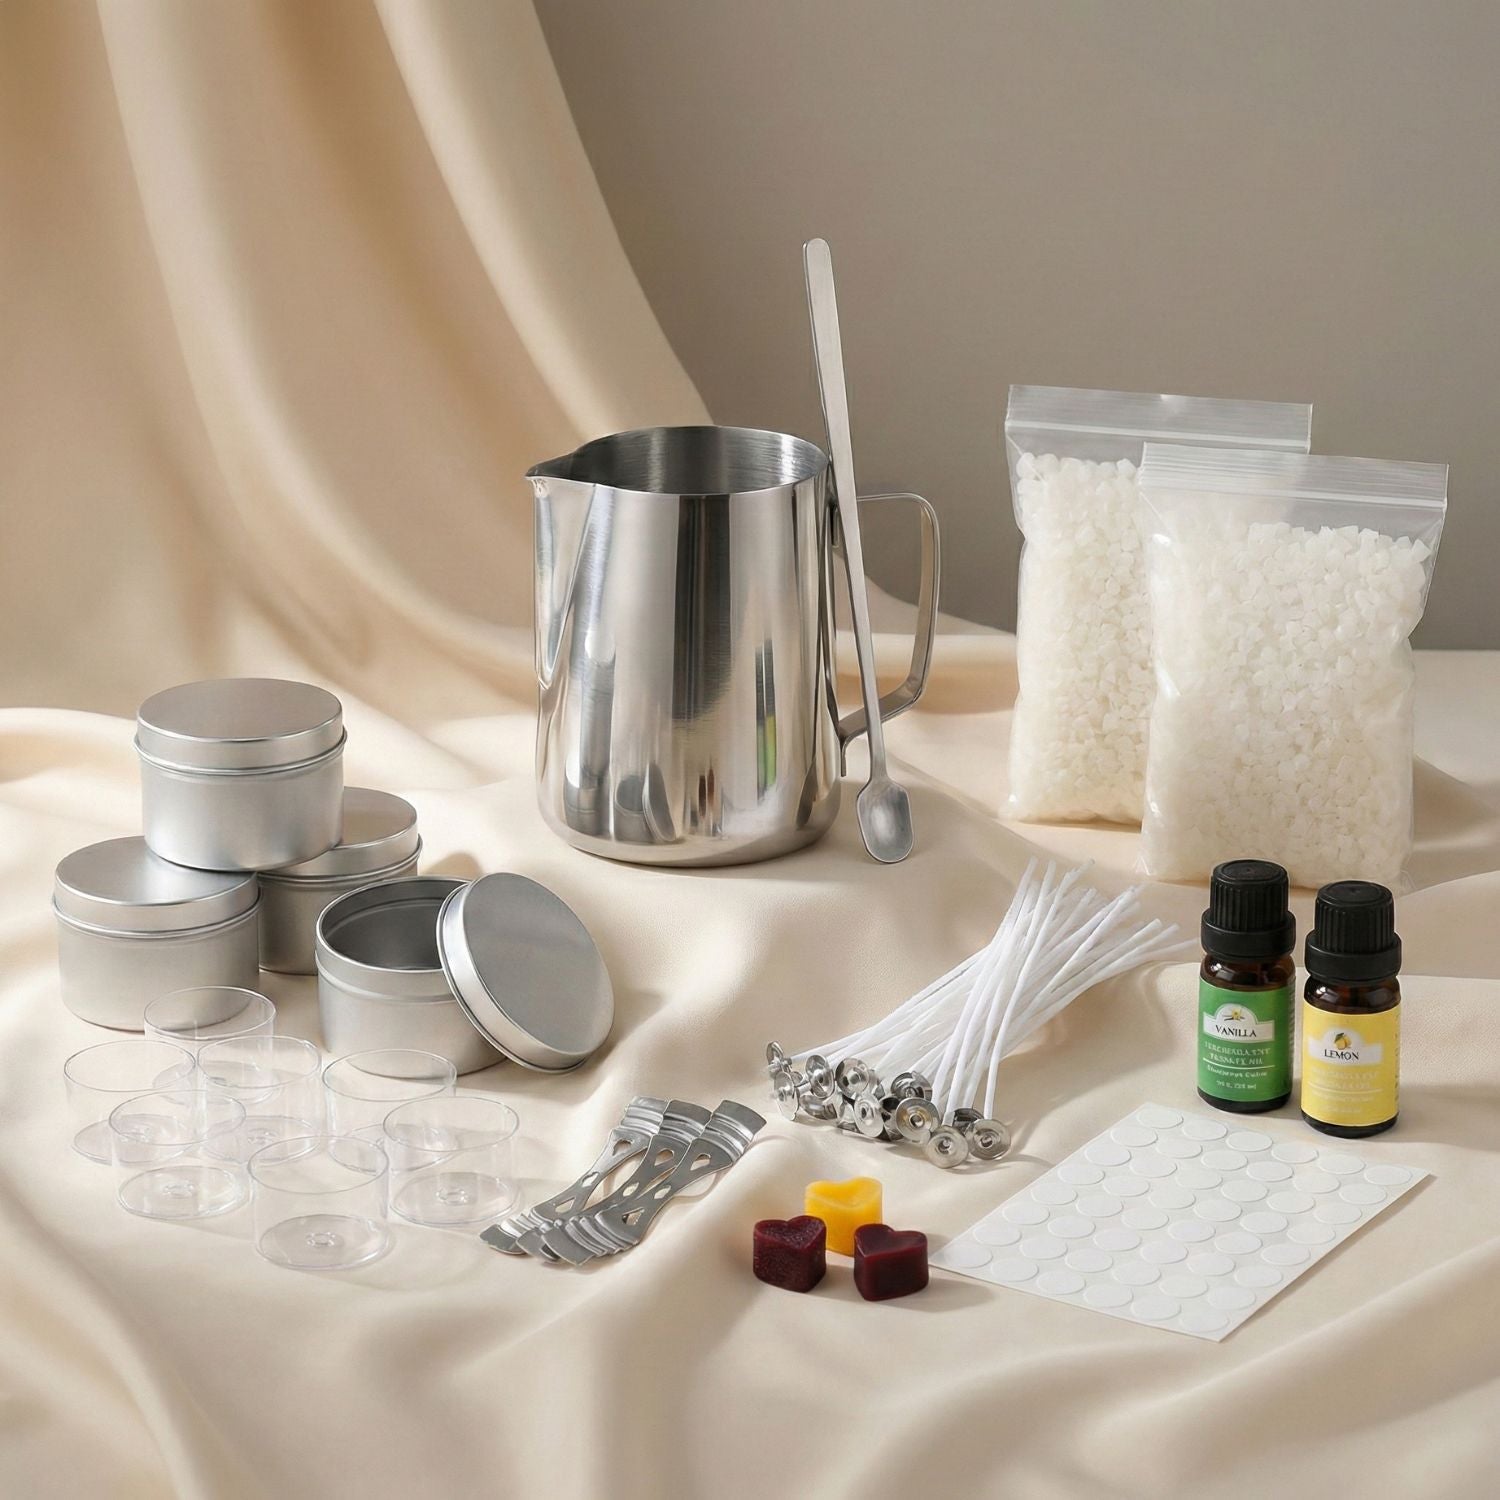
1. Essential Materials: The Workshop Checklist
Creating professional-grade pillar candles requires more than just leftover container wax. Because bubble candles are freestanding (meaning they do not live in a jar), they require specific supplies engineered for structural integrity. In our workshop, we rigorously test our materials to ensure safety and quality.
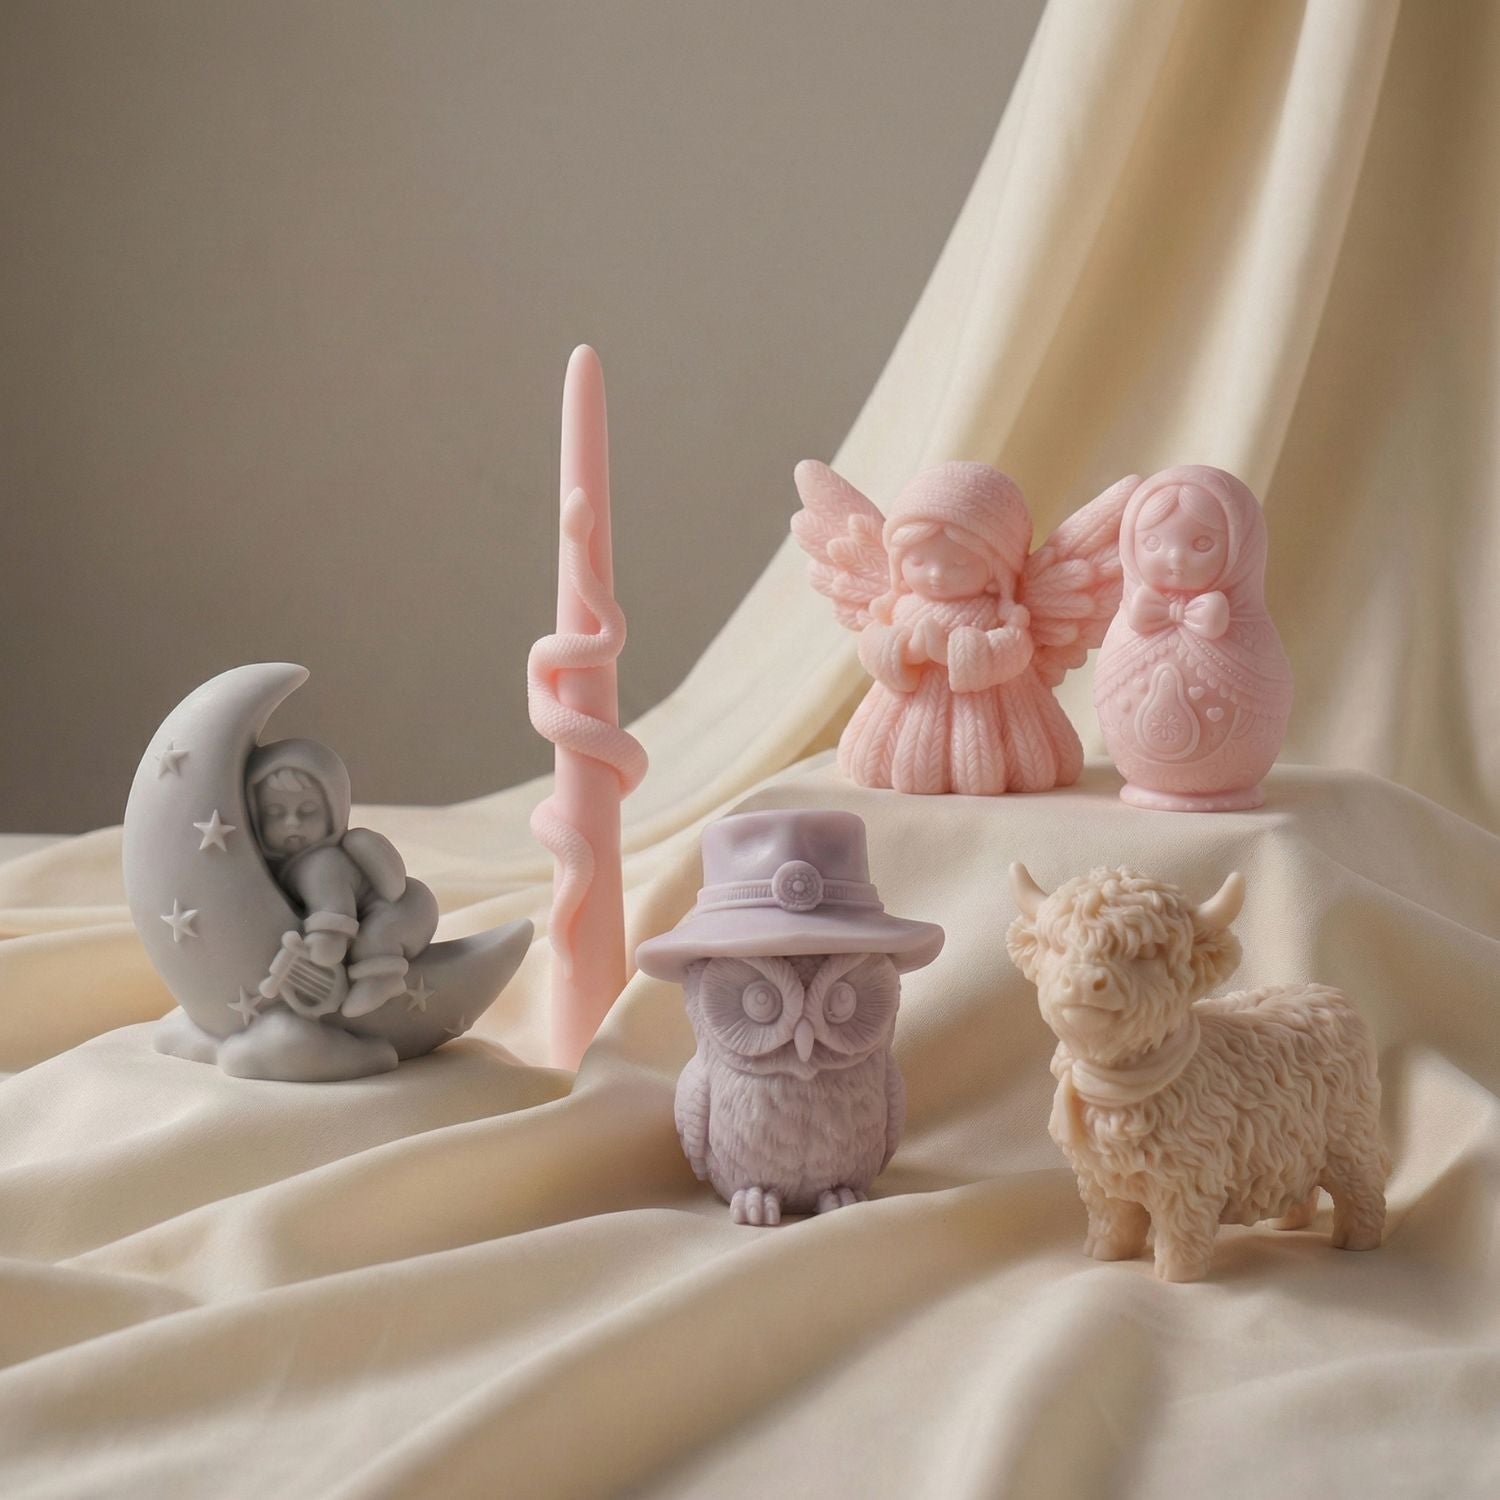
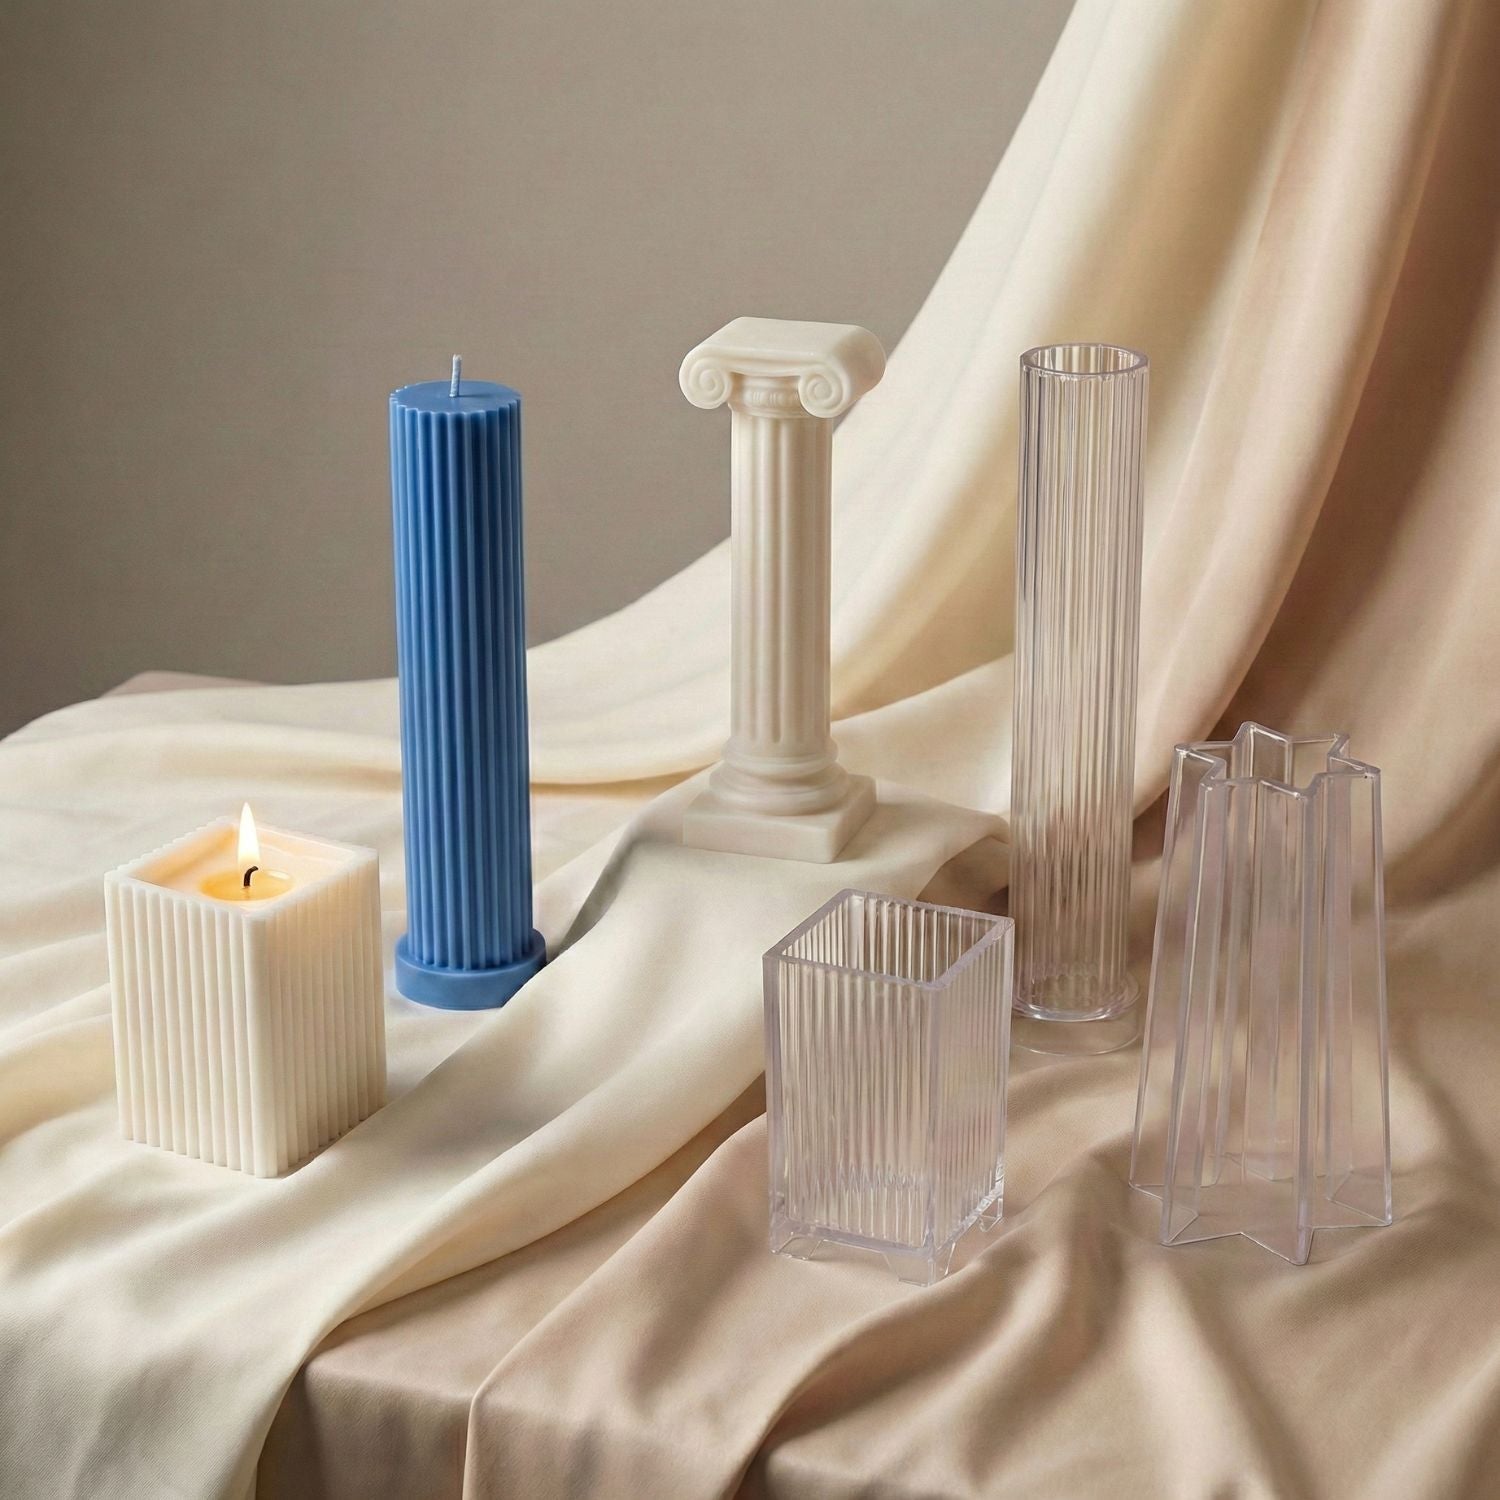
- The Mold: A high-quality, food-grade silicone bubble mold. We recommend our Multi-Size Bubble Cube Candle Mold for classic shapes, or the Aesthetic Bubble Pillar Candle Mold for a taller, elegant variation.
- Pillar Wax: A hard wax blend designed for freestanding candles (soy pillar blend, beeswax, or paraffin).
- Cotton Wicks: Square-braided cotton wicks work best for geometric shapes to ensure an even burn pool.
- Wick Centering Tool & Putty: To seal the wick hole at the bottom of the mold and prevent leaks.
- Digital Thermometer: Essential for precise melting and pouring temperatures.
- Pouring Pitcher & Double Boiler: For safe, controlled wax melting.
- Mold Release Spray (Optional): While our premium silicone candle molds naturally release wax beautifully, a light spray can help beginners with intricate shapes.
Safety Warning: Never melt wax directly over an open flame or heated burner. Always use a double boiler method to prevent the wax from reaching its flash point. Read the National Candle Association's fire safety guidelines before beginning any project.

2. What is the Best Wax for Bubble Candles?
Choosing the correct wax is the single most important decision when making a bubble candle. What is the best wax for bubble candles? The short answer is a specialized "Pillar Wax" or a hard wax blend. Container waxes (like 464 soy) are far too soft; they will stick to the mold, lose their geometric edges, and melt into a puddle when lit.
Here are the top three wax choices we use in our professional workshop for freestanding molds:
| Wax Type | Pros for Bubble Candles | Cons / Challenges | Ideal Pour Temp |
|---|---|---|---|
| Soy Pillar Blend | Eco-friendly, smooth matte finish, excellent scent throw. High-quality blends contract well from molds. | Prone to "frosting" (white crystalline marks) if poured too hot or cooled too quickly. | 150°F – 160°F (65°C – 71°C) |
| Beeswax | Incredibly hard, captures sharp mold details flawlessly, purifies the air naturally, long burn time. | Naturally yellow tint (hard to dye), higher cost, distinct honey scent may clash with some fragrances. | 160°F – 170°F (71°C – 76°C) |
| Paraffin Pillar Wax | Vibrant color retention, sharpest details, easiest demolding due to a high wax shrinkage rate. | Derived from petroleum (less eco-friendly), requires great ventilation during the melting process. | 170°F – 180°F (76°C – 82°C) |
Our Recommendation: If you are a beginner looking to sell trendy aesthetic shapes, start with a Soy Pillar Blend (like PB or Tart wax). It strikes the perfect balance between an eco-conscious marketing angle and excellent structural integrity.
Want to explore different shapes? Browse our comprehensive guide on the Types of Candle Molds: A Beginner's Guide.
3. How to Wick a Bubble Candle Mold Correctly
Wicking a 3D silicone mold can feel counterintuitive because you are effectively building the candle upside down. The "bottom" of the silicone mold is actually the top of your finished candle.
- Pierce the Mold: If your bubble mold doesn’t have a pre-made wick hole, you need to make one. Use a thick needle or wick pin. Pierce exactly through the center of the topmost bubble sphere in the mold.
- Thread the Wick: Push your cotton wick through the hole from the inside of the mold to the outside. Pull about 2 inches (5 cm) of wick through—this will be the wick you light later!
- Seal the Base: Because hot wax will try to escape through this hole, tightly wrap a piece of mold putty or electrical tape around the wick where it exits the mold. Press it firmly against the silicone to create a watertight seal.
- Center the Top: Stretch the remaining wick across the large opening of the mold. Secure it tautly using a metal wick centering tool, a popsicle stick with a hole, or chopsticks. A perfectly centered wick prevents the bubble candle from burning unevenly and blowing out the side walls.

4. Step-by-Step Guide: How to Make Bubble Candles
Now that your mold is wicked and sealed, it is time to pour. The secret to a perfect bubble candle lies entirely in temperature control and patience. Rushing the process guarantees surface flaws.
Step 1: Weigh and Melt the Wax
Place your pouring pitcher on a digital scale and weigh your pillar wax. A standard 6x6 bubble cube mold holds exactly 5.5 oz (155g) of wax. Set up your double boiler and slowly melt the wax until it reaches 185°F (85°C). This temperature ensures the wax structure fully breaks down and is ready to bind with fragrance oil.
Step 2: Add Fragrance Oil and Dye
Remove the pitcher from the heat. If you are adding fragrance, add it at exactly 185°F (85°C). For pillar candles, a fragrance load of 6% to 8% is ideal (roughly 0.4 oz of oil for a standard bubble candle). Stir gently but continuously for exactly two minutes. If you are using liquid dye or dye blocks, stir them in now until fully incorporated.
Step 3: Cool to Pouring Temperature
Do not pour yet! If you pour soy pillar wax at 185°F into a room-temperature silicone mold, the shock will cause severe frosting and sinkholes. Wait until the wax cools to your specific wax's ideal pour temperature—usually around 150°F (65°C) for soy blends. The wax should look slightly slushy or cloudy at the edges.
Step 4: The Slow Pour
Pour the wax into the mold incredibly slowly. Pouring fast traps air inside the intricate spherical curves of the bubble mold, leaving pockmarks on your finished candle. Pour until the wax is level with the top lip of the mold.
Step 5: Tap and Settle
Immediately after pouring, gently tap the outside of the silicone mold with a wooden spoon or your fingers for 30 seconds. You will see tiny air bubbles rise to the surface and pop. This is a crucial workshop secret to achieving a glass-like finish on the sides of your candle.
Step 6: Cool and Cure
Leave the mold completely undisturbed in a room with a stable temperature (ideally 70°F–75°F / 21°C–24°C). Do not put it in the refrigerator! Rapid cooling causes the wax to crack and frost. Allow the candle to set for a minimum of 4 to 6 hours (or overnight) before attempting to demold.

Need professional-grade molds that won't tear during use? Upgrade to our Premium Acrylic & Silicone Bubble Molds today.
5. Pro Demolding Tips & Cleaning Your Molds
You’ve waited patiently, and the wax is solid. The demolding phase is where many beginners accidentally ruin their hard work by snapping off a wax bubble or tearing their mold.
Expert demolding tips: First, remove the wick putty from the bottom and the centering tool from the top. Gently pull the sides of the silicone mold away from the candle to break the air seal. Because we use highly heat-resistant molds made of premium flexible silicone, you can carefully roll the mold down like a sock, starting from the top and peeling it downward until the bubble candle pops out.
Cleaning your molds: Never use sharp knives or abrasive sponges to clean your silicone molds, as micro-scratches will transfer to your next candle. To clean soy wax from silicone, wait until the residual wax is completely cool, then apply a piece of strong tape to lift the dry wax flakes off the silicone. For stubborn residue, wash with warm, soapy water and let it completely air dry.
6. Troubleshooting Common Mistakes
Even after 12 years of pouring, our workshop occasionally sees a flawed candle. Here is how to fix the most common bubble candle issues:
- White Chalky Patches (Frosting): This is a natural byproduct of soy wax crystallizing. To minimize it, gently pre-warm your silicone mold with a heat gun for 10 seconds before pouring, and ensure your room isn't exposed to cold drafts.
- Pockmarks / Missing Chunks: This happens when air gets trapped in the curves. You poured too fast, poured too cool, or forgot to tap the mold after pouring.
- Sinkholes Near the Wick: As wax cools, it naturally shrinks and contracts. If a deep sinkhole forms around the wick at the top of the mold (which is the bottom of the candle), simply do a "second pour" with leftover wax heated to 165°F (73°C) to fill the cavity.
- Candle Sticking to the Mold: You likely used container wax instead of pillar wax, or you demolded too early. If you are using an exceptionally rigid mold or a stubborn wax, a quick spritz of mold release spray before wicking will solve this.

7. Frequently Asked Questions (FAQ)
Do I need to use mold release spray for bubble candles?
Generally, no. If you are using high-quality silicone molds and a proper pillar wax with a good wax shrinkage rate, the candle will pull away from the mold naturally as it cools. However, if you are using heavily dyed beeswax or an intricate geometric shape, a light coat of mold release spray can provide peace of mind and extend your mold's lifespan.
- Use a very light mist; too much spray causes surface spotting.
- Allow the spray to dry for 2 minutes before pouring wax.
- Silicone naturally degrades over time; release sprays help prevent microscopic tearing.
How long do bubble candles burn?
A standard 6x6 (approximately 2.4-inch) bubble candle made of soy pillar wax will burn for roughly 10 to 15 hours. Because they are freestanding pillars, they are designed to burn straight down the center, leaving a delicate outer shell of wax if wicked perfectly.
- Always burn bubble candles on a heat-safe trinket tray to catch potential wax spillage.
- Trim the wick to 1/4 inch before lighting.
- Keep away from drafts to ensure an even melt pool.
Why is my bubble candle cracking?
Cracking is almost always a temperature issue. If you cool the candle too rapidly by putting the mold in a refrigerator or freezer, the drastic temperature shift causes the brittle pillar wax to fracture. Always let your candles cure at stable room temperature for at least 4 hours.
- Avoid pouring in drafty, cold garages.
- Ensure your pour temperature isn't too low.
- Use a proper pillar blend, not 100% paraffin without additives, which is highly brittle.
Conclusion: Mastering the Bubble Candle Trend
Making a flawless bubble candle is equal parts chemistry and artistry. By selecting the correct pillar wax, utilizing expert wicking techniques, and managing your pouring temperatures down to the exact degree, you can create stunning, professional-grade aesthetic candles from your own kitchen or studio.
Remember that the foundation of a great candle is a flawless mold. Inferior molds will feature uneven spheres, thin walls that bulge under the heat of the wax, or rigid silicone that tears during demolding. Invest in quality tools to guarantee consistent, beautiful results every single pour.
Ready to elevate your candle making game? Explore our complete collection of professional-grade Bubble Candle Molds and start pouring your masterpieces today!
About the Author
The Candles Molds Expert Team brings over 12 years of hands-on workshop experience to the art of candle making. Having designed, poured, and tested thousands of candles across every mold material imaginable, we are dedicated to sharing professional-grade safety practices, actionable techniques, and the highest quality supplies with makers worldwide.
Written by Syed Muhammad Usaid

Leave a comment
This site is protected by hCaptcha and the hCaptcha Privacy Policy and Terms of Service apply.