Mastering Candle Making: How To Put A Wick In A Candle Mold

Struggling with uneven or off-center wicks in your homemade candles? The wick size and how you secure the wick play a big role in how evenly candles burn. This post will show exactly How To Put A Wick In A Candle Mold, from choosing your mold and wick to pouring melted wax properly.
Keep reading for simple steps that turn candle making into easy fun.
Key Takeaways
- Clean candle molds well and lightly coat them with oil or spray to easily remove candles later.
- Choose the right wick size based on your mold, wax type (soy or beeswax), and scent for even candle burning.
- Secure wicks in place using wick holders or adhesive stickers to keep the wick centered when pouring wax.
- Melt wax slowly at recommended temperatures—125–135°F for soy wax, 170–180°F for paraffin—to prevent cracking in molded candles.
- After cooling for 8–12 hours, trim wicks neatly to about ¼ inch before gently removing finished candles from molds.
Preparing Your Candle Mold

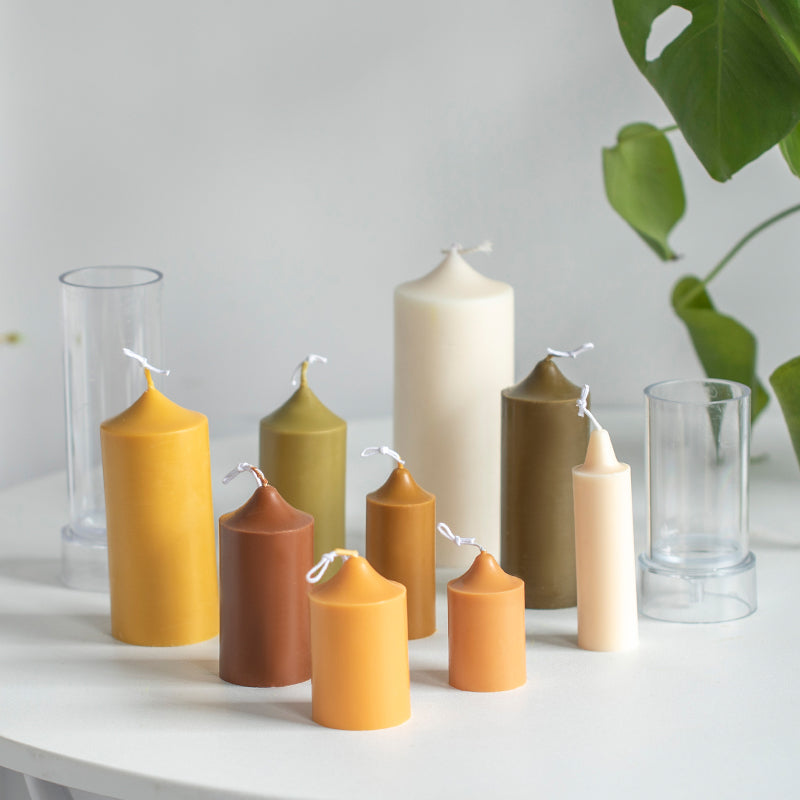
Start by washing your silicone molds gently, then apply a thin coat of mold release spray to help candles pop out easily. Be sure you select wicks that match the size of your candle mold for an even burn and strong flame.
Cleaning and lubricating the mold
Before you make candles, clean the molds carefully—this is key. Wash silicone molds with warm water, mild soap, and a soft cloth to remove leftover wax or liquid dye from past projects.
Dry each mold fully before use because excess water can cause imperfections as candle wax hardens.
To ease removal after your pillar candle cools and sets, thinly coat the inside of each mold with a gentle lubricant like cooking spray or mineral oil applied lightly with a clean cloth.
Avoid thick coats since too much lubrication means uneven surfaces on molded candles later. Proper care at this stage ensures you'll smoothly go on to make beautiful candles without damaging edges when taken out of their containers.
Taking time upfront for good prep work makes all the difference in creating great candles.
With your molds ready and cleaned well, you're set for choosing the right wick next!
Choosing the right wick for the mold

Choosing the right wick for your candle mold is key to a clean burn and great design. Pick a wick suited to the size, wax type, and fragrance you'll use—like thinner wicking for soy wax or thicker sizes for harder wax such as beeswax candles.
For molds with pre-drilled wick holes, thread the wick through using a candle needle or Candle Mold Punch Tool; keep it tight by securing it at each end of the mold with a holder or skewer.
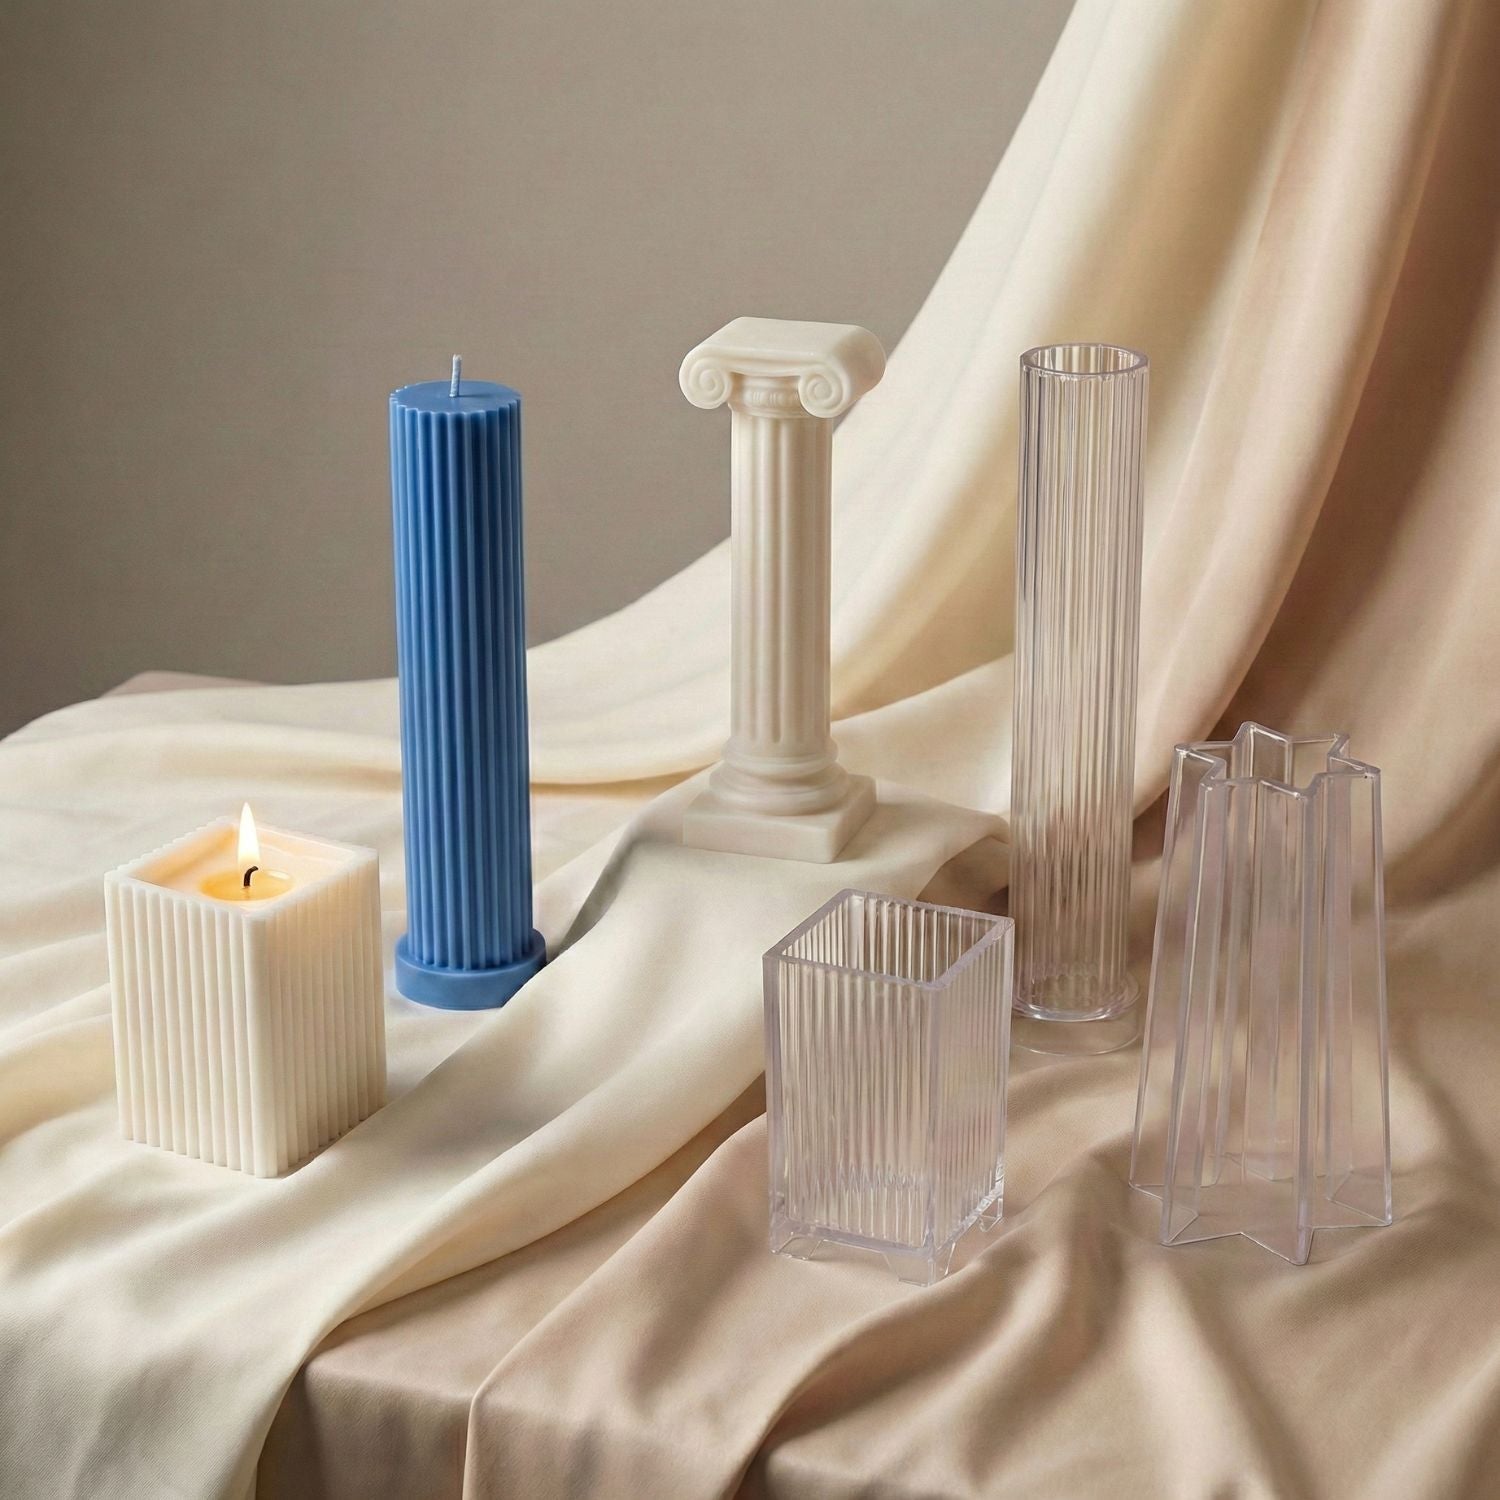
The correct wick ensures that decorative molded candles melt evenly—and give you an attractive object that provides warm relief, pleasing decor, and delightful scents.
Next up: let's look at how you'll secure your chosen wick firmly in place.
Securing the Wick in the Mold
Securing the wick correctly is key to making straight, neat molded candles. With a sturdy wick holder or adhesive, your candle will stay centered and burn smoothly.
Using a wick holder or adhesive
A wick holder keeps your wick straight, tight, and perfectly placed at the mold's center. Many candle makers use metal or plastic holders, designed especially for candlemaking, to rest across the top of their molds.
Wick adhesives—a strong double-sided sticker—anchor the end of the wick firmly on your mold's base so it stays secure when you pour hot wax melts into it. This step-by-step method helps you create neat candles with ease every time.
Proper wick placement transforms good candles into great ones.
After setting your wick in place, you're ready to move onto threading through pre-drilled holes!
Threading the wick through pre-drilled holes
Most candle molds come with pre-drilled holes at the base. Before threading, dip your wick’s end in melted hard wax—it stiffens for easy handling. Carefully poke this prepared wick through the hole from outside to inside of your mold, leaving a small tail extending beyond the bottom.
Secure this extra length firmly with tape or adhesive putty—to ensure it remains tight and centered when you pour hot wax later on.
At the open top of your mould, pull gently on the wick strand until straight. Attach a simple yet effective tool—a metal or wooden wick holder—across your mold’s mouth to keep it tight and center using tension alone.
With steady hands and patience gained from firsthand practice, threading wicks quickly becomes second nature for well-crafted molded candles that burn evenly each time you light them as a source of light for any setting or mood.
Melting and Pouring the Wax
Heat your wax slowly, and use a thermometer to reach the right pour temperature—too hot can harm scent quality. Pour gently into your mold, keeping the wick straight for an even burn every time.
Melting wax to the correct temperature
Melt your wax in a bowl over simmering water, rather than direct high heat. This gentle approach keeps the wax safe from overheating, helps scents mix well—if using fragrance oils—and prevents issues like cracking or shrinking in molded candles.
Use a thermometer as you melt, because depending on the wax type (such as soy or paraffin), ideal pouring temperatures will differ; for example, soy usually needs 125-135°F while paraffin ranges between 170-180°F.
Keeping the right temperature ensures your molded candles offer smooth finishes and consistent performance once lit. After reaching the best pouring point without boil or bubble formation—which excess heat will cause—you’ll be ready to move on and start pouring wax while keeping the wick centered.
Pouring wax while keeping the wick centered
Pour your wax slowly into the mold and watch where the wick sits. Use a wick holder or pencil placed over your candle mold to keep it steady as you pour—this helps avoid shifting off-center.
If you're making molded candles, careful pouring will give an even burn and clean look, great if you plan to upload original content tutorials for the world on YouTube or create pieces with a variety of scents.
After pouring, let your candle elevate fully so heat won't melt uneven spots caused by movement in drying wax. A well-centered wick means better burning quality and fewer chances of tunneling later—perfect results that encourage viewers who subscribe or comment asking about how they can make a purchase from your creations.
After proper cooling sets in, you'll be ready for finishing touches while trimming wicks neatly and removing candles from molds carefully.
Finishing the Candle
After your candle sets, carefully cut the wick to about a quarter-inch for safe burning. With gentle pressure, ease the molded candle out of its shape to show off your finished creation.
Trimming the wick
Grab your scissors or a specialized wick trimmer—it’s time to trim. Aim for a neat length of about ¼ inch above the wax surface. A neatly trimmed wick means your candle flame burns steady and smoke-free, without soot or wasteful dripping.
Skip this step, and excess heat will melt your carefully crafted molded candles unevenly, leading to messy results and wasted wax sheets.
Use sharp tools designed for wick cutting to get smooth ends—dull blades can fray the wick fibers and make lighting tricky later on. Hold the candle firmly yet gently, trimming straight across in one clean snip; keep an eye out for stray bits that might spoil your mold candles' beautiful design when lit again later on.
With trimming done right, you’re ready for removing the candle from the mold carefully next—another important step toward mastering great-looking results every single time!
Removing the candle from the mold carefully
Carefully removing molded candles ensures a smooth finish. Let your candle cool fully—about 8-12 hours for most wax types—before handling. Lightly press around the mold's edges and bottom, to loosen the solid wax without damage.
For metal or rigid plastic molds, gently tap or twist them upside-down, while softly pulling on the wick you've placed at the center using holders earlier in this process. If still stuck, briefly place the mold into a fridge for 10-15 minutes; cooling shrinks wax slightly so it releases easier, letting you unveil candles with crisp details and clear outlines as shown often in tutorial videos (video is not sponsored).
Conclusion
Mastering the skill of placing a wick in your candle mold will elevate your candle making. Select molds and wicks with care to create perfect molded candles every time. Keep the wick secure, centered, and taut through each step—from wax melting to finishing touches.
Follow these tips—and enjoy crafting beautiful candles that burn bright and even. Grab those candle molds, find inspiration, and start creating!
FAQs
1. How do I put a wick in candle molds to keep it centered?
To center using your wick, first thread it through the hole at the bottom of your mold—then pull tight and seal with wax or clay. Keeping the wick straight ensures neat, even-burning moulded candles every time.
2. Why is placing a wick correctly important for moulded candles?
Placing your wick right in the centre using careful alignment helps your candle burn evenly and last longer. A well-centered wick gives you beautiful results—a smooth surface, steady flame, and no wasted wax.
3. Can I reuse wicks from old moulded candles?
It's best not to reuse old wicks—they may be weak or clogged with leftover wax. Always choose fresh wicks designed specifically for candle molds; this guarantees reliable burning performance each time.
4. What happens if my candle's wick isn't placed properly in its mold?
If you don't position your wick carefully in the centre using proper methods, you'll likely get uneven melting or tunneling as it burns down—spoiling both appearance and function of your finished moulded candles.
Written by Syed Muhammad Usaid
Leave a comment
This site is protected by hCaptcha and the hCaptcha Privacy Policy and Terms of Service apply.