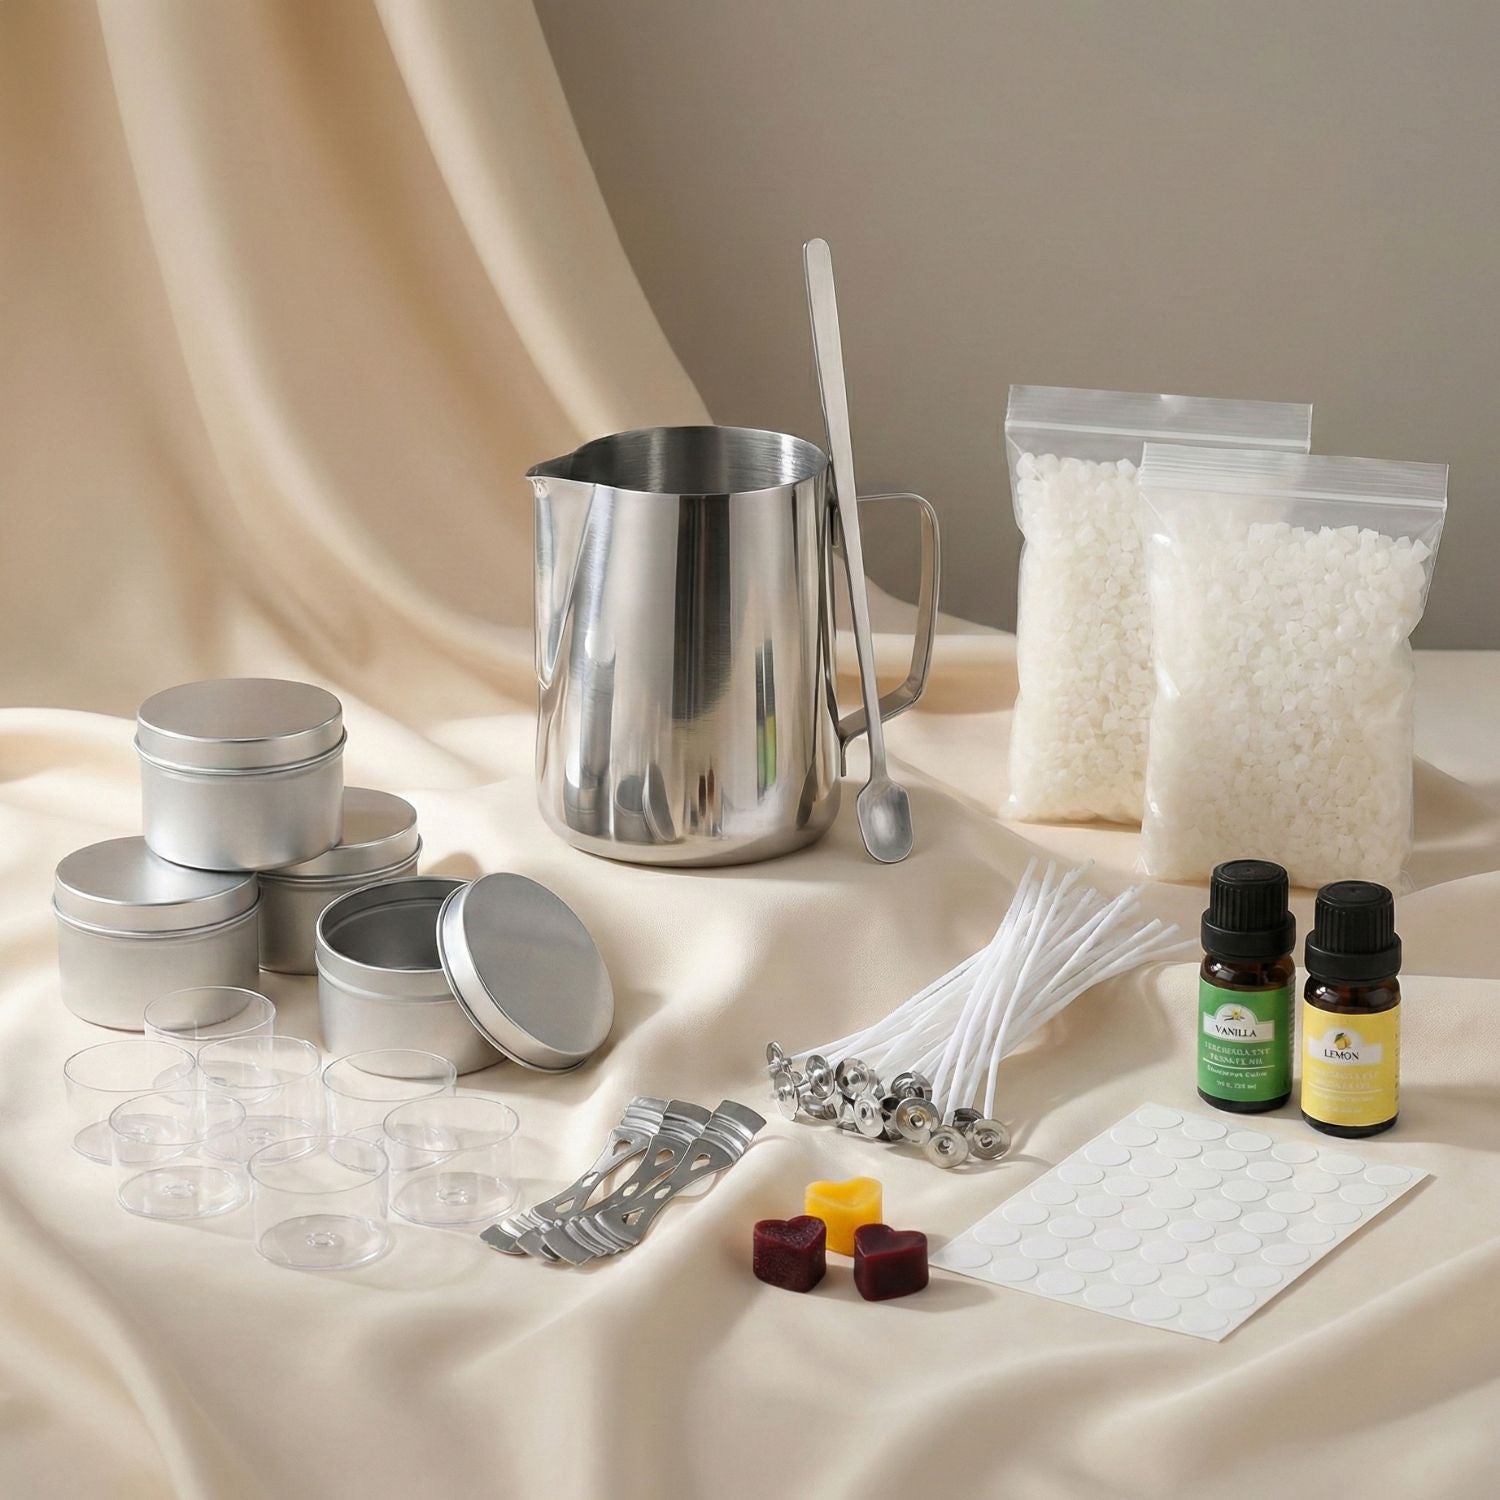
Mastering Candle-Making: Solutions to Common Candle-Making Issues

Welcome to the enchanting world of candle-making, where creativity dances hand in hand with precision. But hey, let's be real – every artisan knows that even the most magical crafts have their fair share of challenges. Fear not, fellow candle-makers! In this guide, we're diving headfirst into the most common hiccups in candle-making and dishing out some seriously illuminating solutions to ensure your candles shine brighter than ever before.
Uneven Burning
Problem: Ever witnessed your candle throwing a tantrum, with one side melting faster than the other?
Solutions:
- Wick Size: Think of the wick as the MVP of your candle team. Opt for a high-quality wick that's just the right size for your candle's diameter. Fun fact: different wick sizes can totally change the burning game!
- Drafts: Keep your candles away from pesky drafts and air vents – they deserve some peace and quiet too!
- Wick Trimming: Give your wick a little trim (just like a spa day!) before each burn to keep it in tip-top shape and minimize soot production.

Wax Tunneling
Problem: Is your candle pulling a disappearing act, tunneling down the center and leaving behind a thick wall of unmelted wax?
Solutions:
- First Burn: Teach your candle some manners by ensuring the first burn melts the wax all the way to the edge of the container. It's like giving your candle a crash course in proper behavior!
- Wick Maintenance: Keep those wicks in line with regular trims to ensure a consistently sized flame. After all, nobody likes a wick that's gone rogue!
Sinkholes
Problem: Your candles are sporting some unexpected craters in the center – not exactly the ambiance you were going for!
Solutions:
- Pouring Temperature: Keep things steamy (but not too steamy!) by pouring your wax at the recommended temperature. Pro tip: around 185-195°F is the sweet spot for many waxes.
- Second Pour: If sinkholes decide to crash the party, fear not! Simply whip out the extra wax and top off your candle to fill those pesky voids.

Frosting
Problem: Is your candle channeling its inner snow queen with a frosty white coating?
Solutions:
- Heat Gun: Say goodbye to frost with the power of heat! Smooth out your candle's surface with a trusty heat gun post-setting.
- Pouring Temperature: Keep things toasty by pouring your wax at a slightly warmer temperature to minimize frosting's icy grip.
- Wax Blend: Mix it up with a different wax blend that's less prone to frosting. It's like giving your candle a wardrobe change!
Poor Scent Throw
Problem: Is your candle being stingy with its fragrance, leaving you sniffing for more?
Solutions:
- Fragrance Oil Quality: Treat your candle to the good stuff with high-quality fragrance oils. Remember, a little luxury goes a long way!
- Fragrance Load: Amp up the fragrance slightly (but don't go overboard!) to ensure your candle's scent is truly unforgettable.
- Curing Time: Patience is a virtue! Let your candles cure for at least 48 hours before lighting them up – trust us, good things come to those who wait.
Rough or Uneven Tops
Problem: Are rough, uneven tops putting a damper on your candle's sleek exterior?
Solutions:
- Cooling Process: Keep a close eye on the cooling process and top up your candle with extra wax if needed for that flawless finish. It's like giving your candle a spa day!
- Heat Gun: Smooth out those rough patches with the power of a heat gun. It's like magic for candles!
Discoloration of Wax
Problem: Is your once-vibrant wax starting to resemble something out of a horror movie?
Solutions:
- Candle Dyes: Add a pop of color with dyes designed specifically for candle-making. Just remember, a little goes a long way!
- Storage: Keep colored candles away from harsh light to prevent fading. After all, nobody likes a faded candle!
Wick-Related Issues (Mushrooming and Tunneling)
Problem: Are your wicks acting up, forming unsightly mushroom caps or tunneling through the wax?
Solutions:
- Wick Selection: Choose wicks tailored to your wax type and container size – it's like finding the perfect match on a candle-making dating app!
- Wick Trimming: Keep those wicks in check with regular trims to prevent mushrooming and keep them centered to avoid tunneling. It's all about maintaining that flame harmony!
Cracking or Air Bubbles
Problem: Are cracks or air bubbles sabotaging your candle's smooth surface?
Solutions:
- Pouring Temperature: Keep things cool (literally!) by pouring your wax at a slightly lower temperature to minimize the risk of cracking. Remember, slow and steady wins the candle-making race!
- Heat Gun: Banish air bubbles with the gentle touch of a heat gun. It's like giving your candle a bubble-busting massage!
Wet Spots
Problem: Are wet spots raining on your candle parade, leaving behind an uneven appearance?
Solutions:
- Container Temperature: Warm up your container before pouring the wax to minimize those pesky wet spots as the wax cools.
- Consistent Temperature: Keep things steady by pouring your wax at a consistent temperature and avoiding rapid environmental changes during the cooling process.
Final Tips
- Experiment with Small Batches: Dive into the world of candle-making with small-scale experiments. It's the perfect opportunity to unleash your creativity and discover what makes your candles truly shine!
- Keep Detailed Notes: Become a candle-making guru by documenting every step of your journey. Detailed notes are your secret weapon for troubleshooting and replicating success.
Armed with these tips and tricks, you're ready to embark on your candle-making journey like a true artisan. So go forth, ignite your creativity, and let the candle-making magic begin!


Leave a comment
This site is protected by hCaptcha and the hCaptcha Privacy Policy and Terms of Service apply.