Mastering the Art of Taper Candles: A Comprehensive Guide to Using Molds for Perfect Results
Introduction to Taper Candles and Their Uses

Taper candles have long been a staple in home decor, adding elegance and warmth to any setting. Whether you're decorating for a festive occasion or creating an intimate atmosphere, these slender beauties shine bright. From dining tables adorned with taper Christmas decorations to cozy evenings by the fireplace, taper candles set the mood effortlessly.
But did you know that making your own taper candles can be both fun and rewarding? With the right molds, you can create stunning designs like spiral candles or striped Roman styles that catch the eye and spark conversation. This comprehensive guide will take you through everything you need to know about mastering this art form—from selecting the perfect wax to avoiding common pitfalls along the way. Get ready to unleash your creativity and light up your space with handcrafted taper candles!
Benefits of Using Molds for Making Taper Candles
Using molds for making taper candles has numerous advantages. First, molds ensure consistency in size and shape. This uniformity makes it easier to create matching sets, perfect for special occasions or home decor.
Molds simplify the pouring process too. They allow you to pour wax evenly without worrying about drips or uneven surfaces. As a result, your finished taper candles have a polished look that enhances their aesthetic appeal.
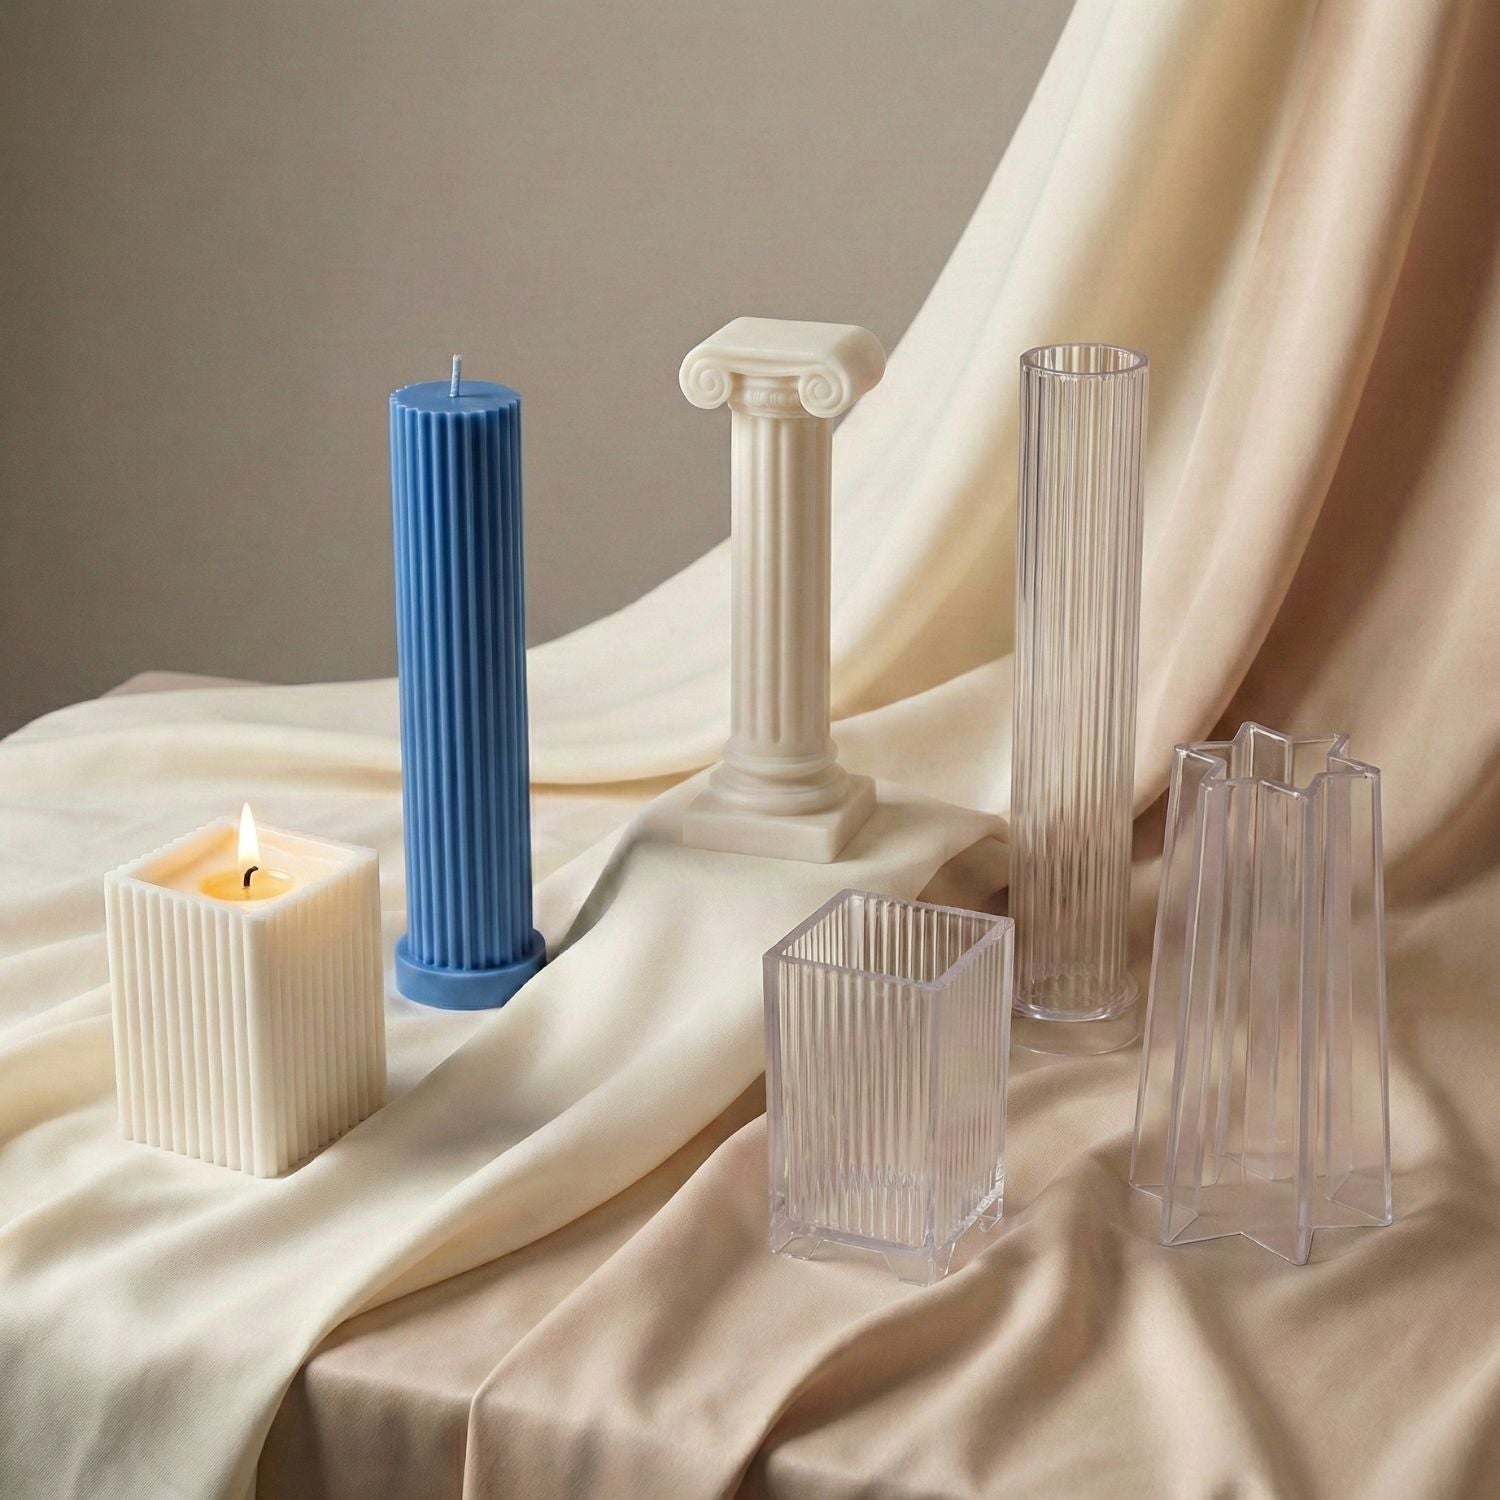
Another benefit is the variety of designs available. From classic straight shapes to intricate spiral candle styles, molds provide endless possibilities for creativity.
Furthermore, using molds can speed up production time significantly. You can make multiple candles at once, which is ideal when preparing for events like Taper Christmas celebrations or crafting gifts.
They are easy to clean and reuse. A quick wash after use means you're ready for your next candle-making project in no time!
Types of Candle Molds Available

When it comes to making taper candles, the type of mold you choose can greatly influence the final look and feel. Traditional metal molds are popular for their durability and heat retention. They help in achieving a smooth finish on your taper candles.
Silicone molds offer flexibility and ease of use. They allow for intricate designs, such as spiral candle shapes or striped Roman patterns, which add a unique touch to your creations. Plus, they make demolding simple.
Plastic molds are another option but may not provide the same quality finish as metal or silicone. However, they're often more affordable and come in various sizes.
Consider specialty molds that cater to seasonal themes like Taper Christmas styles. These can transform ordinary candlesticks into festive decorations that brighten up any space during the holidays.
Choosing the Right Wax for Taper Candles
Choosing the right wax is crucial for crafting beautiful taper candles. The most popular options include paraffin, beeswax, and soy wax.
Paraffin is affordable and easy to work with. It holds color well, making it perfect for vibrant designs like striped Roman or spiral candle styles. However, it's a petroleum byproduct.
Beeswax offers natural beauty and a subtle honey scent. It's ideal for those who prefer eco-friendly options and want longer burn times. Its golden hue adds warmth to any setting.
Soy wax is another great alternative. It’s biodegradable and burns cleaner than paraffin, producing less soot. Soy blends well with fragrances if you're looking to add scented elements to your taper Christmas displays.
Consider each type's melting point as you select your wax. This will impact how smoothly your candles pour into molds while ensuring they hold their shape beautifully once cooled.
Step-by-Step Guide to Making Taper Candles with Molds

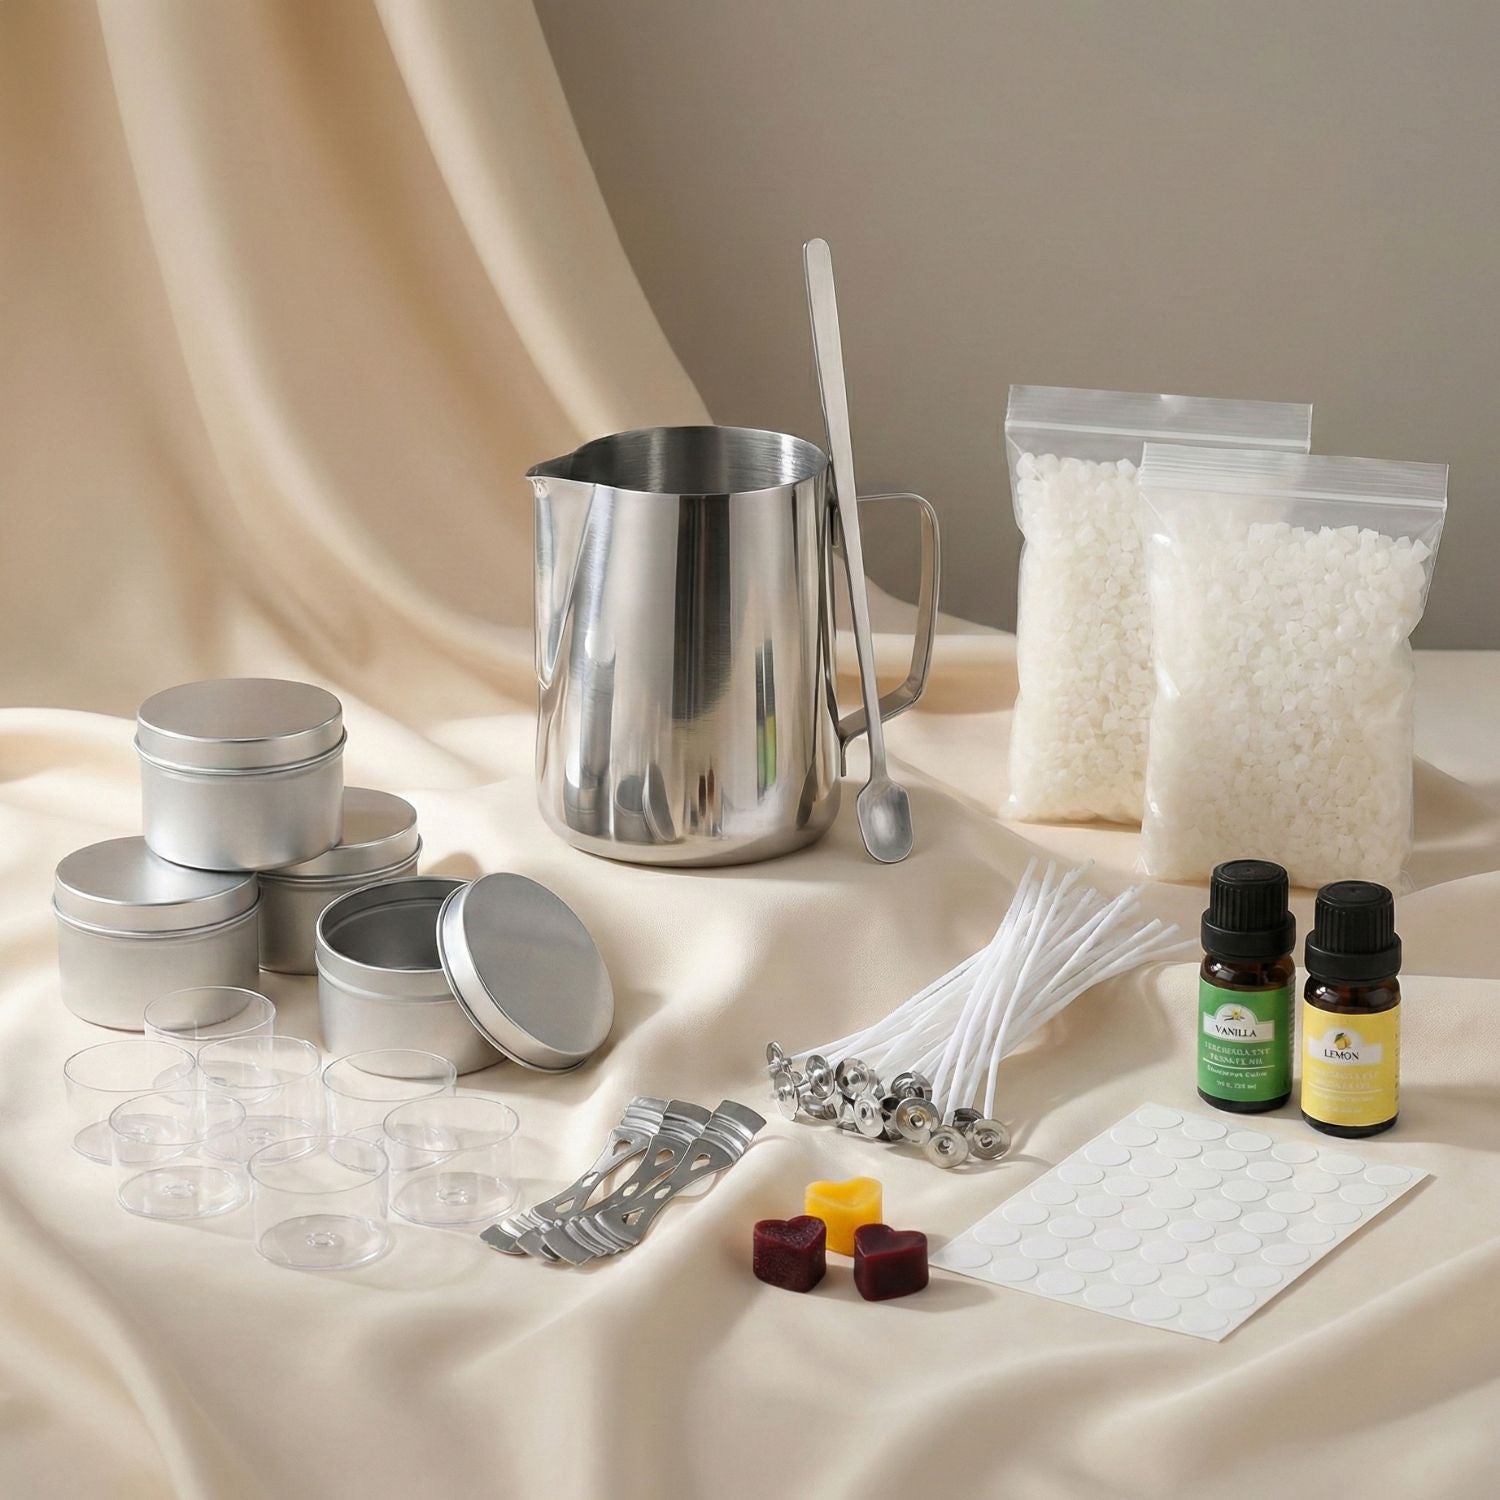
Gather your materials first. You’ll need candle wax, a mold, wicks, and a double boiler. Choose your favorite wax type—paraffin, beeswax, or soy all work wonderfully for taper candles.
Next, melt the wax in the double boiler. Keep an eye on the temperature; it shouldn't exceed 170°F to maintain its quality.
While waiting for the wax to liquefy, prepare your molds by securing wicks at their centers. This ensures they stay upright as you pour in the melted wax.
Once fully melted, carefully pour the hot wax into each mold. Leave some space at the top; this allows room for any potential shrinkage as it cools.
Allow them to set completely before removing from molds. Once removed, trim any excess wick length and admire your perfectly crafted taper candles!
Tips and Tricks for Perfect Results
To achieve stunning taper candles, start with temperature control. Melt your wax to the correct temperature for pouring. If it's too hot, you risk bubbles and imperfections.
Use a double boiler for even heating. This method prevents scorching the wax and ensures it maintains its quality.
Prepping your molds is crucial. Apply a thin layer of mold release spray or vegetable oil before pouring wax. This simple step makes demolding easier and protects your candle’s surface.
Keep an eye on wick placement during pouring. A centered wick leads to even burning and better performance once lit.
Experiment with colors and fragrances by adding them at the right stage in the melting process. Always test small batches first to find what blends work best for you.
Patience pays off! Allow your candles ample time to cool completely before removing them from molds, ensuring a smooth finish every time.
Common Mistakes to Avoid
When crafting taper candles, many beginners make avoidable errors. One common mistake is not properly preparing the molds. Always ensure they are clean and dry before pouring in the wax.
Temperature control is crucial. Pouring your wax at too high a temperature can lead to uneven surfaces or even cracks once cooled down. Aim for optimal pouring temperatures based on your chosen wax type.
Rushing the cooling process often results in poor quality candles. Allow them to cool naturally; this ensures a smoother finish and reduces imperfections.
Using incorrect wick sizes can also ruin your masterpiece. A wick that’s too small won’t burn effectively, while one that’s too large may create excessive soot.
Don’t overlook safety measures! Candles involve hot materials, so always work in a well-ventilated area and consider protective gear like gloves and goggles when necessary.
Creative Ways to Use Taper Candles in Home Decor
Taper candles bring a sophisticated touch to any space. One creative idea is to arrange them in varied heights on a dining table. Mixing different candlesticks can create an eye-catching centerpiece.
For an elegant look, try placing taper candles in glass holders lined with seasonal greenery. This adds warmth and charm throughout the year, especially during holidays.
Another fun approach is using colored or striped Roman taper candles for festive occasions. They can instantly elevate your decor for celebrations like birthdays and anniversaries.
If you have a fireplace mantel, consider grouping several tapers together on a decorative tray. Add personal touches like stones or shells around the base for that added flair.
Don’t shy away from experimenting with wall sconces! Taper candles mounted on walls can draw attention upward and make your room feel taller while adding drama to any corner.
Conclusion: Mastering the
Mastering the art of taper candles takes practice, creativity, and a keen eye for detail. With the right molds and techniques, you can create stunning spiral candles or striped Roman designs that elevate your home decor. Taper Christmas candles add warmth to any festive gathering, making them perfect for special occasions.
Embrace the process and experiment with different wax types to find what works best for you. Remember to avoid common pitfalls along the way and keep our tips in mind for flawless results each time. Whether you're gifting homemade taper candles or using them as elegant centerpieces at dinner parties, there are endless possibilities.
Your journey into candle-making is just beginning. Let your imagination guide you as you create beautiful pieces that reflect your personal style while enhancing your living space with charming ambiance. Dive in and enjoy every moment of crafting these delightful additions


Leave a comment
This site is protected by hCaptcha and the hCaptcha Privacy Policy and Terms of Service apply.