Step-by-Step Guide to Demolding Candles from Silicone Molds

Creating candles at home is a delightful hobby that allows you to express creativity and bring warmth to your living space. One of the most crucial steps in candle making is demolding—removing the solidified candle from its mold without causing any damage. This guide will walk you through everything you need about demolding candles from silicone molds, ensuring smooth and perfect results every time.
Importance of Proper Demolding
Proper demolding is essential to achieving a professional finish on your candles. Whether you're a seasoned crafter or just starting, understanding the correct techniques can save you from frustration and wasted materials. Avoiding cracks, dents, and imperfections begins with mastering the art of demolding.
Benefits of Using Silicone Molds
Silicone molds have become a popular choice among DIY enthusiasts for several reasons. They are flexible, reusable, and capable of capturing intricate details. These benefits make them ideal for candle making, allowing crafters to easily create beautifully detailed candles.

Understanding Silicone Molds
Flexibility
Silicone molds are prized for their flexibility, making the demolding process much more straightforward than rigid molds. This flexibility ensures that you can easily peel the mold away from the candle without causing any damage.
Reusability
Silicone molds are durable and can be reused multiple times, making them a cost-effective option for candle makers. A single silicone mold can produce dozens of candles with proper care and maintenance.
Ability to Create Intricate Designs
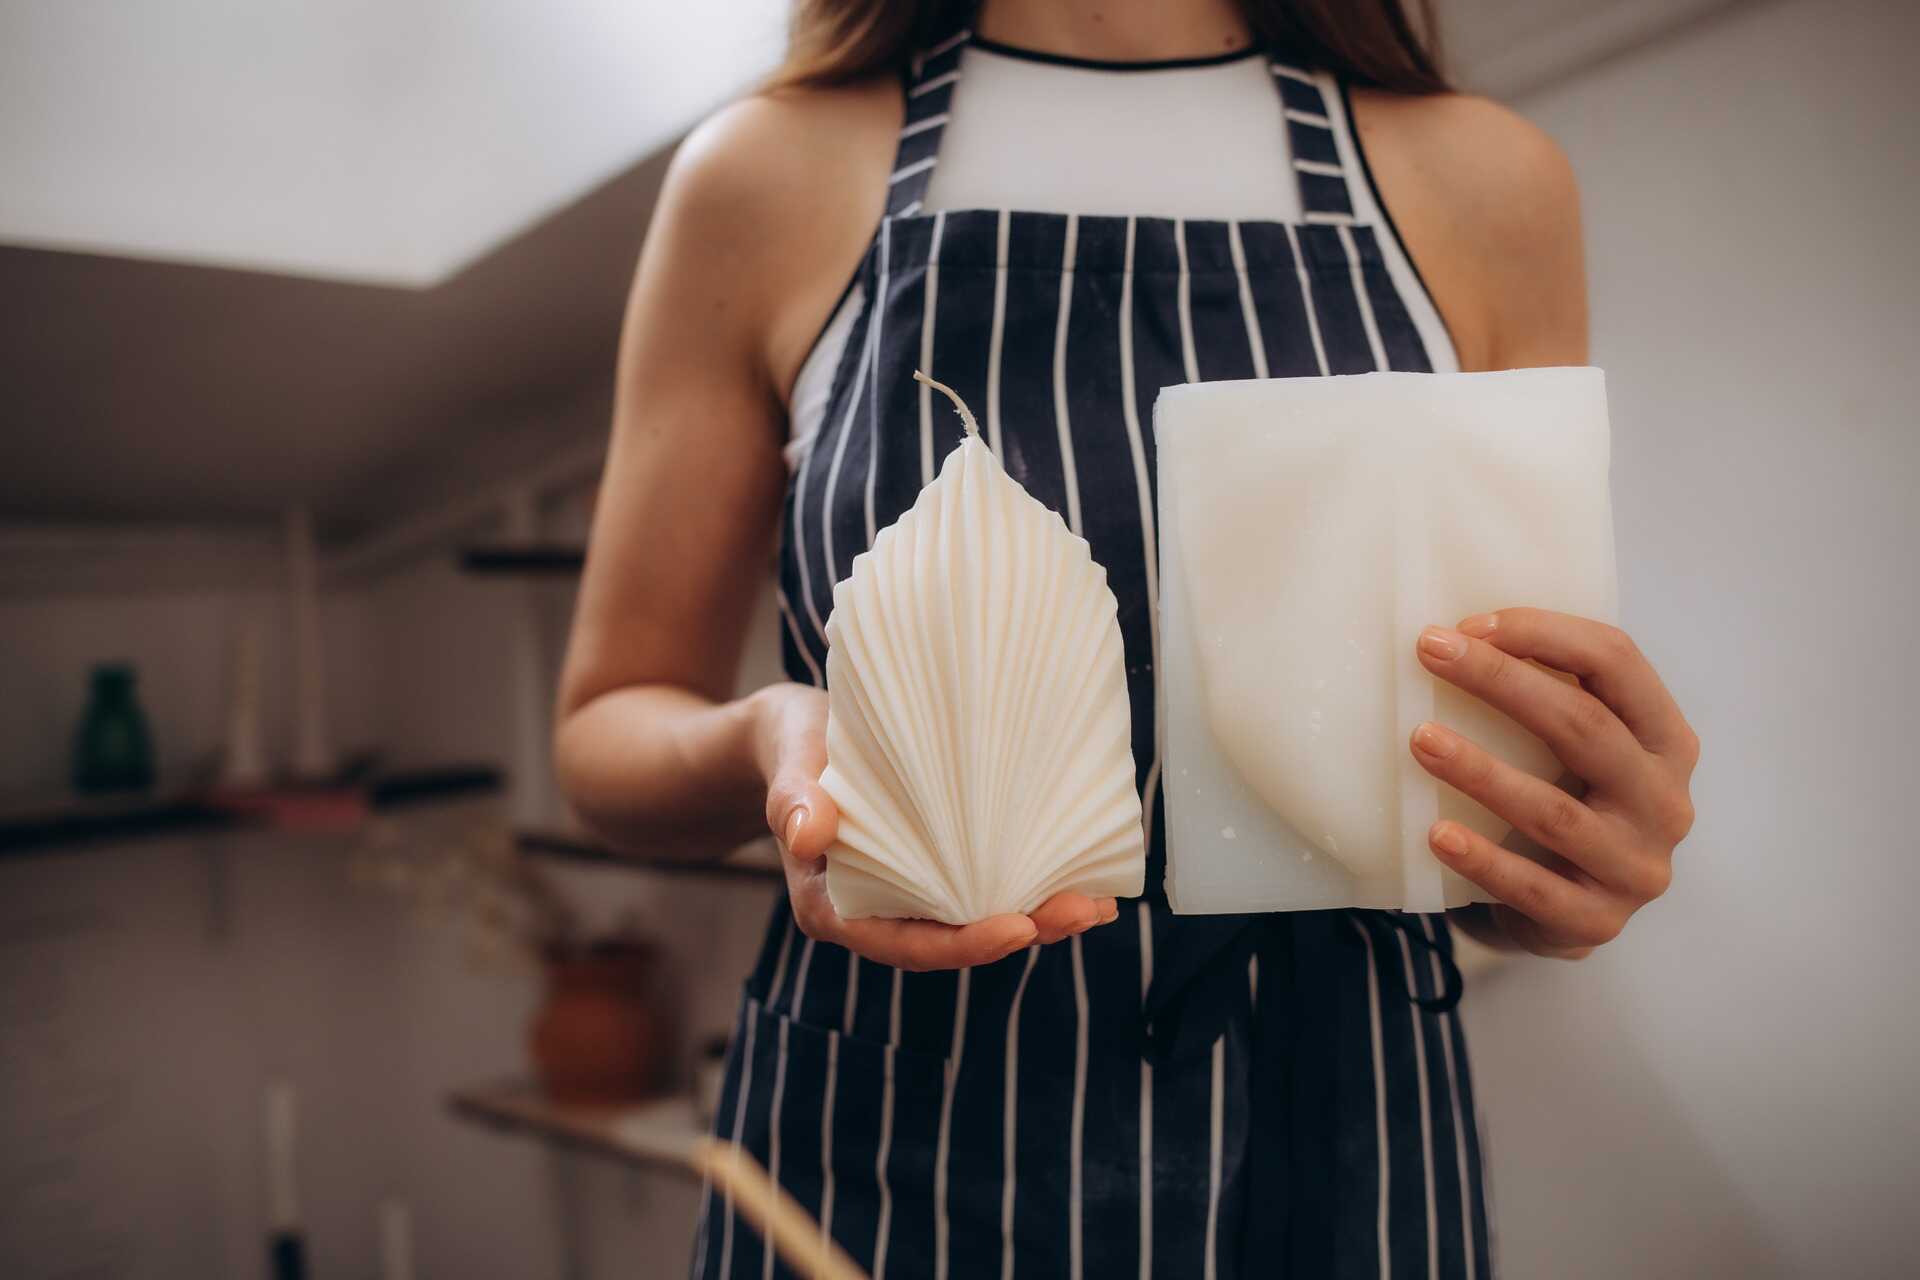
One of the standout features of silicone molds is their ability to capture fine details. Whether you're making a simple pillar candle or an intricate design, silicone molds can bring your creative ideas to life.

Preparation Steps
Ensuring Proper Curing and Cooling
Before you even think about demolding, ensuring that your candle has adequately cured and cooled is crucial. Follow the manufacturer's instructions for the specific type of wax you are using. Rushing this process can result in incomplete curing, making the candle more prone to damage during demolding.
- Importance of Following Manufacturer's Instructions: Each type of wax has its own curing time and temperature requirements. Adhering to these guidelines ensures that the wax sets correctly, making demolding easier and more successful.
- Risks of Rushing the Process: Rushing the cooling and curing process can lead to soft spots, warping, and even cracks in your candle. Patience is critical to achieving a smooth finish.
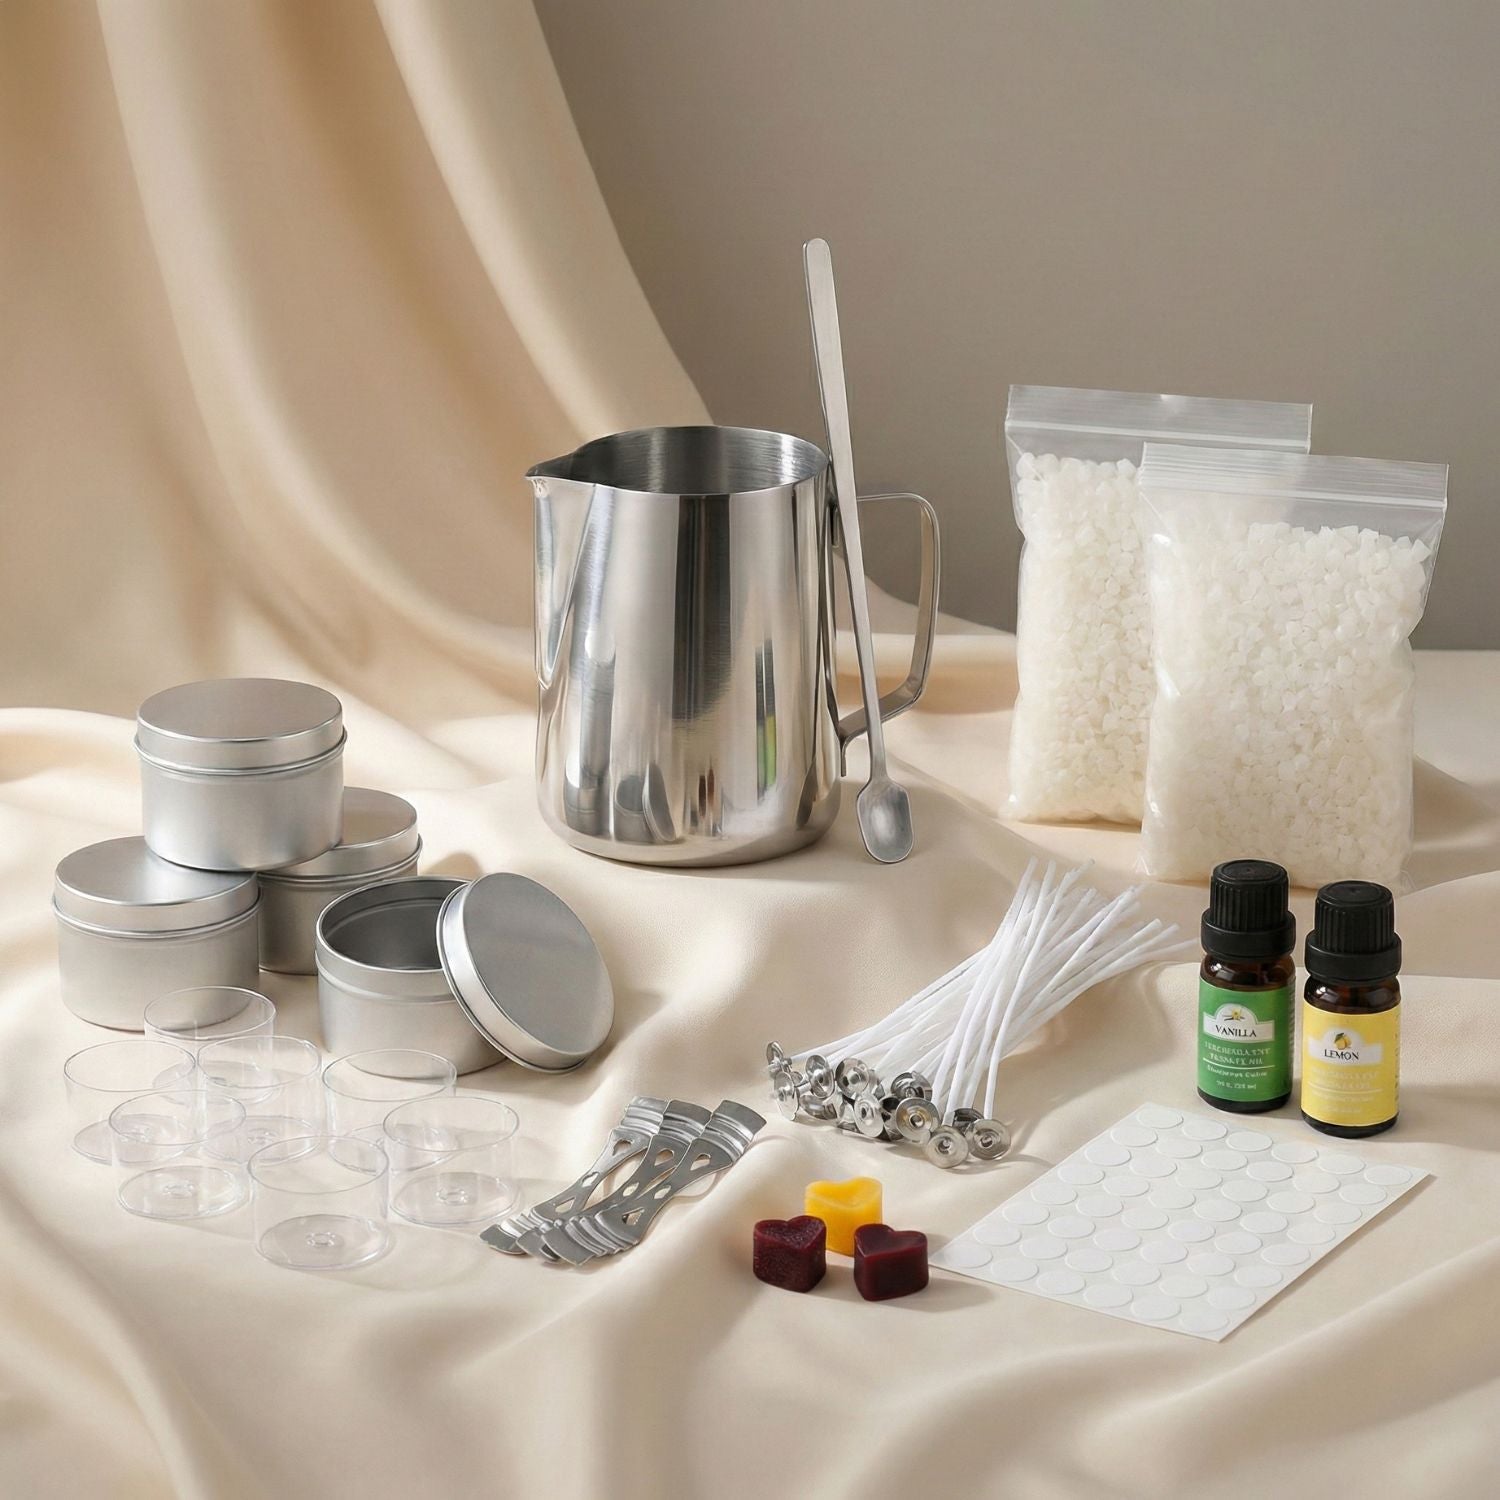
Gathering Necessary Tools
Having the right tools on hand can make the demolding process much smoother. Gather everything you need before you start to avoid interruptions.
- Lubricants/Mold Release Sprays: This helps to create a barrier between the wax and the mold, making it easier to remove the candle.
- Clean Work Surface: Ensure your workspace is clean and debris-free to prevent unwanted particles from sticking to your candle.
- Gloves: Wearing gloves protects your hands and prevents fingerprints and smudges on the candle.
- Wick Trimmer/Scissors: You'll need these to trim the wick after demolding.
Lubricants for Demolding Silicone Molds
Using the correct lubricant can significantly affect how easily your candle emerges from the mold.
Candle/Soap Making Specific Lubricants
- Mineral Oil: A common choice for candle makers, mineral oil provides a smooth barrier between the mold and the wax.
- Soy-Based Mold Release: Eco-friendly and effective soy-based lubricants are an excellent option for those avoiding petroleum-based products.
- Plant-Based Lubricants: Natural alternatives like olive oil can also be used, though they may not be as effective as specially formulated products.
Multi-Purpose Lubricants
- Non-Stick Cooking Sprays: These can be a quick and easy option, but be cautious as they may leave a residue.
- Petroleum Jelly: A small amount of petroleum jelly can work wonders, especially for intricate candle molds.
Considerations for Selecting Lubricants
When choosing a lubricant, consider the type of wax you are using and the complexity of your mold. Some lubricants may work better with certain kinds of wax, so it might take some experimentation to find the perfect match.
Demolding Techniques
Step 1: Preparing the Mold
Before pouring the wax, prepare your silicone mold by applying a thin lubricant or mold-release spray layer.
- Applying Lubricant/Mold Release Spray: Use a brush or spray to apply a thin, even layer of lubricant to the inside of the mold.
- Importance of Even Application: An even application ensures the entire candle will release smoothly, avoiding any stuck spots.
Step 2: Gently Removing the Candle
Once your candle has fully cured and cooled, it's time to de-mold.
- Pressing the Sides/Bottom of the Mold: Press the mold's sides and bottom to loosen the candle. The flexibility of silicone molds makes this step easier.
- Avoiding Pulling or Tugging: Pulling or tugging can damage the candle and the mold. Instead, gently peel the mold away.
- Techniques for Intricate Designs: For more detailed candles, take extra care to peel slowly and evenly to avoid breaking any delicate parts.
Step 3: Smoothing Out Imperfections
After demolding, inspect your candle for any rough edges or excess wax.
- Inspecting for Rough Edges or Excess Wax: Use a small knife or sculpting tool to smooth out imperfections.
- Trimming the Wick: Trim the wick to the desired length, usually around 1/4 inch, for optimal burning.

Troubleshooting and Tips
Common Issues and Solutions
Even with the best preparation, sometimes things need to be corrected. Here are some common issues and their solutions.
- Stuck Candle: Place the mold in the freezer for a few minutes if your candle is stuck. The cold will cause the wax to contract slightly, making removing it more accessible.
- Warping or Cracking: This is often the result of improper cooling. Ensure your candles have enough time to cool and cure completely.
- Mold Damage: Avoid using sharp objects to remove the candle, which can damage the mold. Instead, use gentle pressure and patience.
Tips for a Flawless Finish
Achieving a flawless finish takes practice and attention to detail.
- Patience and Gentleness: Take your time during the demolding process. Rushing can lead to mistakes and imperfections.
- Investing in High-Quality Molds: Quality molds are more durable and provide better results. Consider investing in a good set of silicone molds.
- Experimenting with Lubricants: Not all lubricants work the same with every type of wax. Experiment to find what works best for your specific needs.
- Practice: The more you practice, the better you'll become at creating perfect candles.
Mold Care and Maintenance
Cleaning Molds After Use
Proper cleaning extends the life of your silicone molds. Regular maintenance is essential to ensure they remain effective and in good condition.
- Avoiding Harsh Chemicals or Abrasives: Use mild soap and lukewarm water to clean your silicone molds. Harsh chemicals and abrasives can degrade the silicone over time, causing it to lose its flexibility and strength. It's best to gently scrub with a soft sponge to remove any residue. Additionally, ensure the molds are thoroughly rinsed and dried before storing them to prevent mold or mildew buildup.
Read: How to properly clean and care for your silicone candle molds
Proper Storage
Proper storage practices can prevent damage and deformation and ensure that your molds maintain their shape and functionality for longer.
- Mold Storage Cases/Containers: Use cases or containers to keep your molds dust-free and protected from accidental damage. Choosing a storage solution that fits the size and shape of your molds snugly is essential to avoid unnecessary movement, which can cause wear and tear. Labelling your cases or containers can help you quickly locate specific molds when needed.
Conclusion
Demolding candles from silicone molds may seem daunting initially, but using the proper techniques and tools can be straightforward. Following the steps outlined in this guide, you'll be well on your way to achieving beautiful, flawless candles every time.
Remember, patience and practice are essential. Keep going even if your first few attempts could be better. With each candle you de-mold, you'll become more comfortable and skilled. Happy candle-making!
Written by Syed Muhammad Usaid


4 comments
Hello Susan!
Great question. Adding a relief cut (or slit) is actually an industry-standard practice for tricky 3D shapes like eggs. It is the best way to prevent your wax from snapping or getting stuck during the demolding process.
Since you are modifying the mold yourself, here is the expert method for getting the best results:
Make a ‘Keyed’ Cut: Instead of slicing a straight line, use a sharp craft knife to make a slightly wavy or zig-zag cut down the back. This creates ‘registration keys’ that allow the two sides of the silicone to lock back together perfectly, which minimizes leaks and reduces the seam line.
Secure with Care: Before you pour your wax, wrap a few rubber bands around the mold. Expert tip: Make sure they are snug enough to hold the slit closed, but not so tight that they pinch the silicone and distort the round shape of your egg!
Polish the Seam: Because you introduced a cut, your finished candle will have a faint seam line. Once demolded, you can easily buff this away by rubbing it gently with a piece of old nylon hosiery or just the warmth of your fingers.
Good luck with your egg candles! Let me know if you run into any other troubleshooting issues.
Hannah
Can I use a razor blade instead of a craft knife?
Trinadad
Hi Susan,
Thank you for your question! Yes, you can carefully make a slit along the backside of your silicone candle egg molds to ease the removal of finished candles. To ensure the mold retains its shape and functionality, use a sharp craft knife and make a clean, precise cut. You can also reinforce the slit with rubber bands or clips during pouring to prevent leakage.
If you need more tips or have any concerns, feel free to ask—we’re here to help!
Happy candle making! 😊
Hannah
I have purchased small silicone candle egg molds. Can I put a slit up the backside for easier removal
of the finished candle?
Susan
Leave a comment
This site is protected by hCaptcha and the hCaptcha Privacy Policy and Terms of Service apply.