How To Make Beeswax Candles With Silicone Molds: Step-by-Step Guide
Are you tired of store-bought candles with harsh chemicals and high prices? Beeswax candles give off a sweet, natural honey scent and burn longer than regular candles. Making your own beeswax candles with silicone molds is easy, fun, and creates a luxurious final product.

Beeswax is unique. It is harder, stickier, and melts at a higher temperature than soy wax. This means it requires specific techniques to get right.
In this guide, you will learn the exact recipe and temperature tricks to create flawless beeswax candles using silicone molds.
Key Takeaways
- Pour Temperature: Pour beeswax between 160°F - 165°F. If poured too cool, it leaves lines; too hot, and it shrinks excessively.
- Wick Choice: Beeswax is thick. You usually need a Square Braid Wick (cotton) which is designed to handle the viscosity of beeswax.
- Mold Prep: Silicone molds release beeswax easily, but complicated shapes may require a light mist of mold release spray.
- Cooling: Beeswax shrinks significantly. You will almost always need a "top-off" pour to fill the sinkhole.
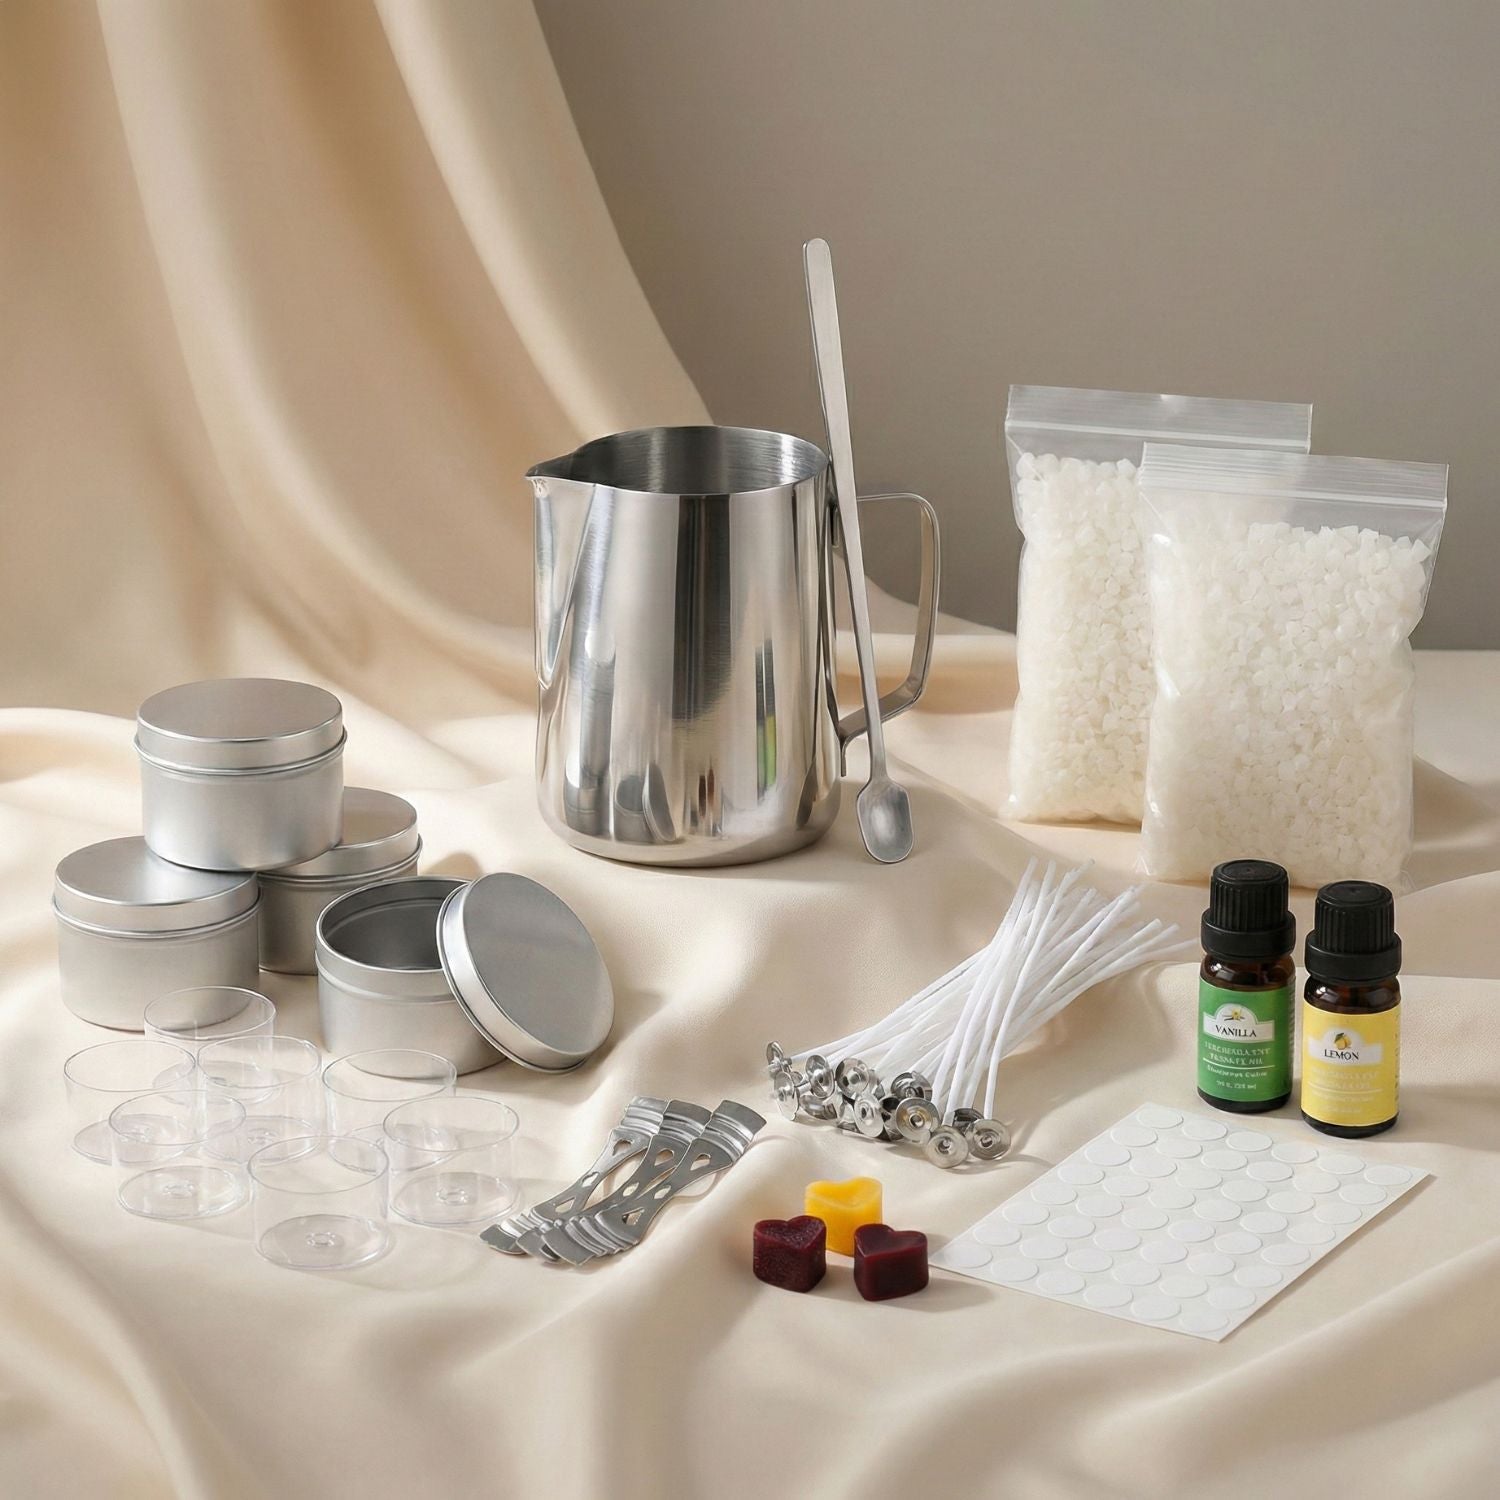
1. Essential Materials and Tools

Making beeswax candles starts with the right tools. You'll need:
- Beeswax: Pellets (easier to melt) or Blocks. Ensure it is "Triple Filtered" to prevent clogging your wick.
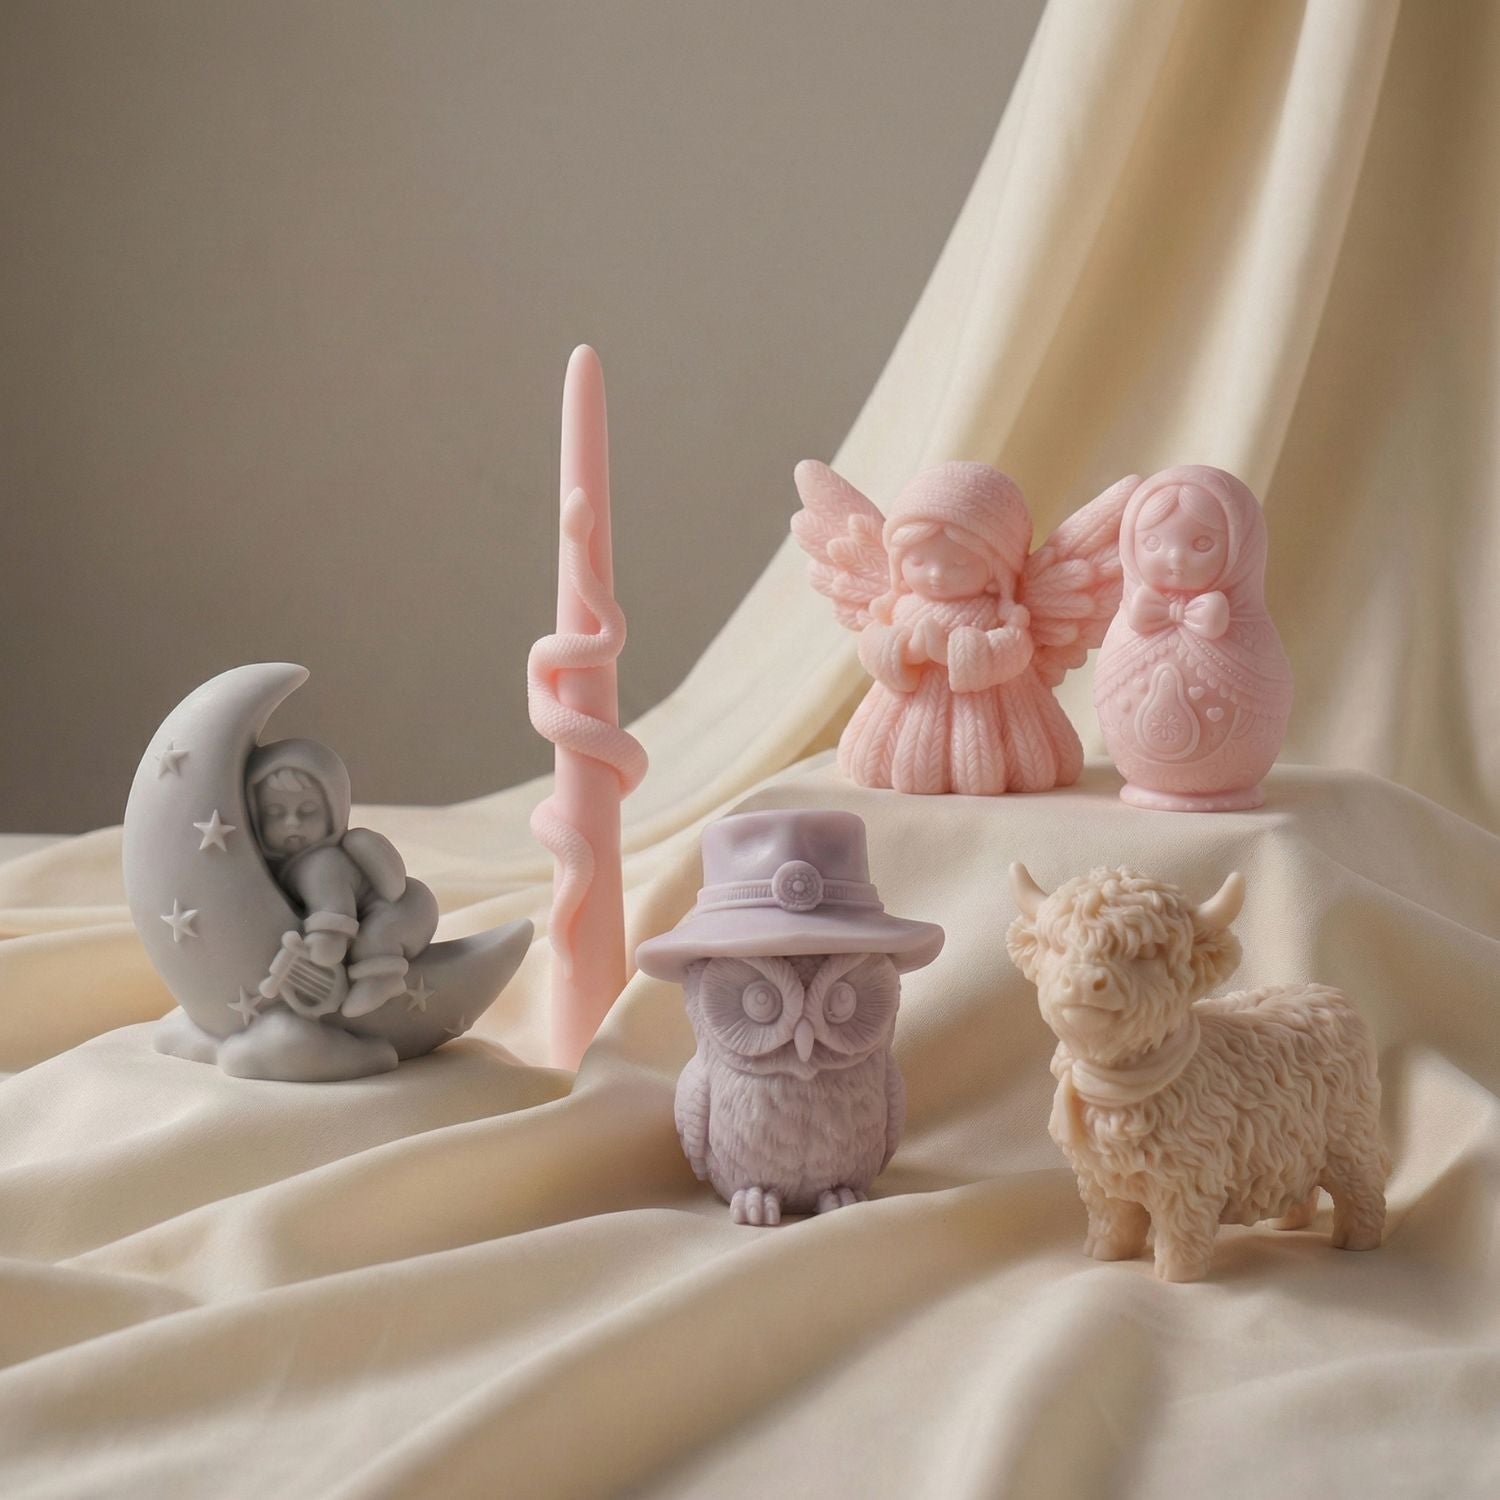
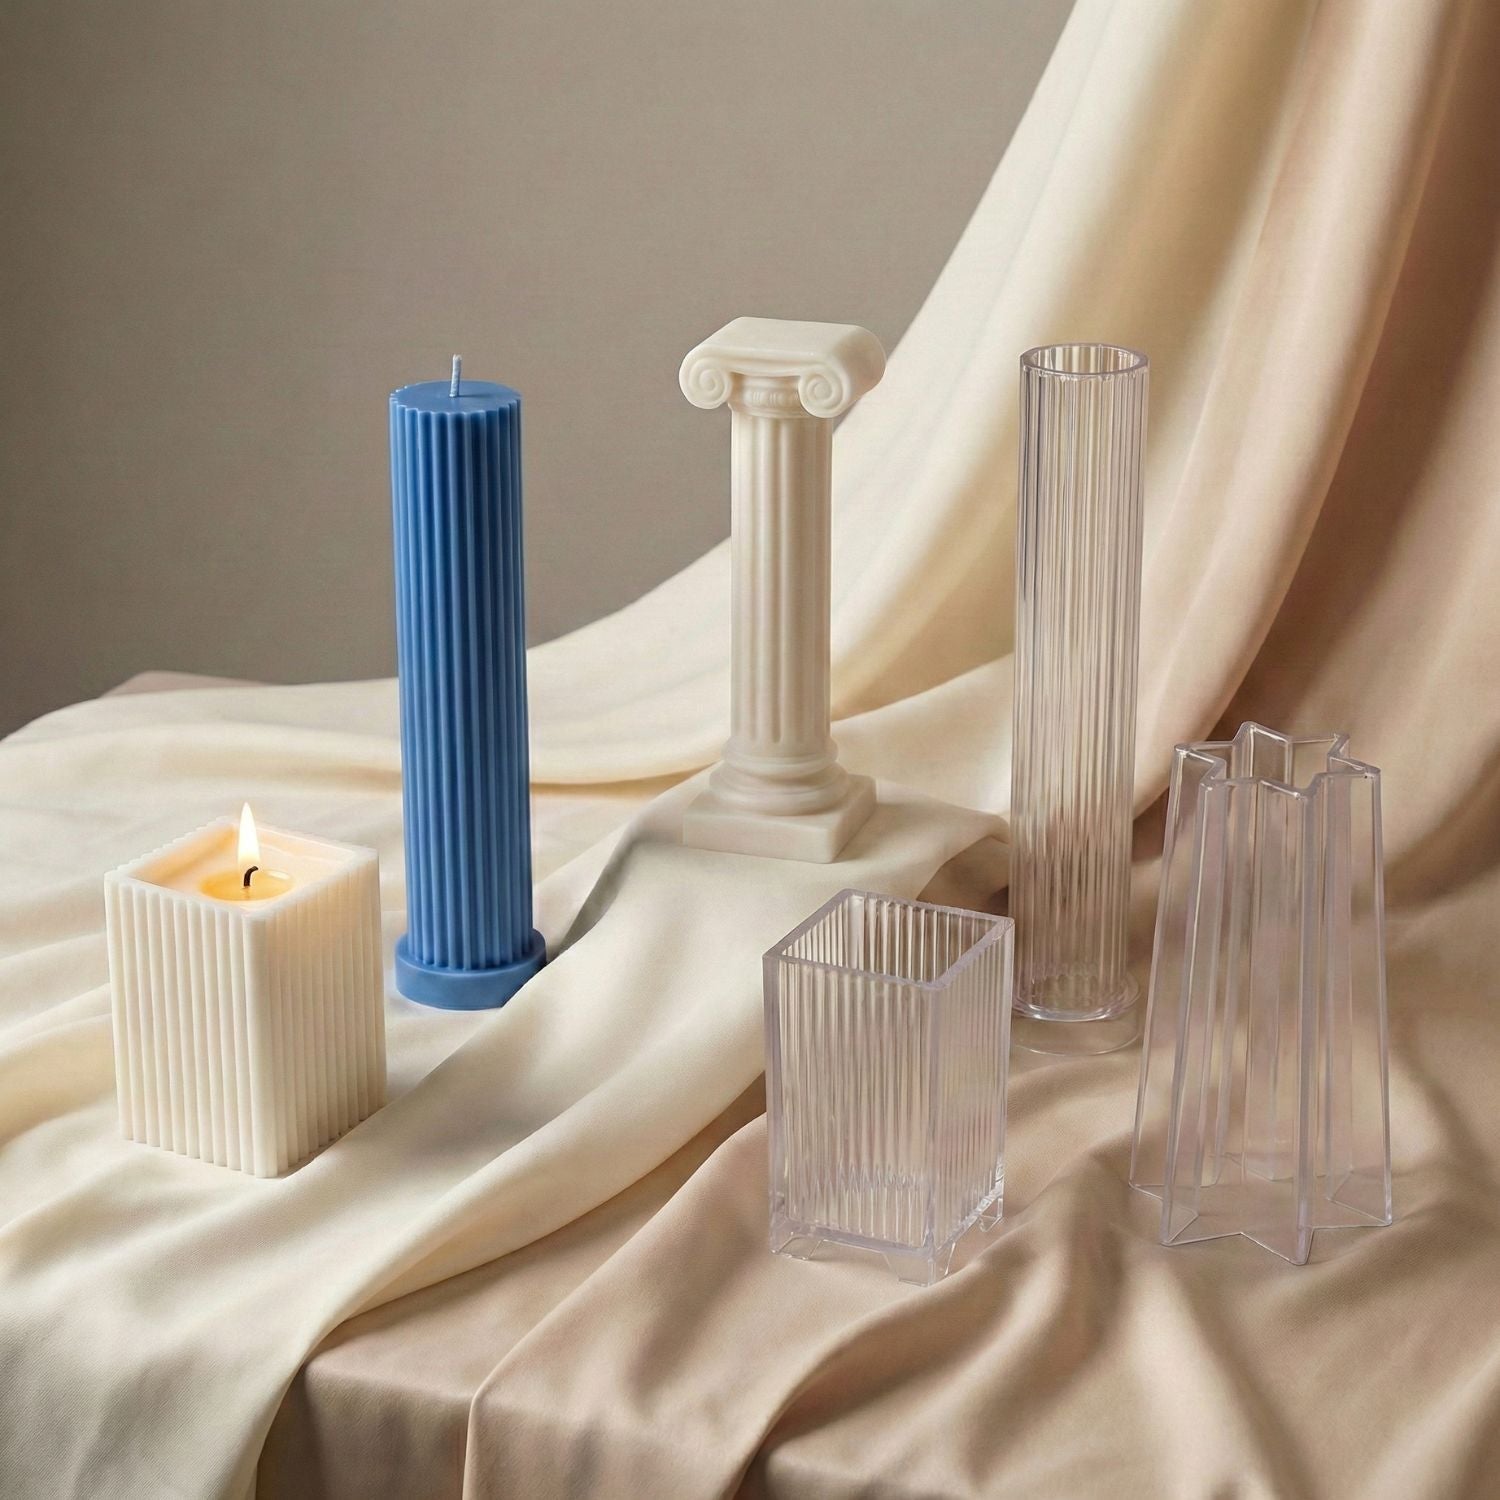
- Silicone Molds: Shop our Flexible Molds here.
- Wicks: Square Braid Cotton Wicks are the gold standard for beeswax. (Not sure which size? Read our Wick Selection Guide).
- Melting Pot: A double boiler or Aluminum Pouring Pitcher.
- Wick Tools: Wick Centering Tool and Wick Stickers.
- Thermometer: Crucial for hitting that 160°F sweet spot.
Pro Tip: Why Use Coconut Oil?
Pure beeswax is extremely hard and brittle. It can sometimes crack when cooling in winter. Many pros add 10% Coconut Oil to their beeswax. This "softens" the blend slightly, improves scent throw, and prevents cracking, without ruining the natural quality.
2. Preparing Your Silicone Mold
Silicone molds are perfect for beeswax because they are flexible. However, beeswax is sticky.
- Clean: Wash mold with warm soapy water and dry completely.
- Wick It: Thread your wick through the bottom hole (if using a pillar mold). Seal the hole with a bit of mold sealer putty to prevent leaks.
- Center It: Pull the wick tight and secure it at the top with a Wick Bar.
3. The Melting & Pouring Process
Step 1: Melt the Wax
Place your beeswax (and coconut oil, if using) in your double boiler. Heat gently. Beeswax melts around 145°F, but you need to bring it up to 165°F - 170°F to ensure it flows smoothly.
Safety Warning: Beeswax has a flashpoint of 400°F. Never leave it unattended on the stove.
Step 2: Add Fragrance (Optional)
Beeswax has a lovely natural honey scent. If you want to add essential oils, add them at 160°F - 165°F. Use about 30-40 drops per pound.
Step 3: The Pour
Carefully pour the wax into the mold.
- Pour slowly to avoid creating air bubbles.
- Tap the mold gently on the table immediately after pouring to release any trapped air bubbles from the detailed crevices.
- Save some wax! You will need it later.
4. The "Second Pour" (Fixing Shrinkage)
Beeswax shrinks as it cools. As your candle hardens, you will likely see a dip or "sinkhole" form around the wick.
- Wait about 30-60 minutes until the top has formed a thick skin.
- Poke relief holes near the wick (see our Sinkhole Guide for details).
- Reheat your leftover wax to 170°F.
- Top off the candle to fill the void. Do not overfill past the original line.
5. Cooling & Demolding
Patience is key. Beeswax takes a long time to fully harden.
- Small Molds: Let cool for 4-6 hours.
- Large Pillars: Let cool overnight (12+ hours).
To Demold: Gently peel the silicone back from the edges first to break the air seal. Then, push from the bottom. Do not yank the wick!
6. Troubleshooting Common Issues
| Problem | Cause | Solution |
|---|---|---|
| Cracks on surface | Cooled too fast | Move to a warmer room or add 10% coconut oil. |
| Wick drowning | Wrong wick size | Beeswax needs a thicker wick (Square Braid) than soy. |
| Jump Lines (Rings) | Poured too cool | Heat wax to 165°F+ before pouring and pre-heat your mold. |
| Stuck in mold | Suction | Put the mold in the freezer for 15 minutes to shrink the wax. |
Frequently Asked Questions (FAQs)
Do I need to spray silicone molds for beeswax?
Usually, no. Silicone is naturally non-stick. However, for very intricate molds with deep crevices, a light mist of vegetable oil or silicone release spray can help.
Why is my beeswax candle tunneling?
Tunneling means your wick is too small. Beeswax is a hard fuel. Use a Square Braid Cotton Wick sized one step larger than you would use for paraffin.
Can I mix beeswax with soy wax?
Yes! A 50/50 blend creates a "beesoy" candle. It burns longer than pure soy and is softer (less prone to cracking) than pure beeswax.
What temperature should I add essential oils to beeswax?
Add oils at around 160°F - 165°F. Since beeswax has a high melting point, adding oils too cool can cause the wax to seize up instantly.
Written by Syed Muhammad Usaid


Leave a comment
This site is protected by hCaptcha and the hCaptcha Privacy Policy and Terms of Service apply.