How To Use 3D Printed Candle Molds For Unique Creations

Making unique candles at home can be hard with basic store‑bought molds. 3D printed candle molds now let crafters create shapes that were once impossible to make. You can print custom molds at home to make candles in any design you want.
Get ready to turn your candle‑making dreams into reality with these simple steps.
Key Takeaways
- PLA filament works best for 3D printed candle molds because it stays firm at room temp but can handle hot wax without warping.
- You need basic items like a 3D printer, wicks, wick holders, wax, and pigments to make custom candles. The mold walls should be at least 2mm thick to hold hot wax safely.
- Heat wax to 185°F in a double boiler , then pour it slowly into the mold. Let candles cool for 4–6 hours at room temp until they turn white and firm.
- You can add dried flowers, crystals, or small charms to make unique candles. Place these items near the mold’s edges for the best look.
- Design simple shapes first using tools like Tinkercad. Test the printed mold for cracks before using it with hot wax.
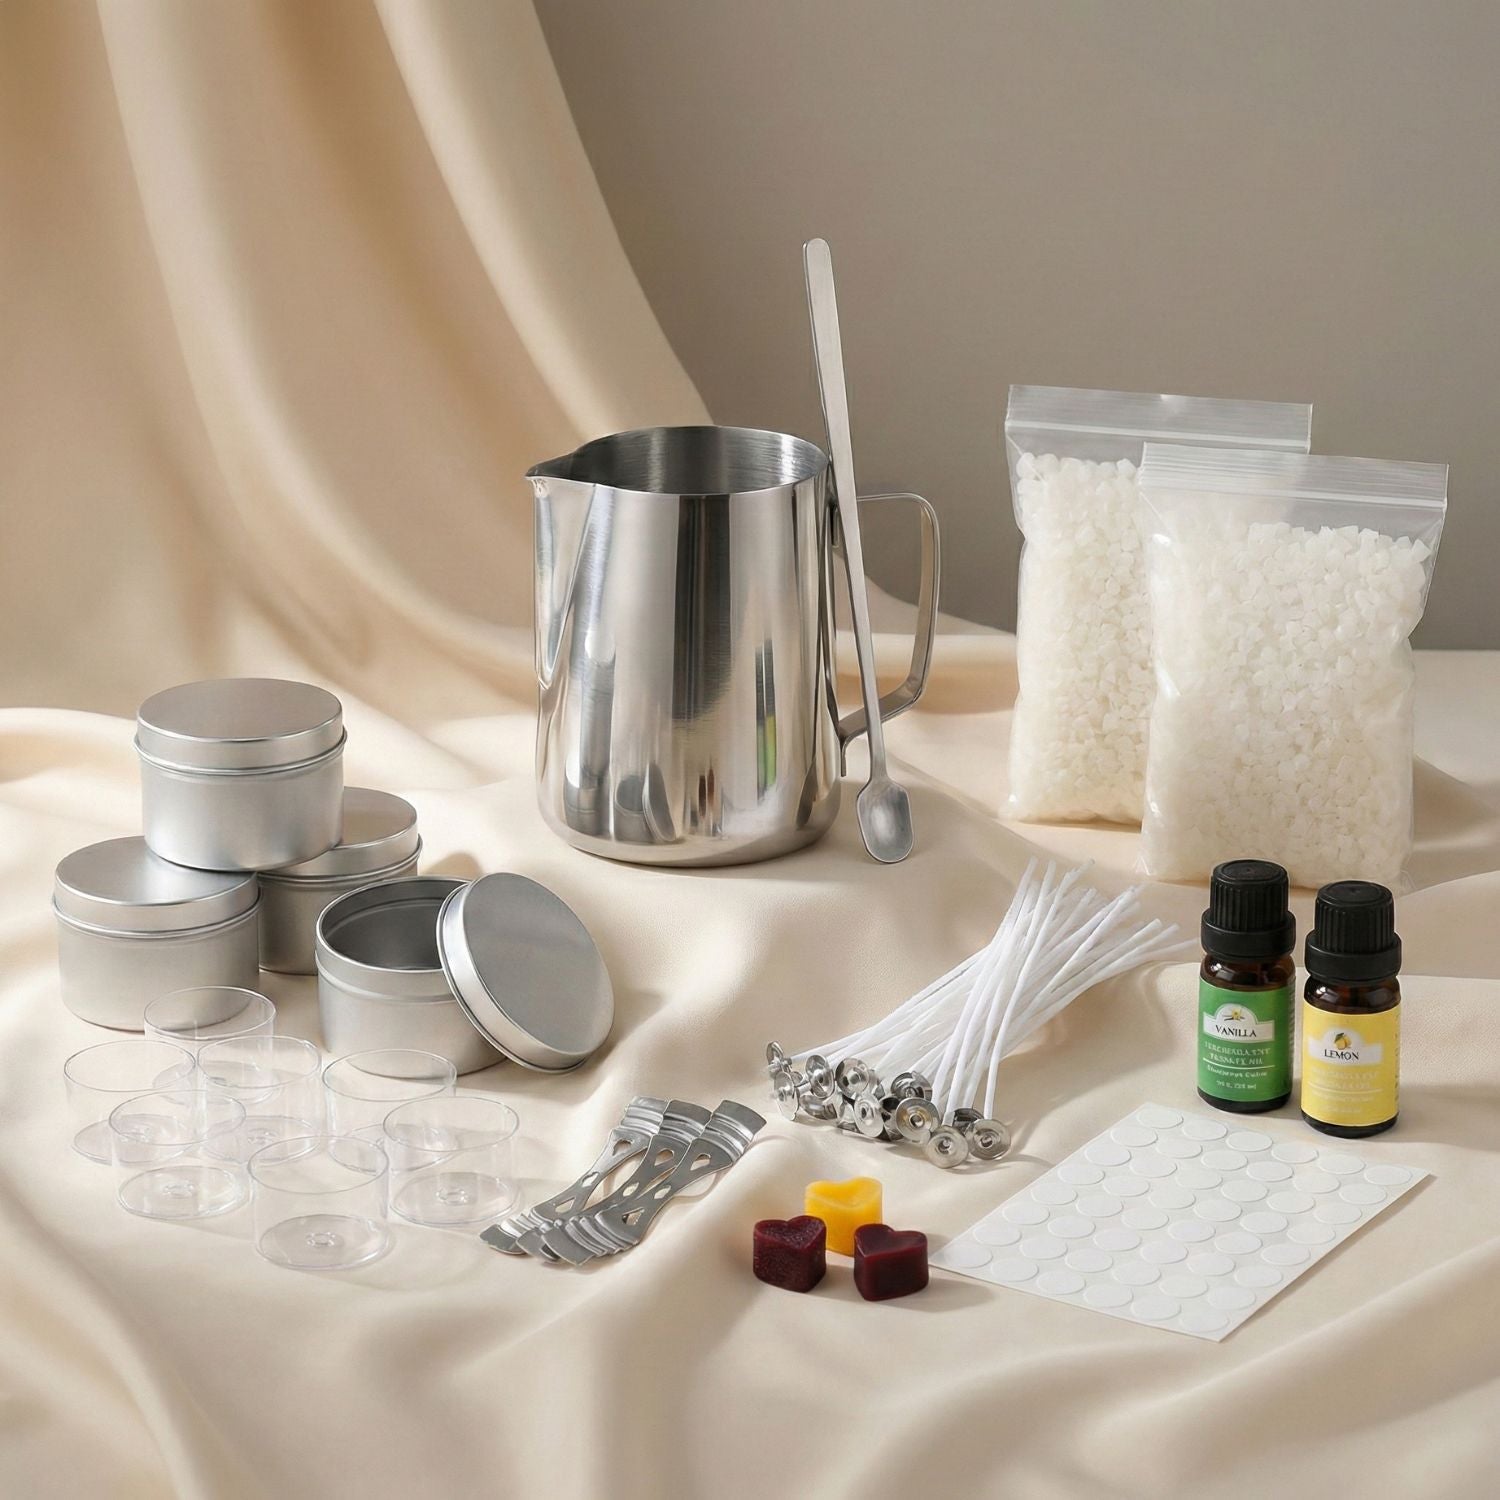
Supplies Needed for 3D Printed Candle Molds

You need just a few basic items to start making amazing candles with 3D printed molds. A good 3D printer and quality PLA filament will form the base of your creative candle‑making setup.
PLA filament
PLA filament stands as the top choice for making candle molds. This plastic material works great because it melts at high temps but stays firm at room temp. The filament creates smooth, precise molds that make perfect candles every time.
Most makers pick PLA over other options since it’s safe and easy to use.
The best part about PLA lies in its strength to hold hot wax without warping. Makers can print detailed patterns and textures right into their molds. The plastic won’t stick to the wax, so candles pop out clean and neat.
A single mold can make lots of candles before showing any wear and tear.
Candle wicks and wick holders
Proper wick placement makes a big difference in how your candles burn. The DIY candle making kit gives you 100 pre‑waxed cotton wicks to start your projects. These wicks come ready to use and need no extra prep work.
Two wooden wick holders keep each wick straight and centered while you pour your wax. This stops the wicks from moving or tilting during the setting process.
A wicking needle helps you thread the wick through your 3D printed mold with ease. Most molds need a hole in the center for the wick to pass through. If your mold lacks this hole, create one before you start pouring wax.
The right wick size matters too. Small candles need thin wicks, while larger ones need thicker wicks for even burning. Next, we'll explore the steps to create stunning candles using your prepared 3D printed molds.
Wax and pigment
You need top‑quality wax and pigments to make great candles. Paraffin wax creates solid pillar candles that hold their shape well. Beeswax makes natural candles but sticks more to molds during removal.
Mix your chosen wax with bright pigments to add bold colors to your designs.
Your wax choice affects how your candles look and burn. Start with small batches to test different wax types in your 3D printed molds. Use a thermometer to melt the wax in a double boiler setup.
Add tiny amounts of pigment until you get the perfect shade. Soy wax works great for container candles, while paraffin suits decorative shapes better.
Steps to Create Candles Using 3D Printed Molds
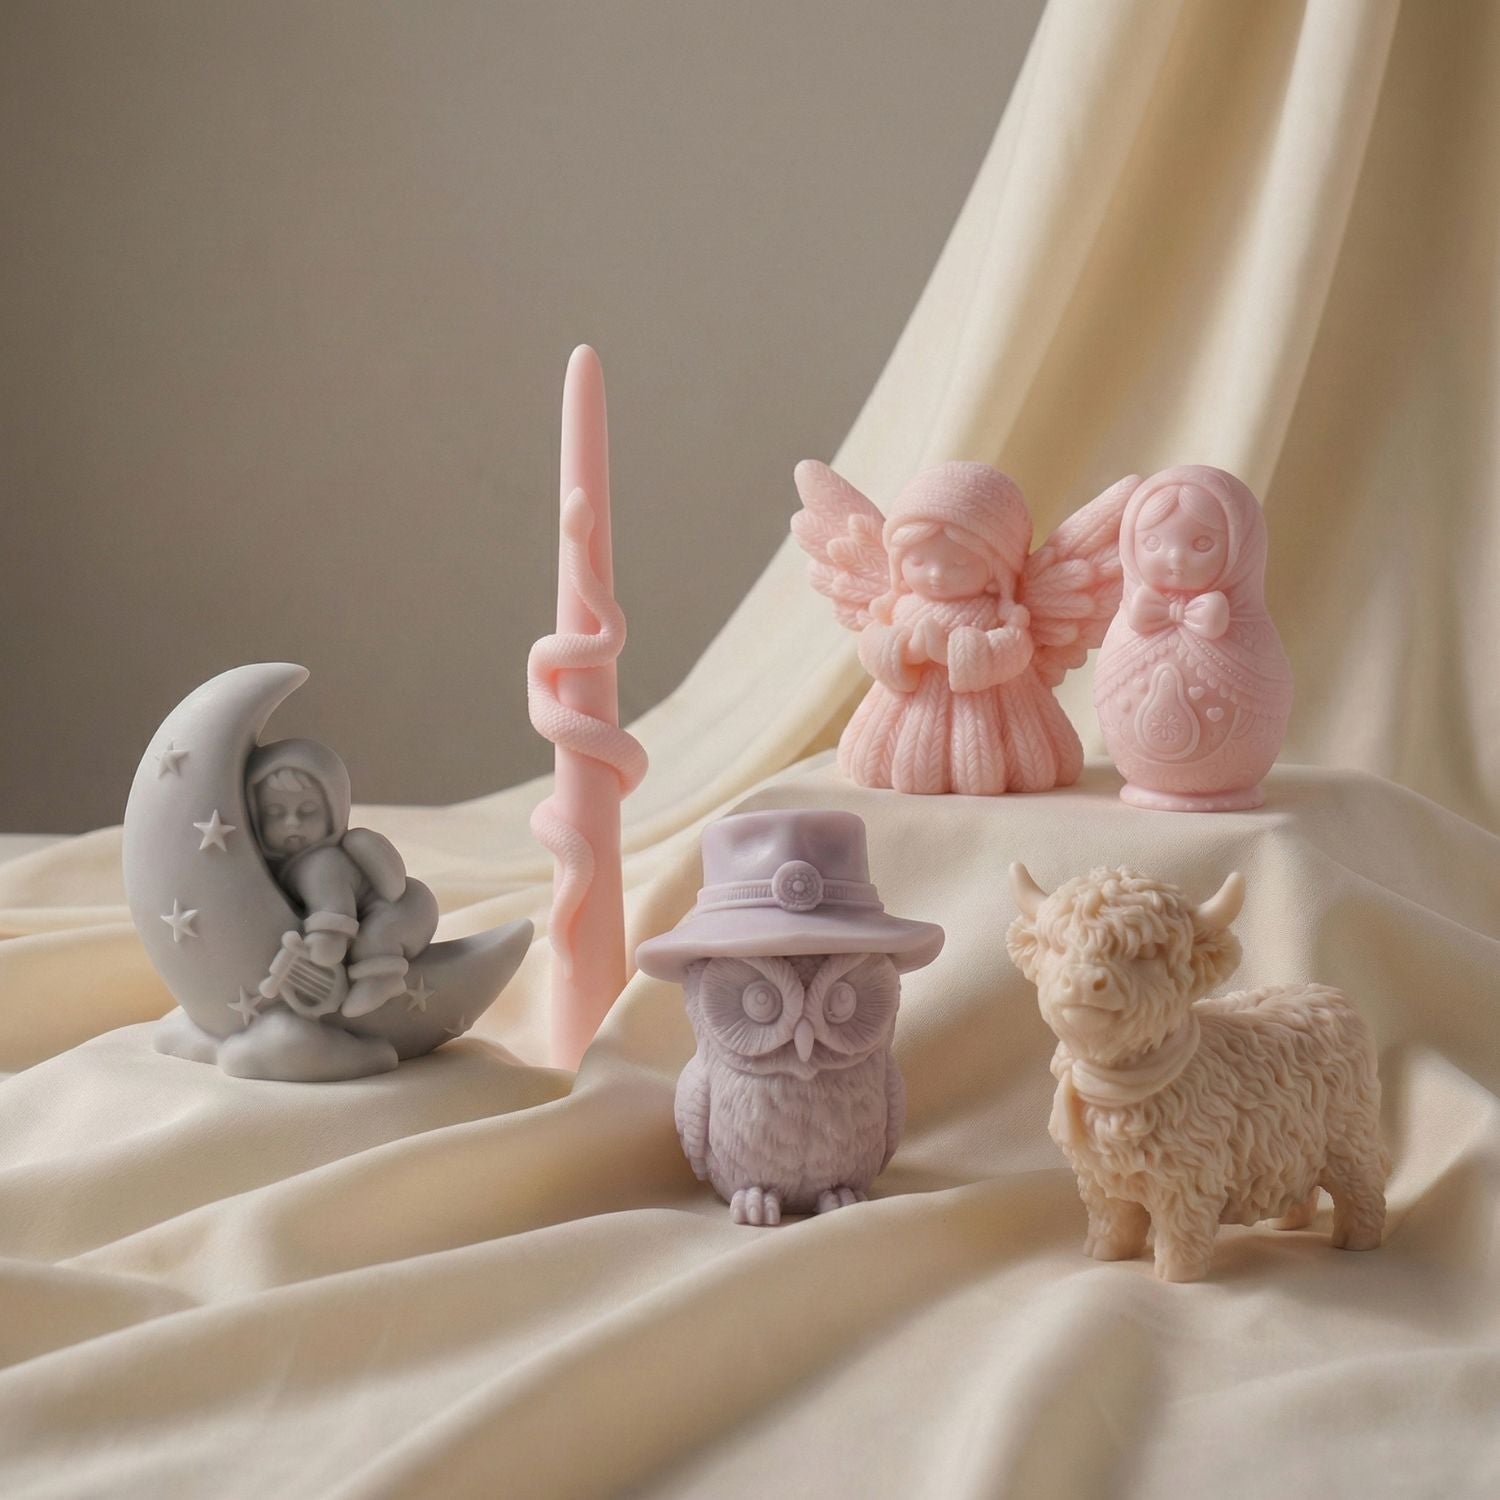
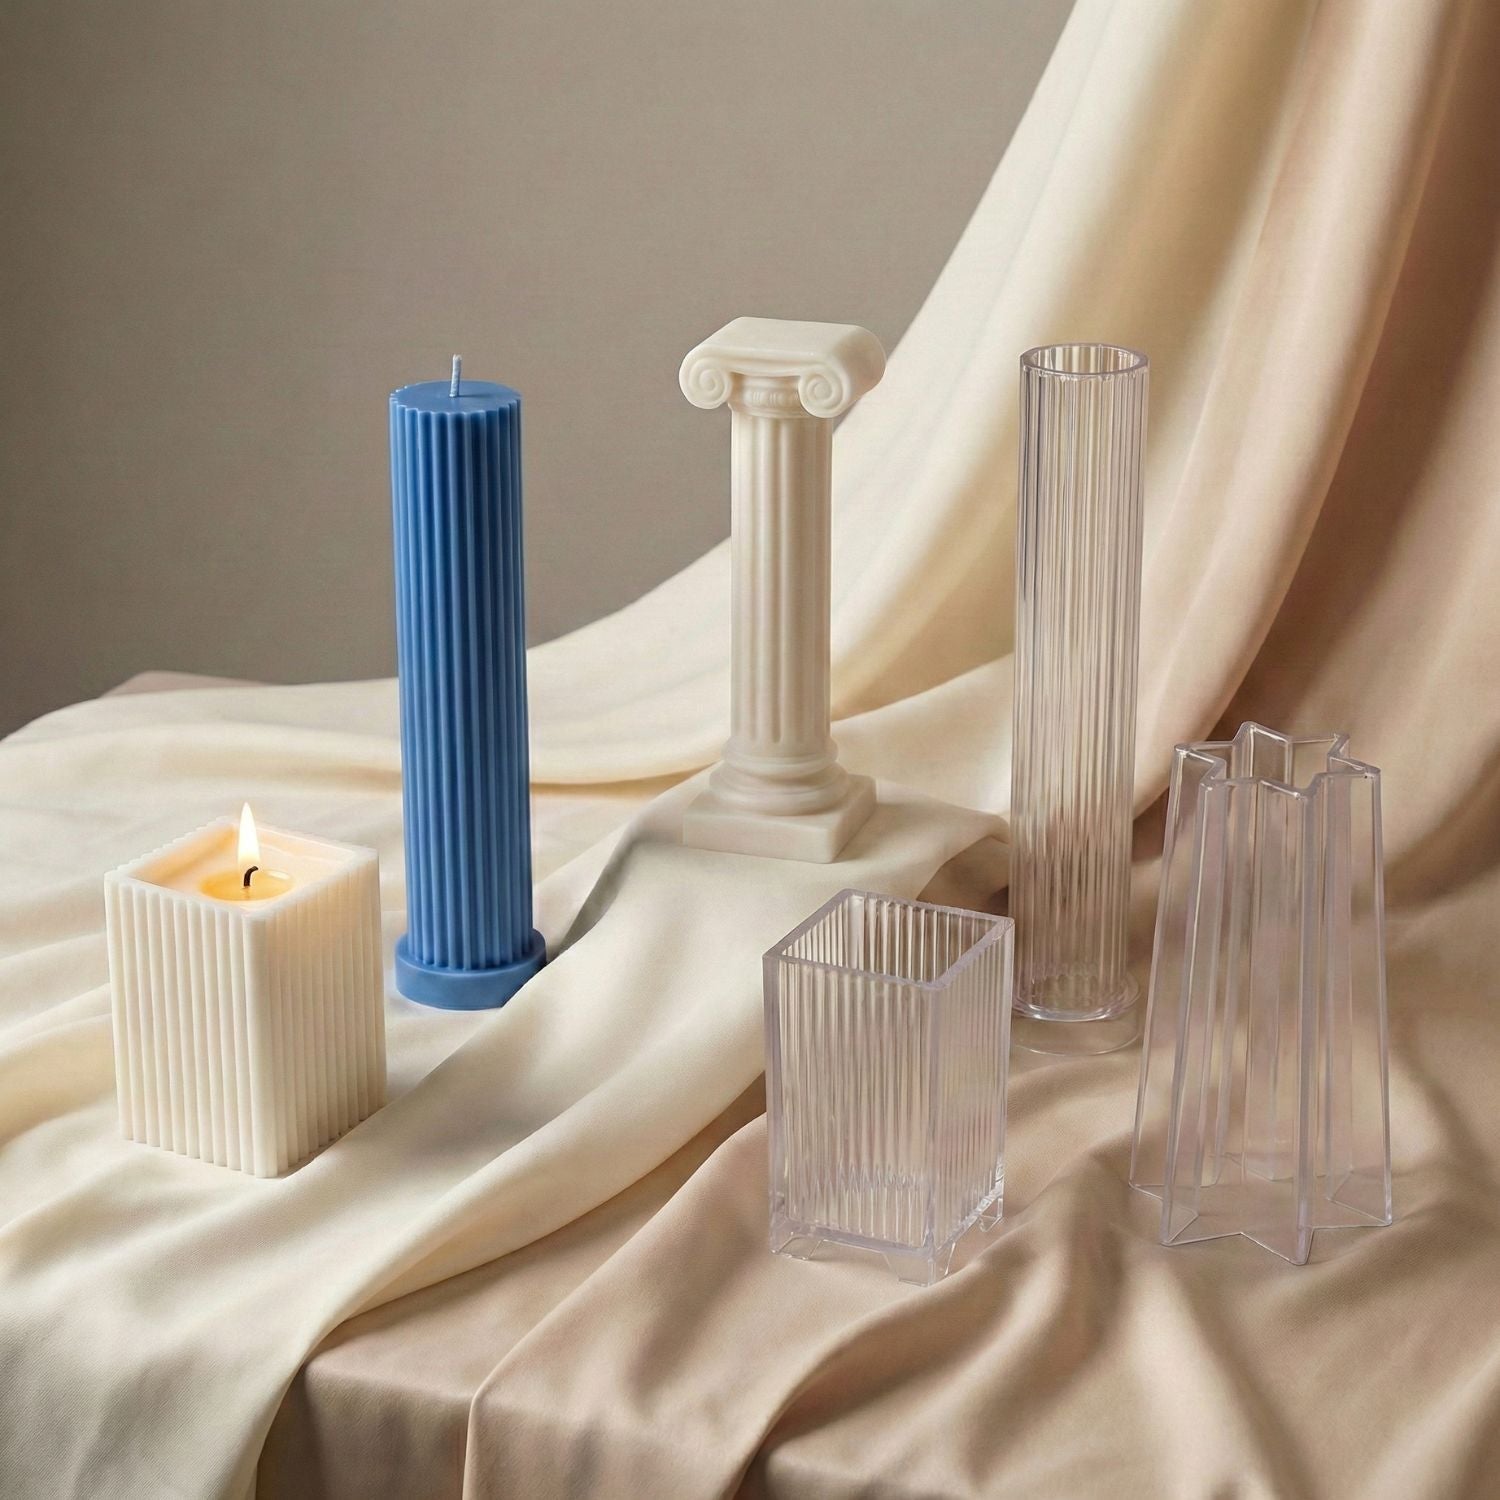
3D printed molds open up a world of creative options for making unique candles at home. You can start with basic shapes from Thingiverse or design your own custom molds to create amazing wax candles with intricate patterns and designs.
Design and print the mold
- Pick a simple shape for your first mold design in Tinkercad. Start with basic shapes like stars, hearts, or squares.
- Draw your design on paper first to plan the size and details you want to add.
- Set your mold walls thick enough (at least 2mm) to hold hot wax without breaking.
- Add texture to your design with built-in patterns from the software tools.
- Make sure your mold has a wide opening at the top for easy wax pouring.
- Check that all parts of your design connect properly before saving the file.
- Save your design as an STL file for 3D printing.
- Print using PLA filament at medium speed for the best results.
- Test your printed mold for any cracks or gaps before using it.
- Sand rough edges of your printed mold with fine-grit sandpaper.
Optimizing 3D Printer Settings for Molds
Review printer settings to suit PLA filament. Run test prints on models for 3D and adjust parameters to print a mold with steady walls using additive techniques.
Pour the wax and let it set
Your printed mold now stands ready for the next step. The wax pouring process needs care and precision to create perfect candles.
- Heat your wax in a double boiler to 185°F using a candy thermometer for precision
- Place your wick in the center of the mold with a wick holder to keep it straight
- Mix your chosen pigments into the melted wax to add custom colors to your candle
- Pour the hot wax slowly into your 3D printed mold to avoid air bubbles
- Keep the wick centered as you fill the mold to ensure even burning later
- Let the wax cool at room temp for 4–6 hours until it turns solid
- Check that the wax has turned white and feels firm to touch
- Gently remove your candle from the mold once it's fully set
- Trim the wick to about 1/4 inch before first use
- Store finished candles in a cool, dry spot away from direct sun
Safety Guidelines and Troubleshooting
Work at a designated workbench with heat-resistant surfaces. Wear protective gloves and eyewear when handling hot wax.
- Inspect the printed mold for cracks or rough areas before each use.
- Use a thermometer to maintain wax at the recommended 185°F.
- Monitor the pouring process to prevent air bubble formation.
- Ensure the work area is well ventilated during wax heating and pouring.
- If you run into shrinkage or cracking, check out how to solve wax shrinkage and cracking in detailed candle molds.
Record any issues encountered and modify your process to achieve consistent candle quality.
Tips for Achieving Unique Candle Designs
You can make amazing candles with 3D printed molds by mixing different colors and shapes. Your creative ideas will shine through custom designs that blend wax types and add special items like dried flowers or crystals.
Experiment with shapes and patterns
3D printing opens new doors for creative candle designs. Custom molds let makers craft unique shapes like stars, spirals, and complex geometric forms. The printed parts allow for fine details that standard molds can't match.
Many makers start with basic shapes then move to more complex filigree patterns.
Testing different designs helps perfect the art of candle making. Smart makers mix various patterns to create one-of-a-kind pieces. The layer-by-layer process of 3D printing technology makes intricate details possible.
Simple changes to the digital models create fresh looks without extra tools. These custom designs give candles special appeal in craft markets and online stores.
Use custom pigments and embedded elements
Custom pigments open up a world of color options for your candle creations. Mix different wax dyes to make unique shades that match your style. You can add dried flowers, small crystals, or decorative elements into your 3D-printed molds before pouring the wax.
These items create eye-catching designs once the candle sets.
The right mix of pigments and embedded items makes each candle special. I learned that placing items close to the mold’s edges creates the best visual effect. Small metal charms work great as embedded elements, while natural items like dried herbs add a nice touch.
The silicone mold helps these items stay in place during the wax pour. My favorite trick is to use hot glue to secure delicate items before adding the wax.
Advanced Design Techniques
Combine multiple materials during mold design to increase detail using additive methods. Experiment with overlaying design variations and custom pigment blends. What creative variations can you explore with print-a-mold techniques?
Conclusion
3D printed candle molds open up amazing ways to make unique candles at home. You can now bring your creative ideas to life with simple tools and basic skills. These molds help you make special shapes and patterns that regular molds can't match.
The mix of 3D printing and candlemaking gives crafters fresh ways to express their art. Start your journey into 3D printed candle making today, and watch your ideas turn into beautiful, one-of-a-kind creations.
FAQs
1. Can you make candle molds with a 3D printer?
Yes, 3D printers allow you to create custom molds for candles. This method gives you the flexibility to design unique shapes that would be impossible with store-bought molds. PLA filament is commonly used for printing molds, as it withstands the temperature of melted wax without warping.
2. What are the benefits of using 3D-printed candle molds?
3D-printed molds offer endless design possibilities, allowing you to craft intricate and personalized shapes. They are cost-effective for small batches and enable rapid prototyping for new candle designs. This technology provides more control and flexibility for both beginners and experienced makers.
3. Which materials work best for 3D-printed candle molds?
PLA is the most popular choice for candle molds due to its ease of use and ability to withstand wax temperatures. PETG is a great alternative if you need a more heat-resistant material. For higher heat resistance, ABS or ASA can also be used. Resin printers are another option for ultra-detailed molds.
4. Will hot wax melt a PLA 3D printed mold?
PLA typically won’t melt under normal wax pouring conditions (usually around 185°F). However, it may soften slightly if exposed to very hot wax for prolonged periods. To avoid warping, keep your wax temperature within recommended limits (around 130–160°F).
5. Can I use beeswax in a 3D printed mold?
Yes, beeswax works in 3D-printed molds, though it can be sticky and harder to remove than paraffin wax. To make removal easier, consider using a mold release spray or a light coat of vegetable oil.
6. How do I design and print a 3D candle mold?
Use CAD software to design your mold, ensuring it has enough wall thickness (at least 2mm) for stability. After creating the design, print it with your 3D printer using materials like PLA or PETG. For intricate details, consider resin printing.
7. How do I remove a candle from a 3D printed mold?
After allowing the wax to cool fully, you can gently remove the candle from the mold. Using a mold release agent, like vegetable oil or a silicone spray, can help make the process smoother. If necessary, chill the mold to help the wax contract slightly and make removal easier.
8. Are 3D-printed candle molds reusable?
Yes, 3D-printed molds are reusable. With proper care, you can make multiple candles with the same mold. However, materials like PLA may degrade slightly over time, especially with frequent use or high temperatures.
9. Should I create a silicone mold from my 3D printed mold?
If you plan to make large quantities of candles or need complex shapes, creating a silicone mold from your 3D-printed design is a good idea. Silicone molds are durable and flexible, making them easier to work with and more long-lasting than direct 3D-printed molds.
10. How can I achieve a smooth finish on candles made with 3D printed molds?
To reduce layer lines, print your mold with a fine layer height. You can also post-process by sanding the mold or applying a resin coating to smooth the surface. Resin prints offer an alternative with smoother results, ideal for detailed designs.
Written by Syed Muhammad Usaid


Leave a comment
This site is protected by hCaptcha and the hCaptcha Privacy Policy and Terms of Service apply.