Article: How to Prevent Frosting on Colored Molded Candles
How to Prevent Frosting on Colored Molded Candles
Colored molded candles can look beautiful when the surface is smooth, even, and rich in color. But if you work with soy wax or soy-based pillar blends, you may notice pale white patches forming on the outside of the candle after demolding, curing, or storing. This is called candle frosting.
Frosting usually affects the appearance of the candle more than the burn performance. The candle may still smell and burn normally, but on dark, bold, or sculptural candles, the white film can make the finished piece look less polished. This is especially noticeable on black, red, navy, purple, and deep green candles.
The good news is that you can reduce visible frosting with better wax selection, controlled pouring temperatures, warmed molds, slow cooling, and careful dye use. This guide explains how to prevent frosting on colored candles, especially pillar candles and detailed silicone molded candles.
Technical Specifications for Reducing Candle Frosting
Use this table as a practical starting point. Always compare these ranges with your wax manufacturer’s instructions because every wax blend behaves differently.
| Factor | Recommended Starting Point | Why It Helps |
|---|---|---|
| Wax type | Pillar soy blend, soy-paraffin blend, beeswax blend, or molded candle wax | Container soy wax is usually too soft for molded candles and may show frosting more easily. |
| Melt temperature | Follow wax instructions; many blends are melted around 175°F to 185°F | Fully melting the wax helps dye and additives mix more evenly. |
| Dye mixing temperature | Usually near the higher end of the wax’s safe working range | Better dye dispersion can reduce uneven color and pale surface marks. |
| Test pour range | 135°F to 155°F for many soy-based pillar blends | Testing different pour temperatures helps you find the smoothest finish for your mold and room conditions. |
| Mold temperature | Slightly warm, not hot; around 90°F to 100°F as a test range | A slightly warmed silicone mold can reduce thermal shock on the candle surface. |
| Cooling area | Room temperature, draft-free, steady environment | Rapid temperature changes can make frosting, cracks, and jump lines more visible. |
| Storage | Cool, dry, stable temperature; away from sunlight | Temperature swings during storage can bring frosting back over time. |
What Causes Frosting on Colored Candles?
Frosting is the pale, cloudy, or crystal-like film that appears on the surface of some candles. It is most common in soy wax and other vegetable waxes. These waxes naturally form crystal structures as they cool and continue to settle. When those crystals become visible on the surface, the candle looks frosted.
This is why frosting is often more noticeable on colored candles than plain white candles. A white candle can hide small crystal marks, but a dark blue, black, red, or emerald candle makes every pale patch stand out.
Molded candles can show frosting more clearly because the candle surface is the final design. With container candles, the top surface is usually the main visual area. With pillar and sculptural candles, the sides, curves, ridges, petals, and edges are all visible. This makes the finish more important.

Choose the Right Wax for Molded Candles
If you want smoother colored molded candles, start with the wax. Pure container soy wax is usually made for jars, not freestanding shapes. It can be soft, prone to surface marks, and difficult to demold cleanly from detailed shapes.
For pillar candles, sculptural candles, and silicone molds, use a wax that is designed for molded work. A pillar soy blend, parasoy blend, beeswax blend, or molded candle wax usually gives better structure and a cleaner finish.
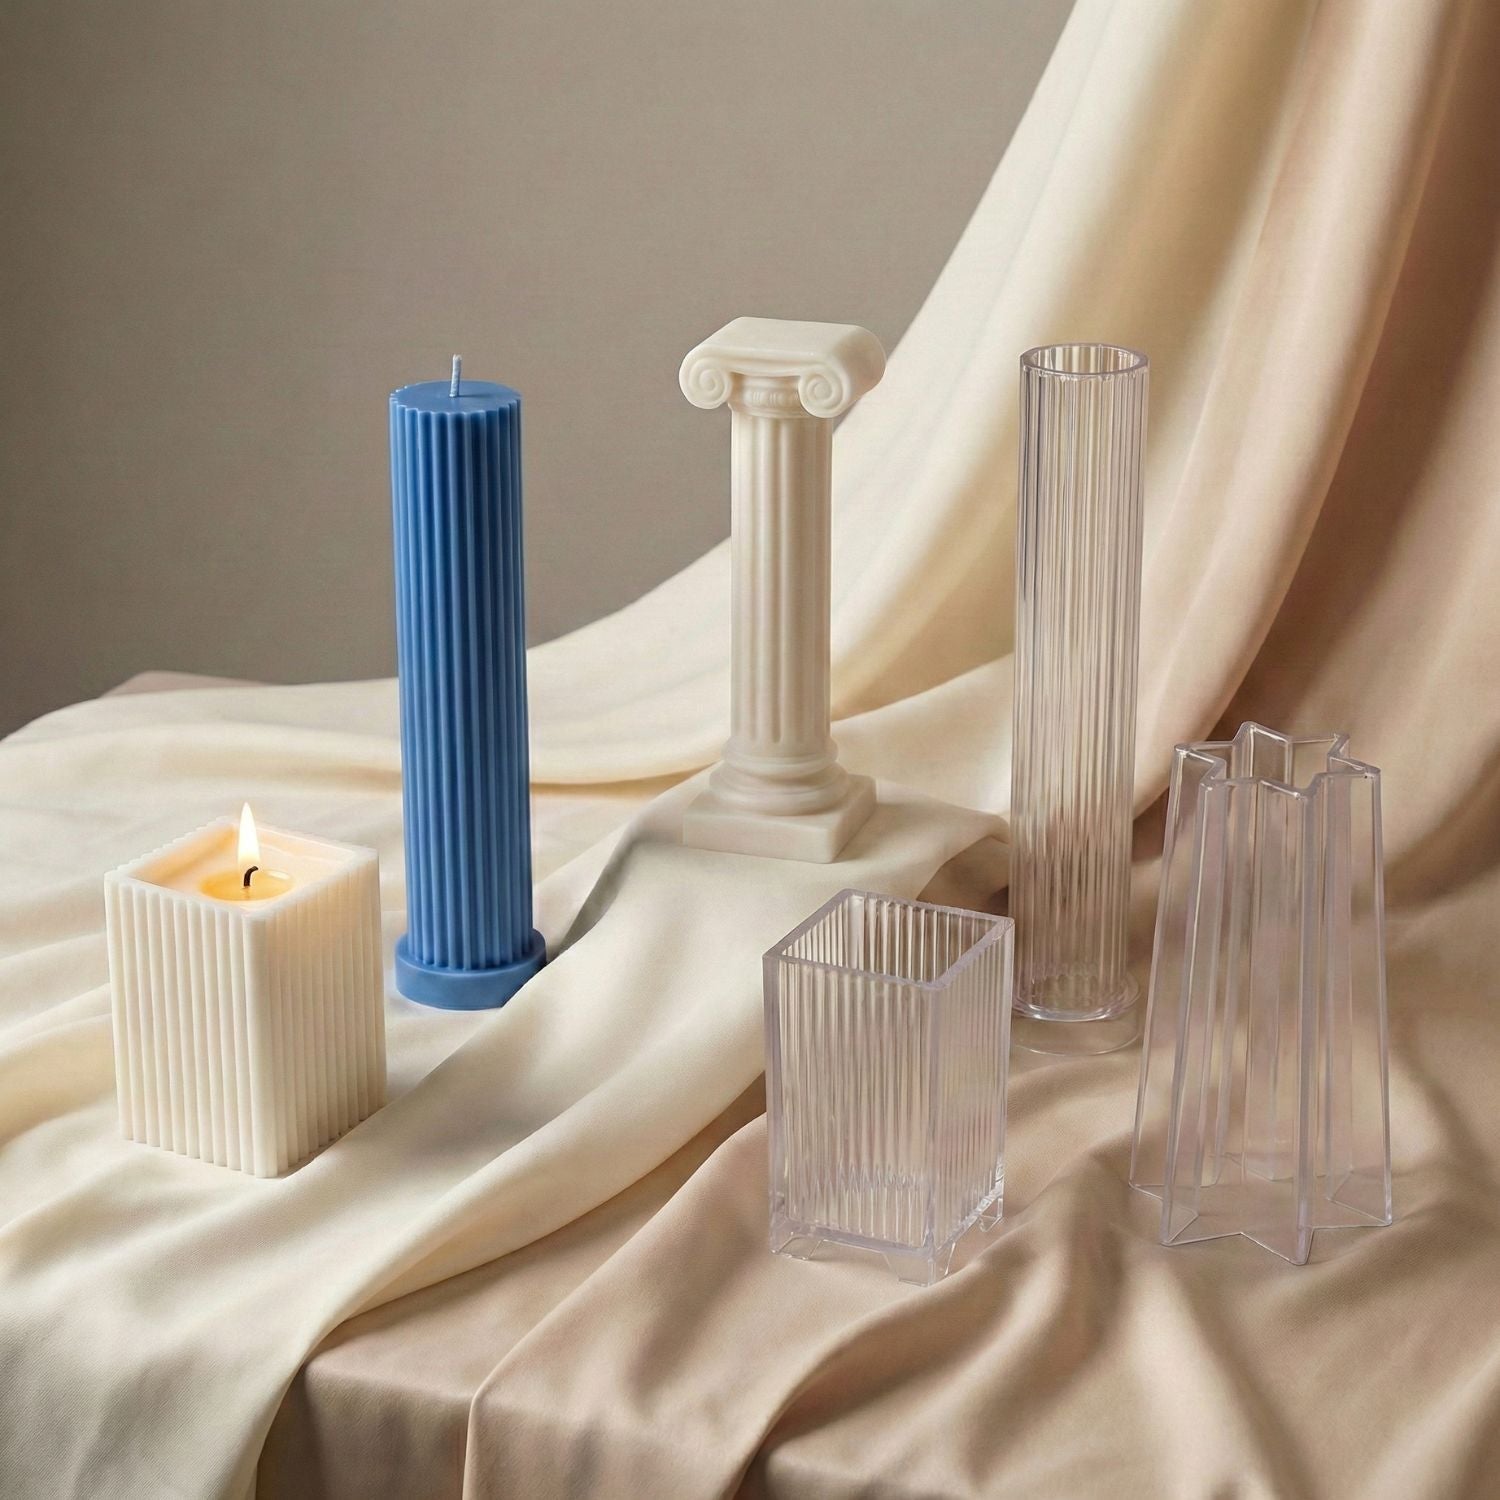
If you are creating tall, simple pillar candles, a stable pillar wax will usually perform better in a shape like the unique tall pillar silicone candle mold. Tall candles need enough hardness to stand cleanly after demolding, especially when colored wax makes surface flaws easier to notice.
For curved or textured styles, wax choice matters even more. A candle with ribs, waves, grooves, or swirls has more surface area. That means more places where frosting can appear. If you are testing colored wax in a shape like the round swirl pillar candle silicone mold, make a small test batch first before making several finished pieces.

Control Pour Temperature Instead of Guessing
Pour temperature has a major effect on how the candle surface sets inside the mold. Pour too hot, and the wax may cool slowly and unevenly. Pour too cold, and the wax may thicken too early, causing jump lines, rough patches, trapped air, or uneven color.
The best pour temperature depends on your wax, dye, fragrance load, mold size, and room temperature. That is why a single “perfect” temperature does not work for every candle maker.
A practical way to test is to divide one small batch into three pours:
- Pour one sample at 135°F.
- Pour one sample at 145°F.
- Pour one sample at 155°F.
Use the same wax, dye amount, fragrance load, mold, and room conditions for all three. After demolding, check the candle surface immediately, after 24 hours, and again after several days. The best temperature is the one that gives the cleanest finish after the candle has had time to settle.
For detailed silicone molds, do not judge the candle only when it first comes out of the mold. Some frosting appears later, especially if the candle is moved into a cooler room or exposed to sunlight near a window.
Warm the Silicone Mold Before Pouring
Cold silicone can shock warm wax. When hot wax touches a cold mold wall, the outside layer can set faster than the center. This uneven cooling can make frosting and surface lines more visible.
Before pouring, gently warm the mold. The goal is not to make it hot. The goal is to remove the cold surface temperature. You can place the mold in a warm room, use a low heat setting carefully, or warm the outside of the mold for a short time before pouring.
This is especially useful for molds with grooves, curves, and narrow edges. For example, a design like the U-shaped stripe silicone candle molds has recessed areas where wax can cool at different speeds. A slightly warmed mold can help the surface set more evenly.
Be careful not to overheat silicone molds. Too much heat can make the mold uncomfortable to handle and may affect the shape or finish. Warm is enough.

Use Dye Carefully for Dark Colored Candles
Color makes frosting more visible, but dye use can also affect the final finish. Too much dye can make the wax harder to stabilize, especially when using liquid dyes. Heavy dye loads may also cause uneven color, staining, or weak-looking surface areas.
Use the smallest amount of dye needed to reach your target shade. For dark colors, add dye slowly and test in small batches. A candle can look very dark when melted but dry lighter after cooling, so always judge the finished color after the wax fully sets.
Stir the dye slowly and thoroughly. Fast stirring can trap air in the wax. Air pockets can create tiny surface marks, especially in smooth molds and detailed floral molds.
For detailed decorative pieces, such as candles made with a 3D flower shape scented candle silicone mold, avoid rushing the dye and fragrance mixing stage. Petals, ridges, and small edges can reveal uneven color more clearly than plain shapes.

Cool Candles Slowly and Keep the Room Stable
Slow, even cooling is one of the most important steps for reducing frosting. After pouring, place the mold in a stable room away from open windows, fans, air conditioners, heaters, and direct sunlight.
Do not place soy or soy-blend candles in the refrigerator to stop frosting. Fast cooling may help the candle release from some molds, but it can also create cracks, uneven shrinkage, wet-looking marks, and stronger frosting once the candle returns to room temperature.
For best results, leave the mold undisturbed while the wax sets. Moving the mold too early can disturb the surface and create internal stress. Larger pillar candles may need more time before demolding because the outside can feel firm while the center is still warm.
If your room is cold, place the mold inside a cardboard box or cover it loosely with a clean box to slow the cooling process. Do not wrap it so tightly that heat gets trapped for too long. The goal is steady cooling, not overheating.

Test Additives Only When Needed
If you sell candles or make dark-colored molded candles regularly, you may eventually test wax additives. Additives can help improve hardness, opacity, surface smoothness, and color depth, but they should be used carefully.
Stearic acid is often used to harden candles and improve opacity. Some pillar waxes already contain hardeners, so adding more is not always necessary. Too much hardener can make a candle brittle or affect the way it burns.
Microcrystalline wax can help improve flexibility and reduce surface issues in some blends. Paraffin can also reduce visible frosting when blended with soy, but it changes the candle’s marketing position if you are selling “100% soy” candles.
Before changing your formula, test one variable at a time. Do not change wax, dye, fragrance, pour temperature, and additive percentage in the same batch. If you change everything at once, you will not know what fixed the problem.
Use the Right Mold for the Finish You Want
The mold shape affects how visible frosting becomes. Smooth surfaces show pale patches clearly. Highly textured surfaces can hide light frosting better, but they may also cool unevenly if the design has deep ridges or thin details.
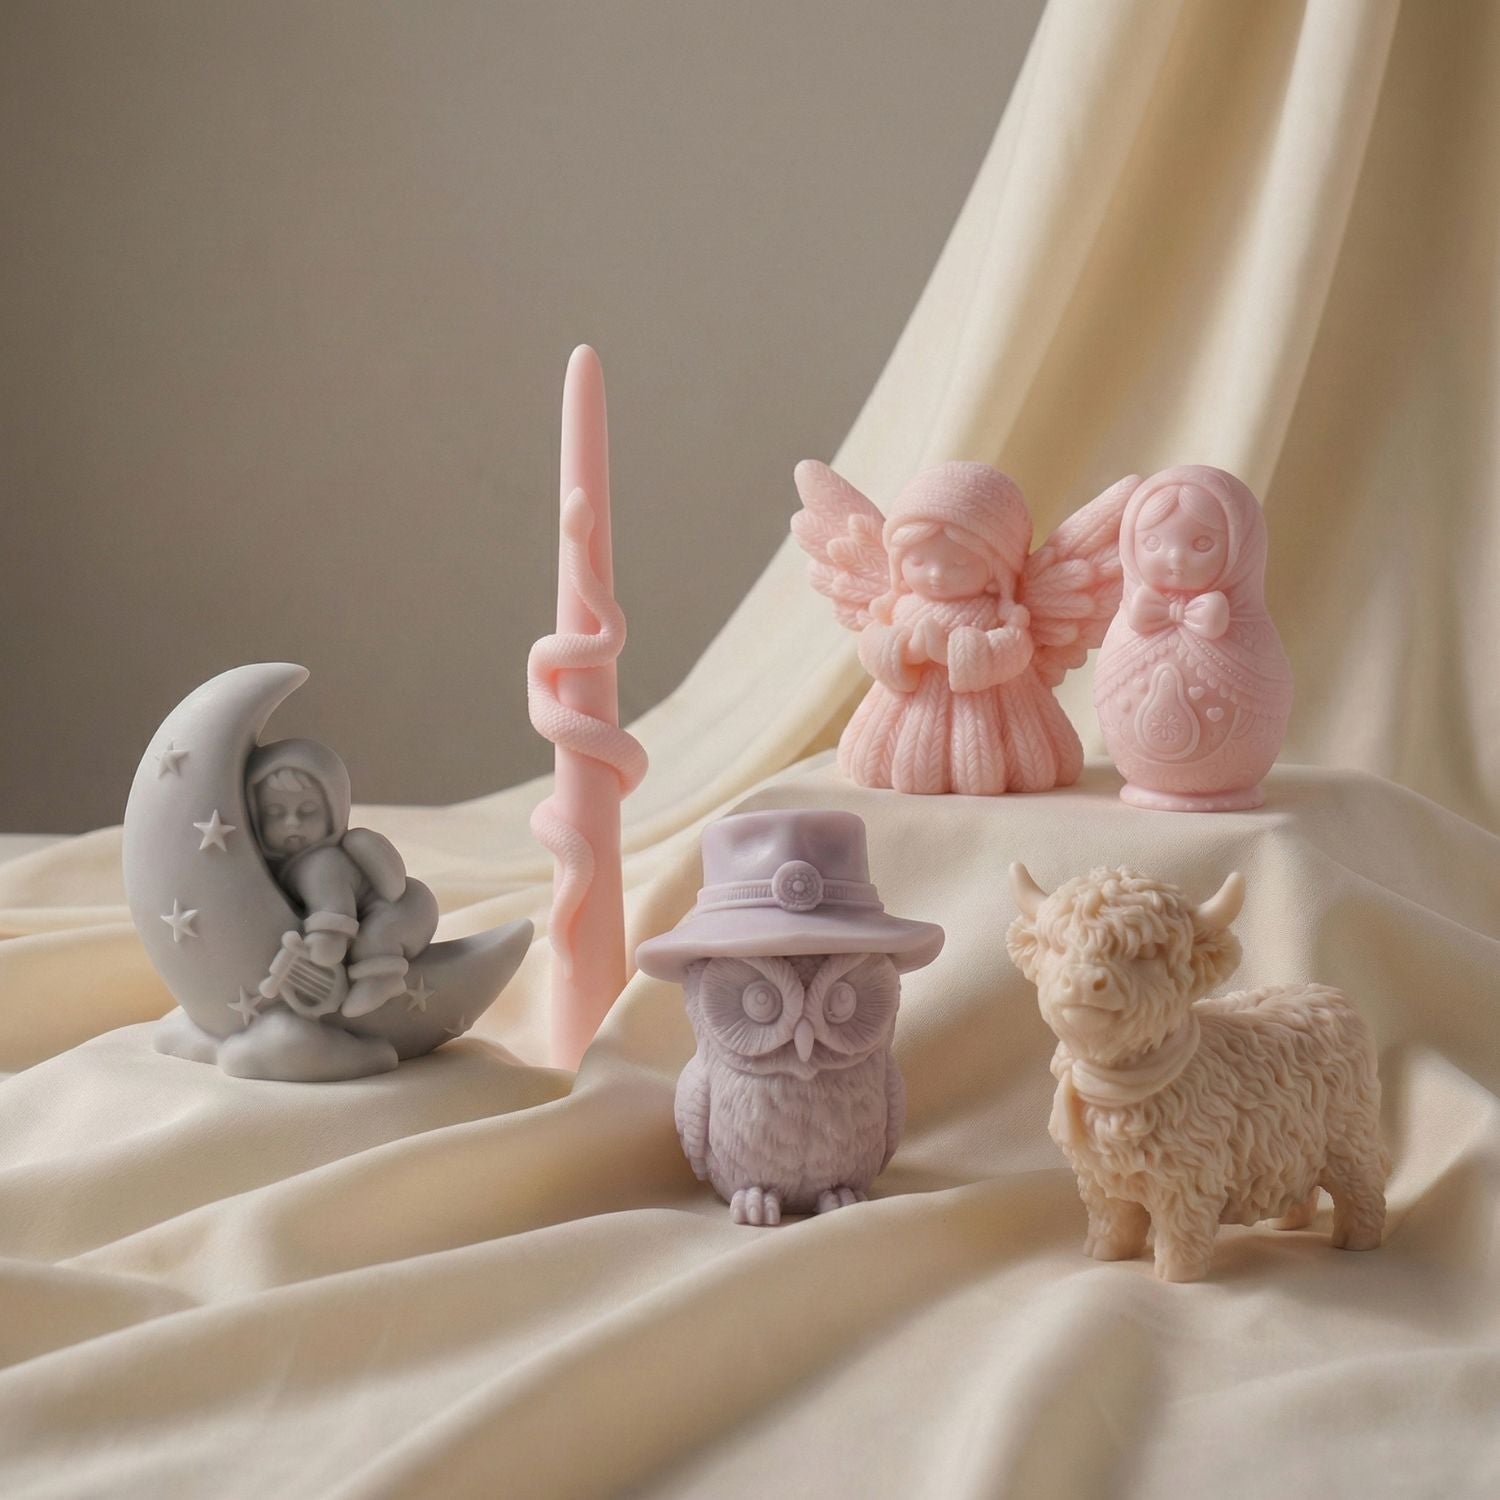
If you are still learning how to prevent frosting on colored candles, start with a simpler shape before moving to very detailed sculptural designs. Once you understand how your wax behaves, you can test more decorative options from the silicone candle molds collection.
For product photography, always inspect colored candles in natural light and side light. Frosting sometimes looks invisible from the front but appears clearly when light hits the candle from the side.

Quick Troubleshooting Guide
| Problem | Likely Cause | What to Try Next |
|---|---|---|
| White patches after 24 hours | Natural soy frosting or unstable cooling | Try slower cooling, warmer mold, or a different pour temperature. |
| Frosting appears after storage | Temperature changes during storage | Store candles in a cool, dry, stable place away from sunlight. |
| Rough lines on the sides | Wax poured too cool or mold too cold | Warm the mold slightly and test a higher pour temperature. |
| Uneven dark color | Dye not fully mixed or too much dye used | Mix dye more thoroughly and reduce dye load in the next test. |
| Cracks or heavy surface marks | Cooling too fast | Avoid refrigeration and keep the candle away from drafts. |
Frequently Asked Questions
Can frosting be completely removed from soy candles?
Not always. Soy wax can naturally develop frosting over time. You can reduce visible frosting with better wax choice, controlled pouring, slow cooling, and stable storage, but it is difficult to guarantee that soy candles will never frost.
Does frosting mean my candle is ruined?
No. Frosting is usually a visual issue. The candle may still burn and smell normally. However, for colored molded candles, frosting can reduce the clean, premium look of the finished piece.
Why do dark colored candles show frosting more?
Dark colors create more contrast. Pale crystal marks may barely show on a cream or white candle, but they stand out clearly on black, navy, red, purple, and deep green candles.
Should I put molded candles in the fridge to stop frosting?
No. Refrigeration can cool the wax too quickly and may cause cracks, shrinkage, jump lines, or more visible frosting later. A stable room-temperature cooling area is usually better.
Which wax is best for colored molded candles?
A pillar wax, soy pillar blend, parasoy blend, beeswax blend, or wax made specifically for molded candles is usually better than soft container soy wax. Always test your wax with your mold, dye, and fragrance before making a full batch.
Final Tips for a Cleaner Colored Candle Finish
Preventing candle frosting is mostly about control. Choose a wax made for molded candles, melt and mix it properly, use dye carefully, warm the mold slightly, pour within a tested temperature range, and let the candle cool slowly in a stable room.
Do not expect every soy candle to stay perfectly smooth forever. Instead, build a repeatable process that reduces visible frosting and gives you a cleaner, more professional finish more often.
If you are ready to test new shapes, explore the Candles Molds collection of silicone candle molds and try your best-performing wax formula across simple pillars, swirls, flowers, and sculptural designs.

Written by Syed Muhammad Usaid


Leave a comment
This site is protected by hCaptcha and the hCaptcha Privacy Policy and Terms of Service apply.