Silicone vs. Polycarbonate Candle Molds: Which Yields the Best Results?
For beginners, the world of candle making usually starts with a simple container or a soft silicone mold. But as you scroll through social media, you’ve likely noticed those stunning, glass-like pillar candles that seem almost too perfect to be real. You might be asking yourself: How do they get that mirror-like shine?
The secret isn’t just the wax blend—it’s the mold material.
Moving from a hobbyist to a professional candle maker often involves mastering different tools. In this guide, we break down the battle of Polycarbonate vs. Silicone Candle Molds, helping you decide which tool is right for your next masterpiece.

Quick Comparison: Which Mold Should You Choose?
| Feature | Silicone Molds | Polycarbonate Molds |
|---|---|---|
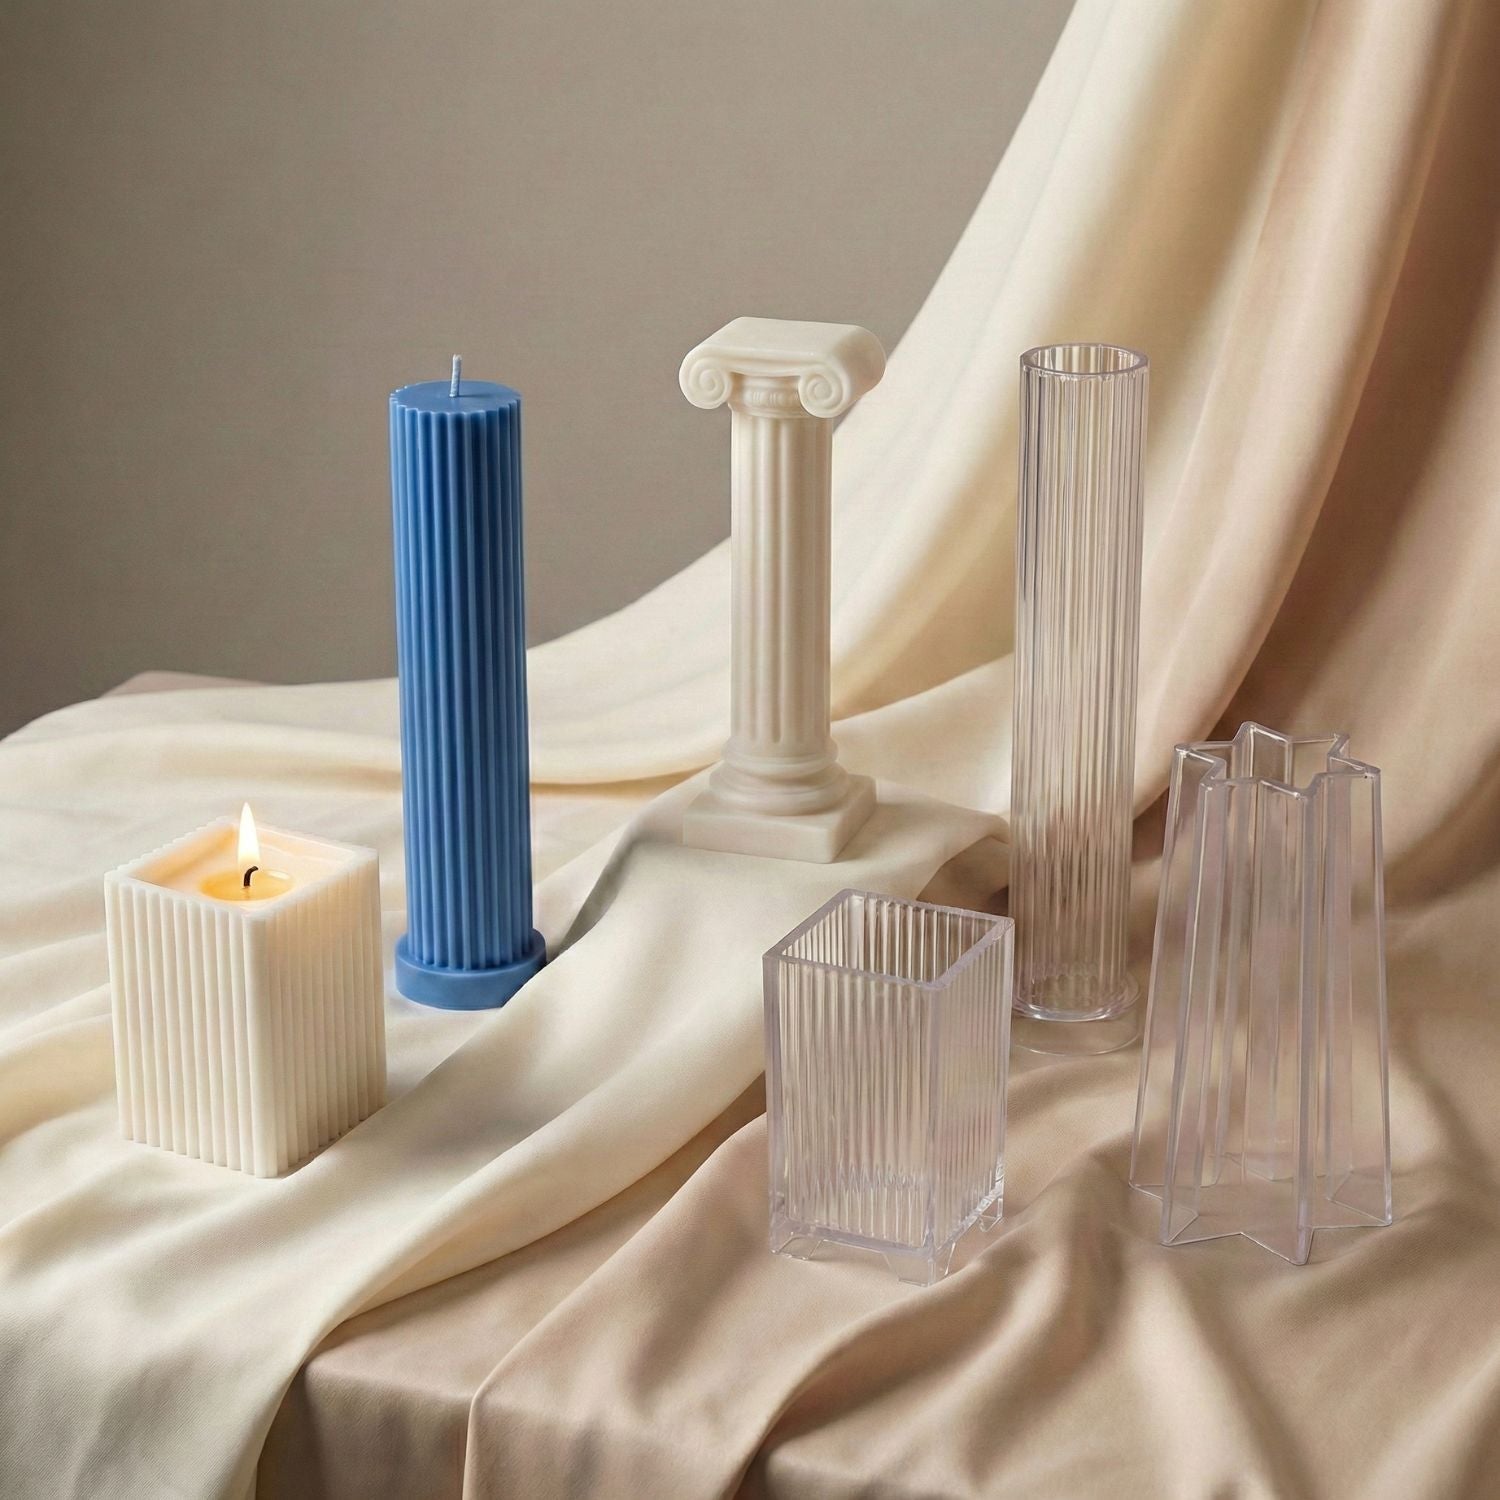
| Best For | Complex shapes (Animals, Flowers, 3D Art) | Geometric Pillars, Tapers, Smooth Cylinders |
| Finish | Matte / Satin / Textured | High Gloss / Glass-like / Mirror Finish |
| Durability | 1-3 Years (Prone to tearing over time) | 5+ Years (Extremely rigid & heat resistant) |
| Wicking | Requires poking a hole (Needle) | Requires a wick pin or threading (Precise) |
| Difficulty | Beginner-Friendly (Easy to demold) | Intermediate (Requires precise temperatures) |
1. The Core Differences: Flexibility and Wicking
The most immediate difference you will feel is the rigidity, which changes how you handle the mold entirely.
Silicone molds are soft, rubbery, and incredibly flexible. This flexibility allows you to peel the mold back to release intricate details without snapping the wax. If you are creating detailed projects like those found in our animal molds collection, silicone is often the only option. For more tips on handling soft molds, check out our guide on using silicone molds like a pro.
Polycarbonate molds are made from a tough, clear thermoplastic. They do not bend—at all. They are designed for "straight-walled" shapes like classic pillars and spheres. Because they are rigid, they offer superior stability.
The Wicking Process
Because of this difference in rigidity, the way you prepare your wick is completely different. If you are new to wicking, we highly recommend reading our deep dive on mastering the art of candle wicks.

With silicone, you typically poke a hole through the soft bottom with a needle. With polycarbonate, the mold has a pre-drilled hole that requires a metal wick pin or a wick centering tool to seal it during the pour.
2. Why Professionals Use Polycarbonate: The "Glass-Like" Shine
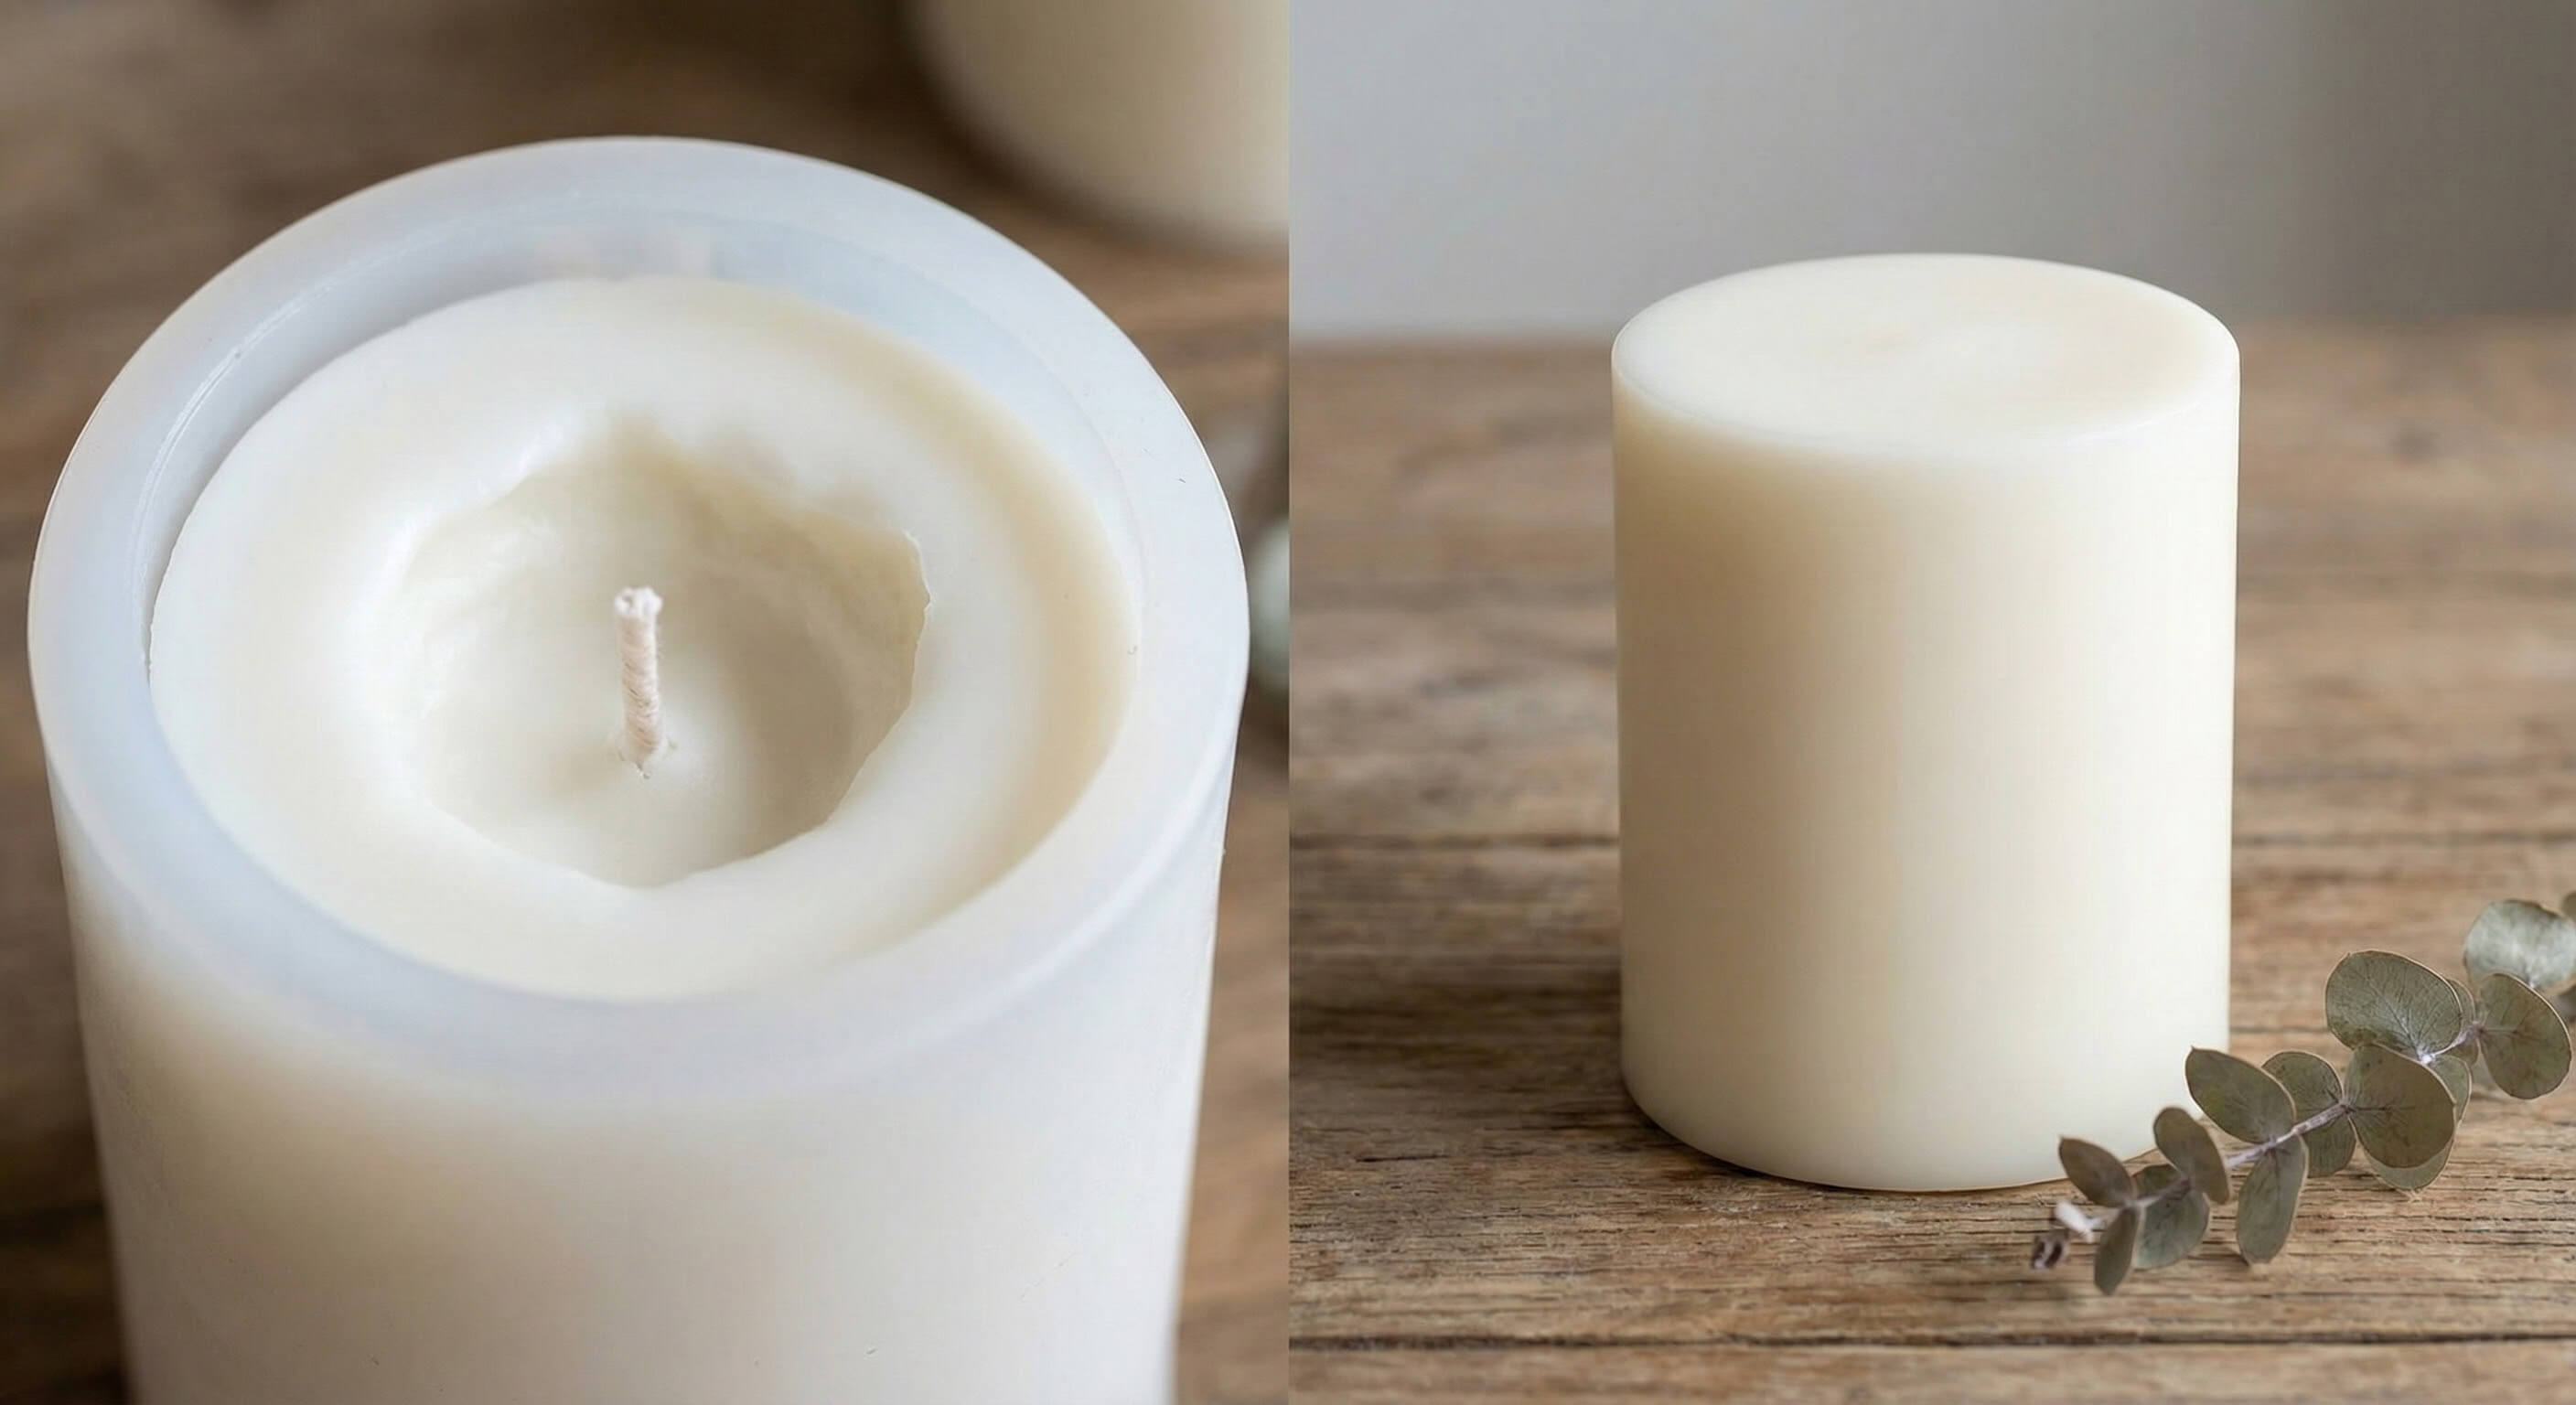
Have you ever seen a candle that looks wet even when it's dry? That is the signature of a Polycarbonate Mold.
Because the surface of polycarbonate is microscopically smooth and hard, the wax cools against it to form a mirror-like finish. In contrast, silicone molds typically result in a matte or satin finish due to the slightly porous nature of the rubber.
If your goal is to create luxury, high-end decor pillars that catch the light, you need to upgrade to rigid plastic or acrylic molds.

3. Best Wax for Each: The Science of Sticking
This is where most beginners fail. You cannot just pour any wax into any mold. To better understand this, you should check our guide on types of candle wax.
For Polycarbonate (Must Shrink):
You generally need Paraffin or a formulated Paraffin-Soy Pillar Blend. These waxes shrink significantly as they cool. This shrinkage is vital—it allows the candle to physically pull away from the rigid plastic walls so it can slide out.
Warning: If you use soft, 100% soy wax (which doesn't shrink much) in a polycarbonate mold, it will likely stick permanently.
For Silicone (Flexible):
You have more freedom. Soy Wax, Beeswax, and Blends all work beautifully. Since you can physically peel the mold away from the wax, you don't need to rely on the wax shrinking to release it. Be sure to check our step-by-step demolding guide to avoid damaging your softer wax creations.
4. Troubleshooting: Temperature & "Jump Lines"
Polycarbonate molds are sensitive to temperature shock. If you pour hot wax into a cold plastic mold, the wax will cool instantly upon contact, creating ugly horizontal rings known as "jump lines."

The Fix: Professionals always use a heat gun to warm the polycarbonate mold to approximately 100°F - 115°F before pouring. This ensures the wax cools slowly and evenly, creating that flawless glass finish.
Final Verdict: Which Should You Buy?
- Choose Silicone if you want to make trendy, artistic shapes (like bubble candles or bodies) and want an easy learning curve.
- Choose Polycarbonate if you want to produce professional, glossy pillars and are ready to master the science of wax temperatures and mold pre-heating.
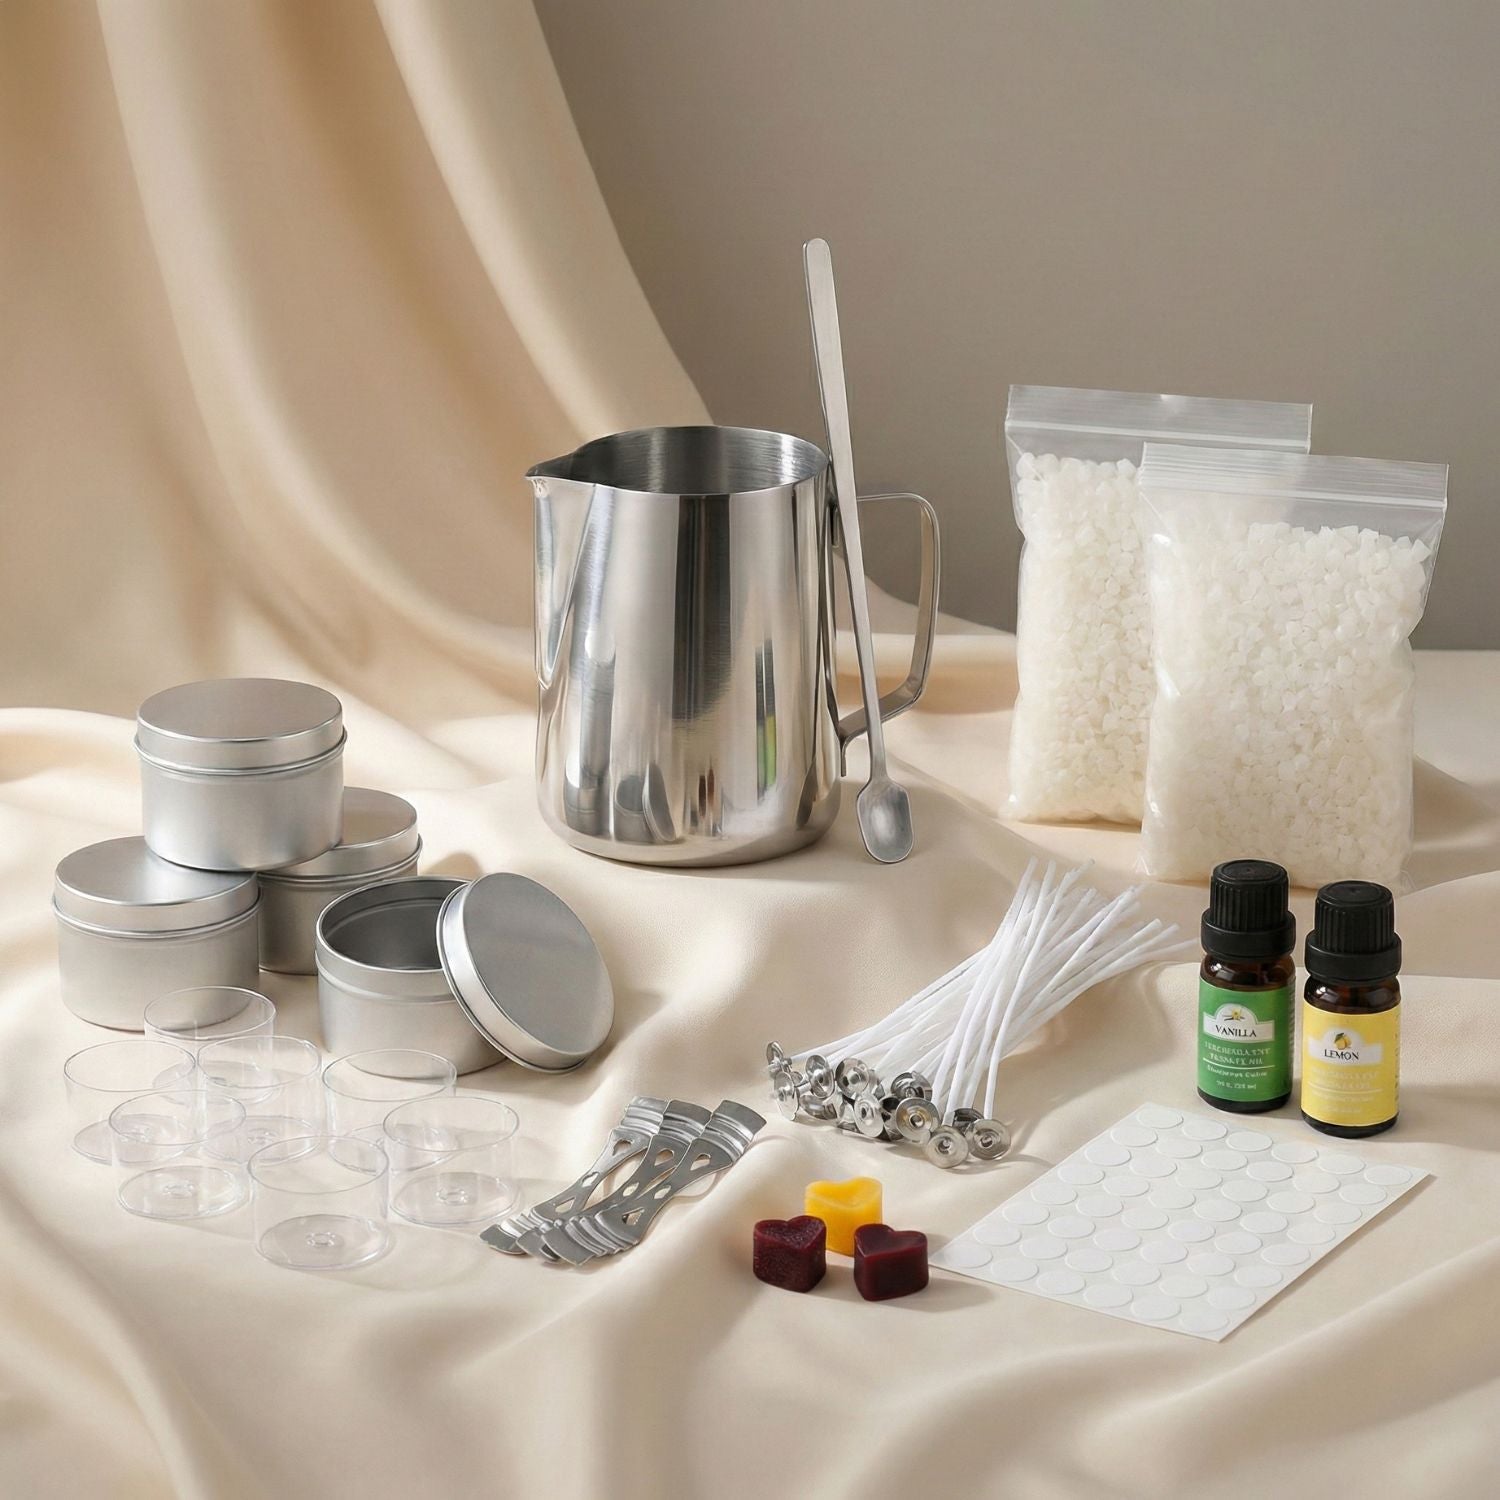
Ready to turn your hobby into a business? If you are planning to scale up, don't miss our guide on how to start a candle business step-by-step. When you are ready to start casting, explore our full collection of candle molds to find your next project.
Frequently Asked Questions (FAQs)
Do I need mold release spray for polycarbonate molds?
Generally, no. If you use the correct wax (like paraffin) and pour at the right temperature, the wax should shrink and slide out on its own. However, a light mist of silicone spray can help if you are struggling with sticking.
Why is my candle stuck in the polycarbonate mold?
This is usually caused by using 100% soy wax (which is too soft) or pouring the wax at too low of a temperature. To save the mold, place it in the freezer for 15 minutes; the cold will shrink the wax further, often popping it loose.
How do I clean silicone molds vs. polycarbonate molds?
Silicone can be washed with warm soapy water, but you must dry it thoroughly. For a detailed breakdown, see our article on how to properly clean silicone molds. Polycarbonate should be wiped clean with a soft cloth and a little mineral oil; avoid water with polycarbonate if possible, and never use abrasive scrubbers.
Written by Syed Muhammad Usaid


Leave a comment
This site is protected by hCaptcha and the hCaptcha Privacy Policy and Terms of Service apply.